3D Scanning and Printing Feb 20
(I'm writing this page as I wait for my 3D object to print)
This week's assignment went off with relatively few problems. As I type that sentence I realize that the 3D printer is still working on my (3.5 hour) job and I have knocked on wood, thrown salt over my left shoulder and spun in 3 circles and spat. Our assignment had two parts: First, we were to use a cad program to design an object that could then be printed with a 3D printer. Second, we had to scan an object that we could then manipulate with 3D software for the possibility of then re-printing.
At first I thought about attempting to design something for my final project; some component of the car like the wheel or the axle. I thought that might seem a little too easy for this assignment so I considered what I could do that would be slightly more complicated than that, but not so complicated that I would struggle immensely with the design process. I came to the idea of designing a mini-acropolis. The design would have similar parts to my original idea, but be slightly more complicated. I would also have to continue my education in Audtodesk Inventor. For this design, I sketched the pillars first and then rotated them about a point to make them 3D. The base and the roof were easy enough sketches to extrude. When I was done I learned how to assemble and was left with this design.
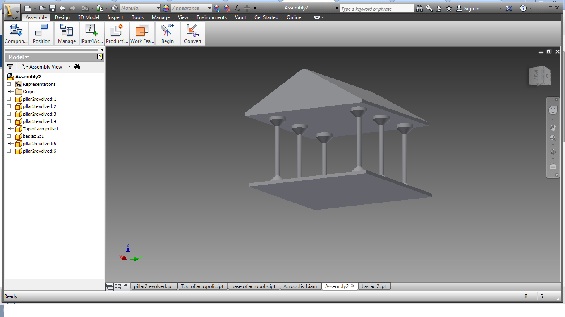
I exported to a CAD .stl file and opened the file in the CatalystEX 3D printer. I had to scale the image to fit the printable areas. I sent it to the pack and played around with what orientation would minimize the support material. This design required a lot of support material because of the empty space in the actual building. Once set I was at the following screen.

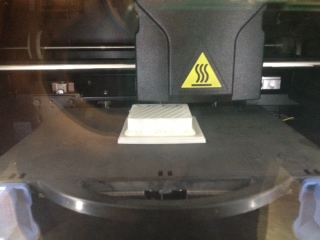
Everything looked good so I sent it to the pack, moved it to the appropriate place on the part and hit print. The process takes a pretty long time (3.5 hours) but as of right now (bout 2 hours in) everything seems to be going OK. Here's what it looks like when you are printing.
I'll post a final picture when it's done. Hopefully that sentence will go something like this: Here it is, no problems and not be several paragraphs long about what went wrong.
The second part of our assignment this week was to scan an object that we could then manipulate and potentially print with a 3D printer. One of my goals when it is done is to scan the acropolis that I made and try to reverse engineer it. Knowing how everything "should" fit together will be useful in that process. In order to get used to the process, I looked around my room for something to scan. Who do I happen to see but 2001 NL World Series MVP Craig Counsell staring back at me.
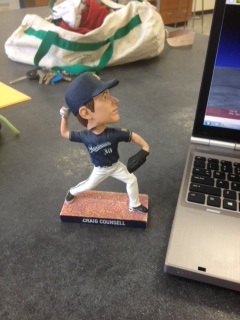
On the advice of my colleague Chris Wiemer, I downloaded an I-Phone App called 123D Catch. Using this program, I took 40 pictures all around the bobble head with my phone. The program then compiles them into a file which can be manipulated. On my first attempt, the object looked like a very bad rendering of a character from Golden-Eye for N64. It appeared that the program was having a difficult time identifying Craig from the counter top. The background "wasn't busy enough." I tried again on the floor and was able to get a much better rendering.
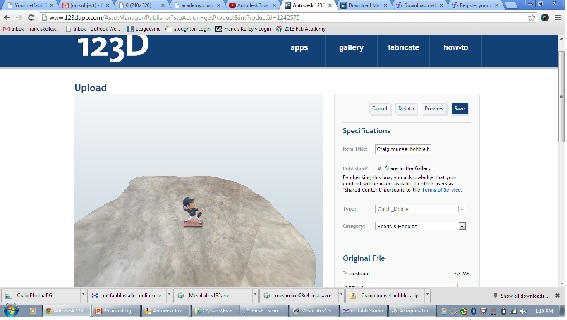
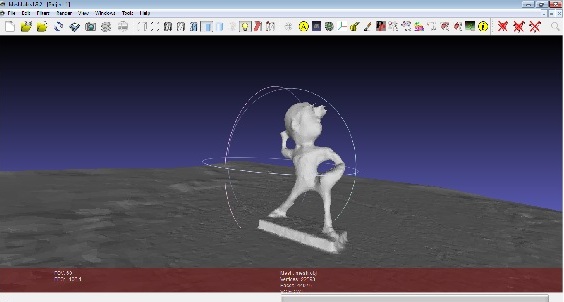
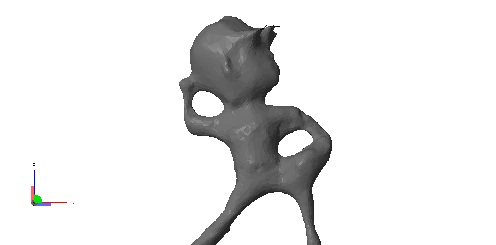
All that was left was to try a few different programs. I downloaded Mesh Lab and NetFabb and have begun tinkering around. Mesh Lab seems a little bit easier to manipulate but it also looks like six of one, half a dozen of the other.
Mesh Lab:
NetFabb:
That all for now. Last update until I have my final product- The 3D printer has been running for about 2 and half hours and says 49% complete. Methinks it's estimating skills need some work.
Update: After about 4.5 hours my acropolis was done printing. It looked like a square-ish blob with all the support material so I put it in the NaOH bath for another 4 hours. Came back the next day to great success.
