3D scanning and printing
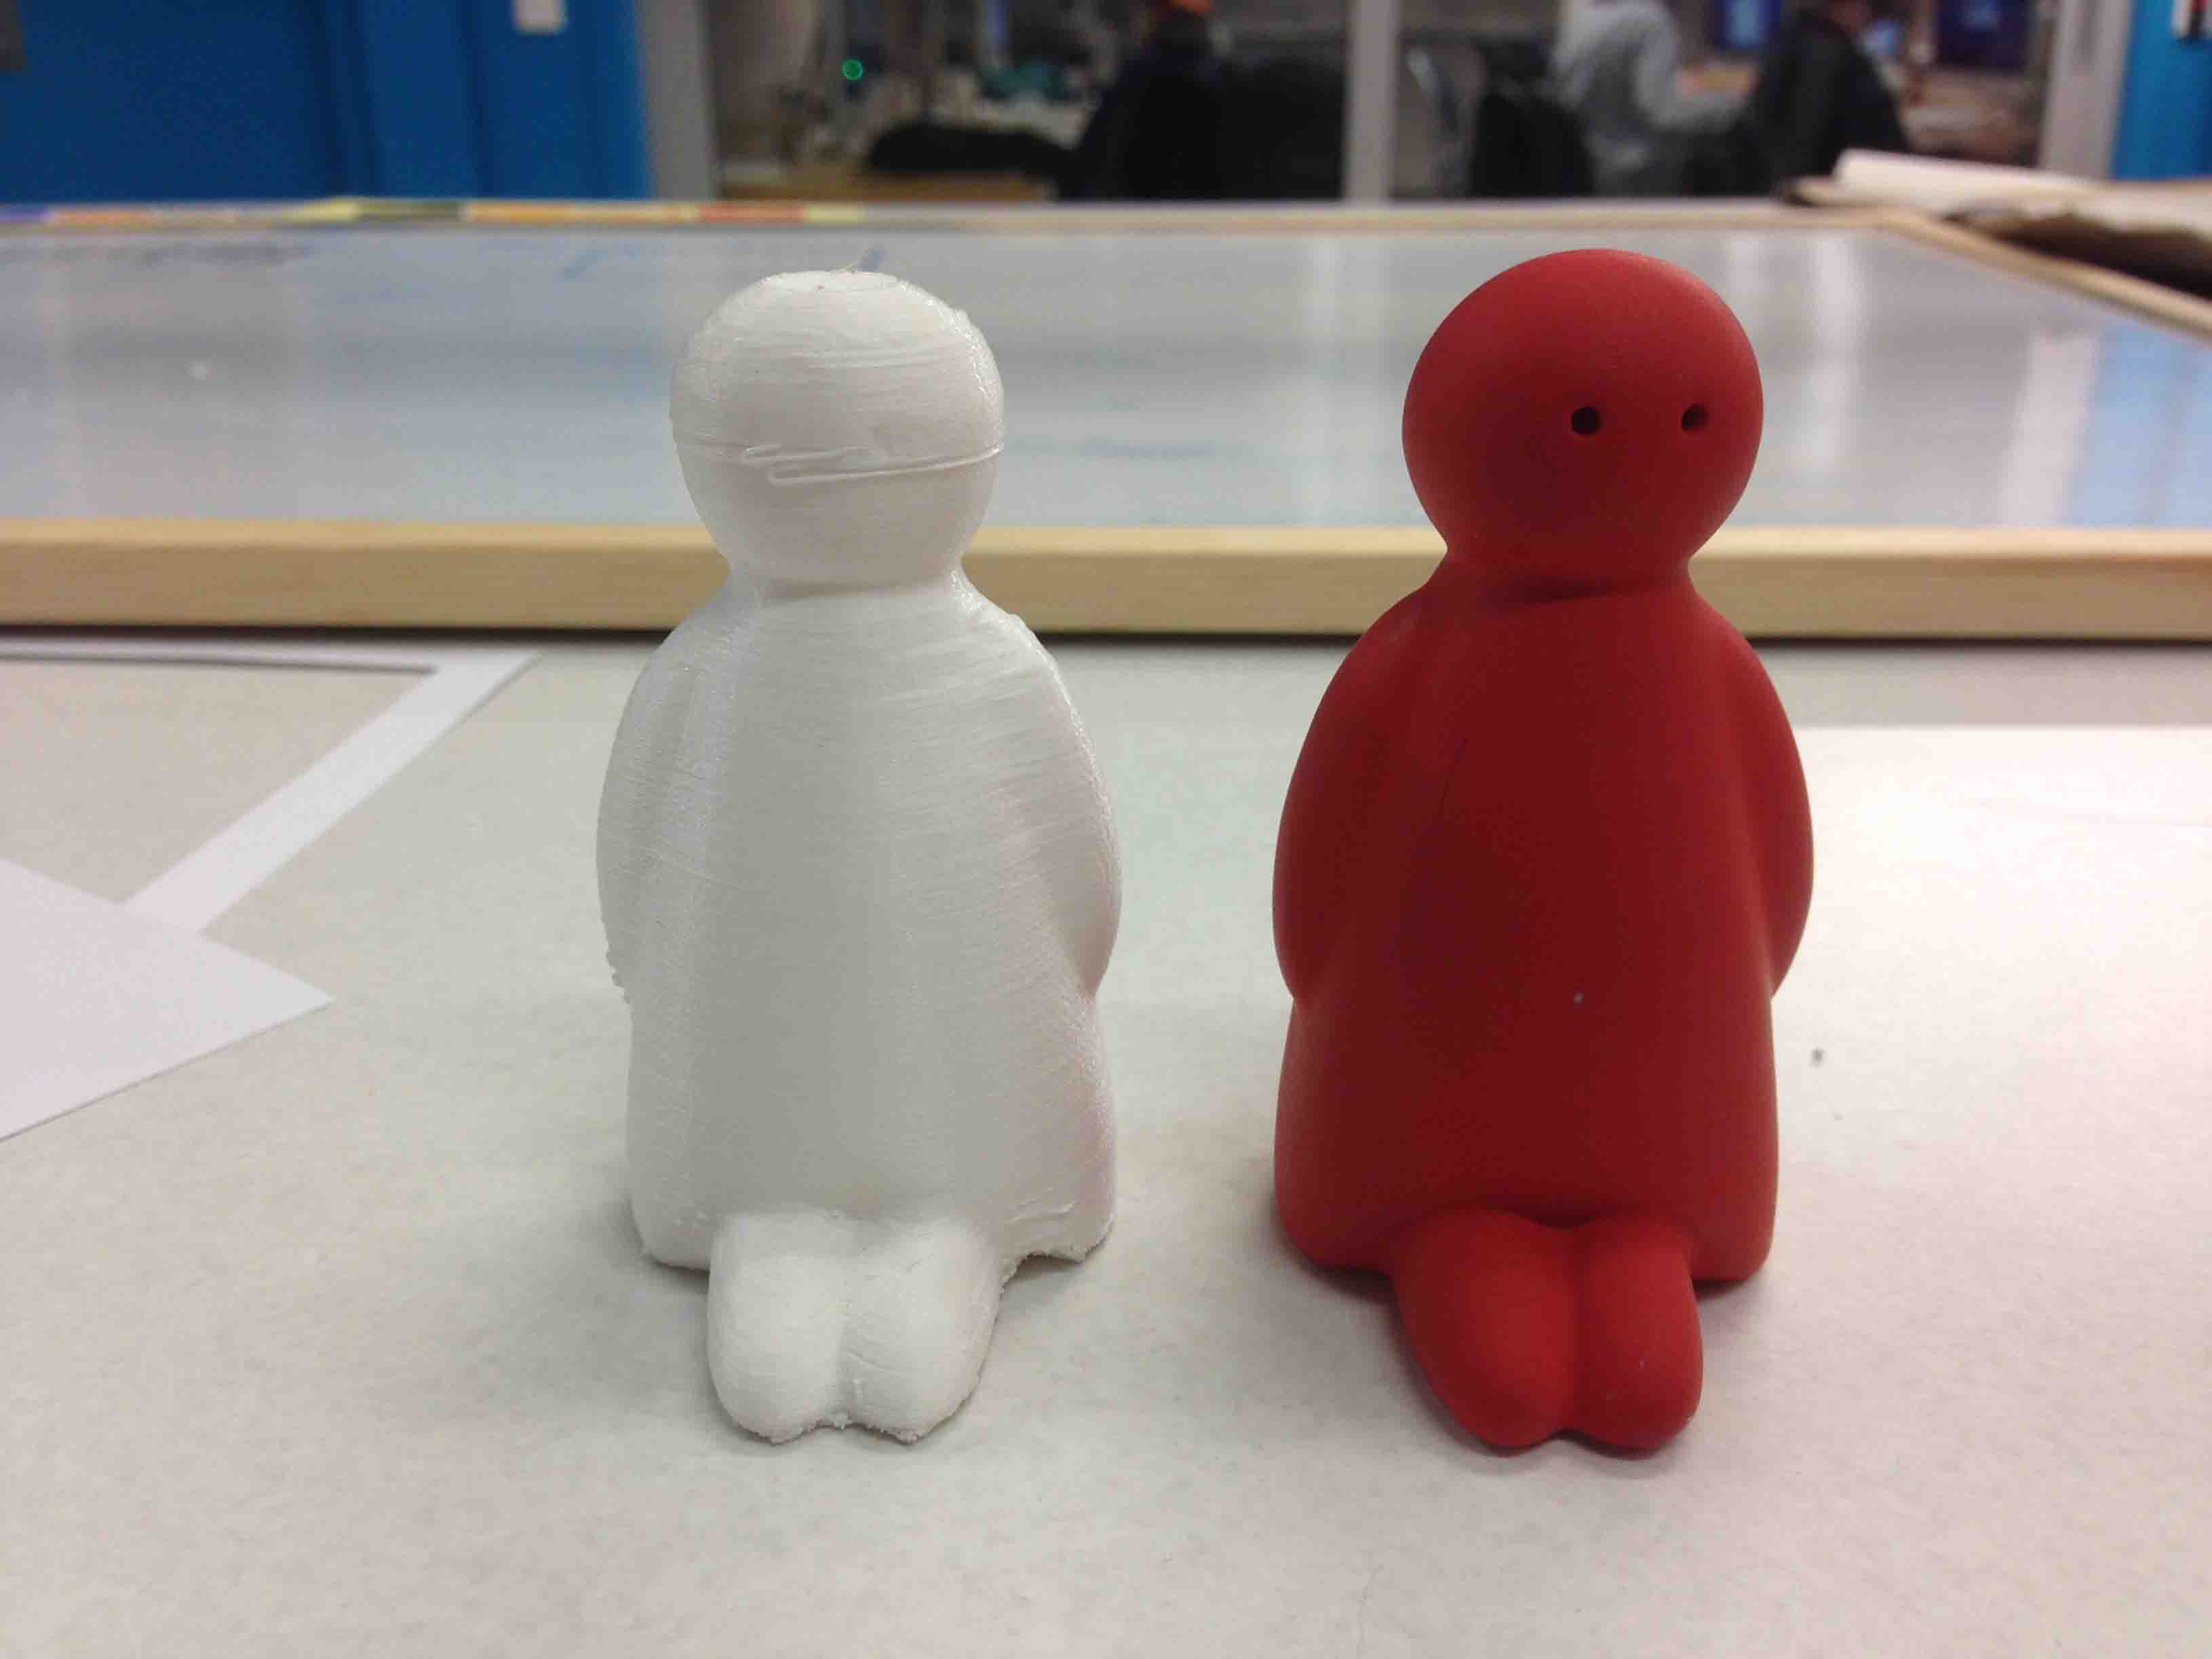
A little pepper guy.
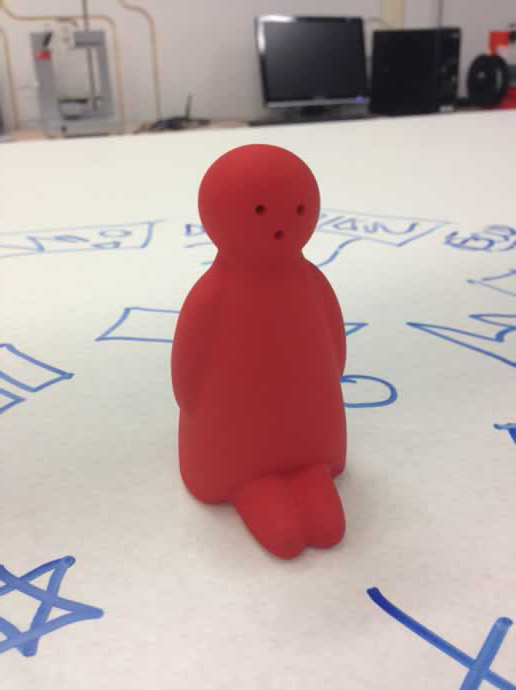
For 3d scanning and printing I have chosen a small pepper shaker as the subject of 3D scanning and printing assignment. This object was selected for its size and ability to be printed at 1:1 on outr little UP printers we have here in the Lab.
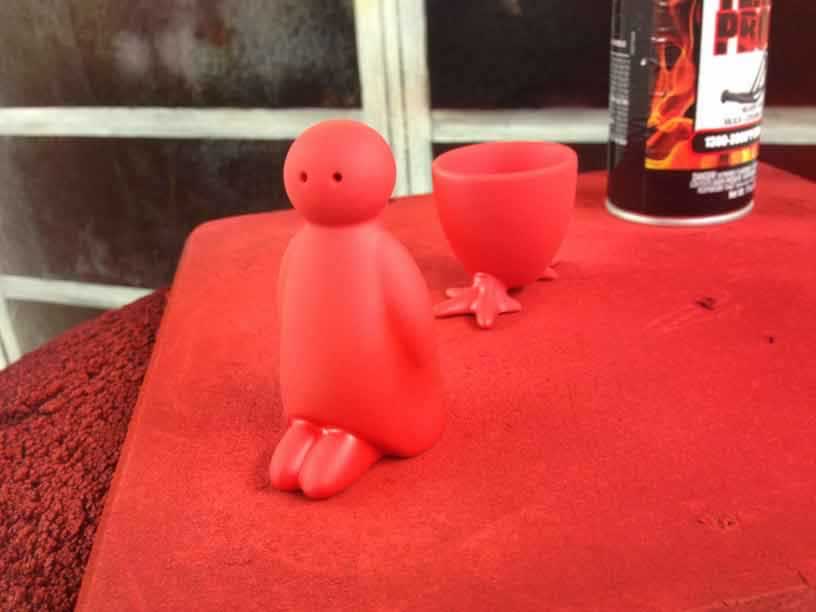
The first thing I did was give the object a matt surface finish as reflections can be problematic when it comes to 3D scanning a object accurately. Here you see a coat of matt red paint did the job nicely.
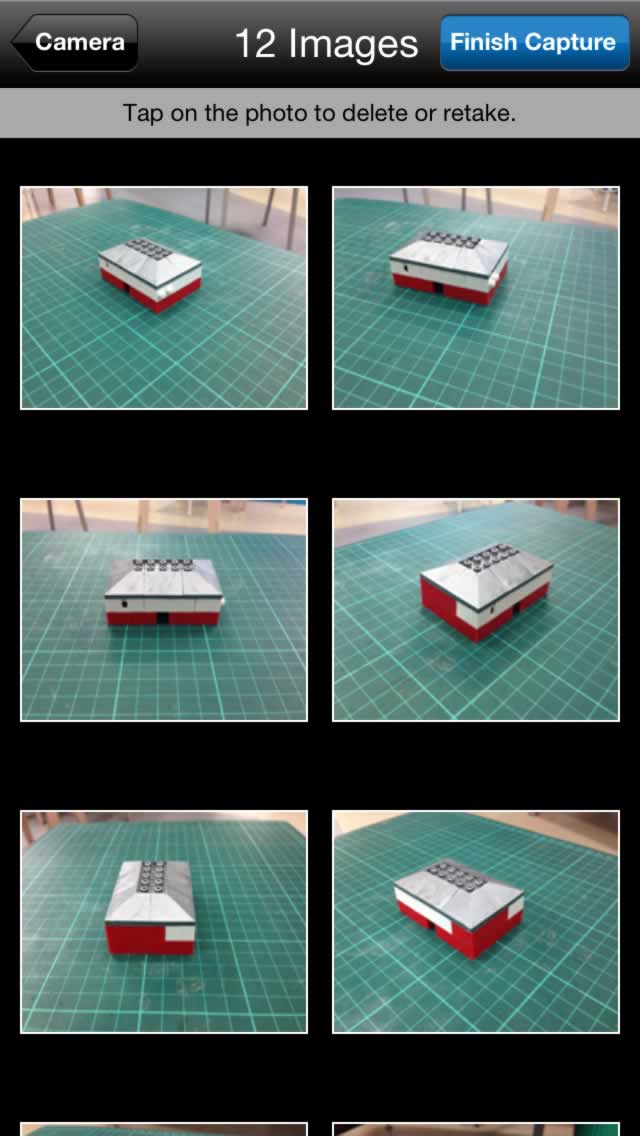
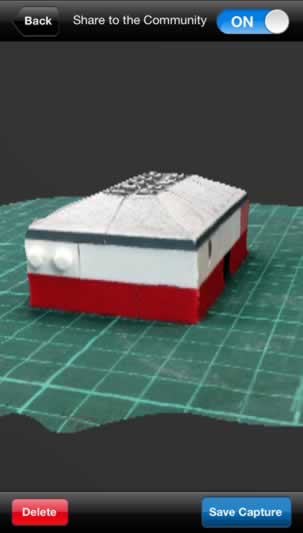
My fist attempt was to use the Autodesk3D catch ipad app, I tested this with some Lego to see the results. The results were good, but there is no way to export from the Ipad version to 3D print,,,
so onto the desktop version of Autodesk 3D Catchwith the pepper shaker,,,,,,
As I was photographing on a clean white surface we discovered we needed to give the software some reference points for mesh assembly, you can see these drawn here in blue white board marker.
No matter how many reference pictures I took I just couldn’t get a good 3d mesh out of the software, with each iteration taking so long to process in the cloud it was decided to use an alternate method,,, a Roland Picza laser 3D scanner we have in the 3D workshop at Massey University, School of Design.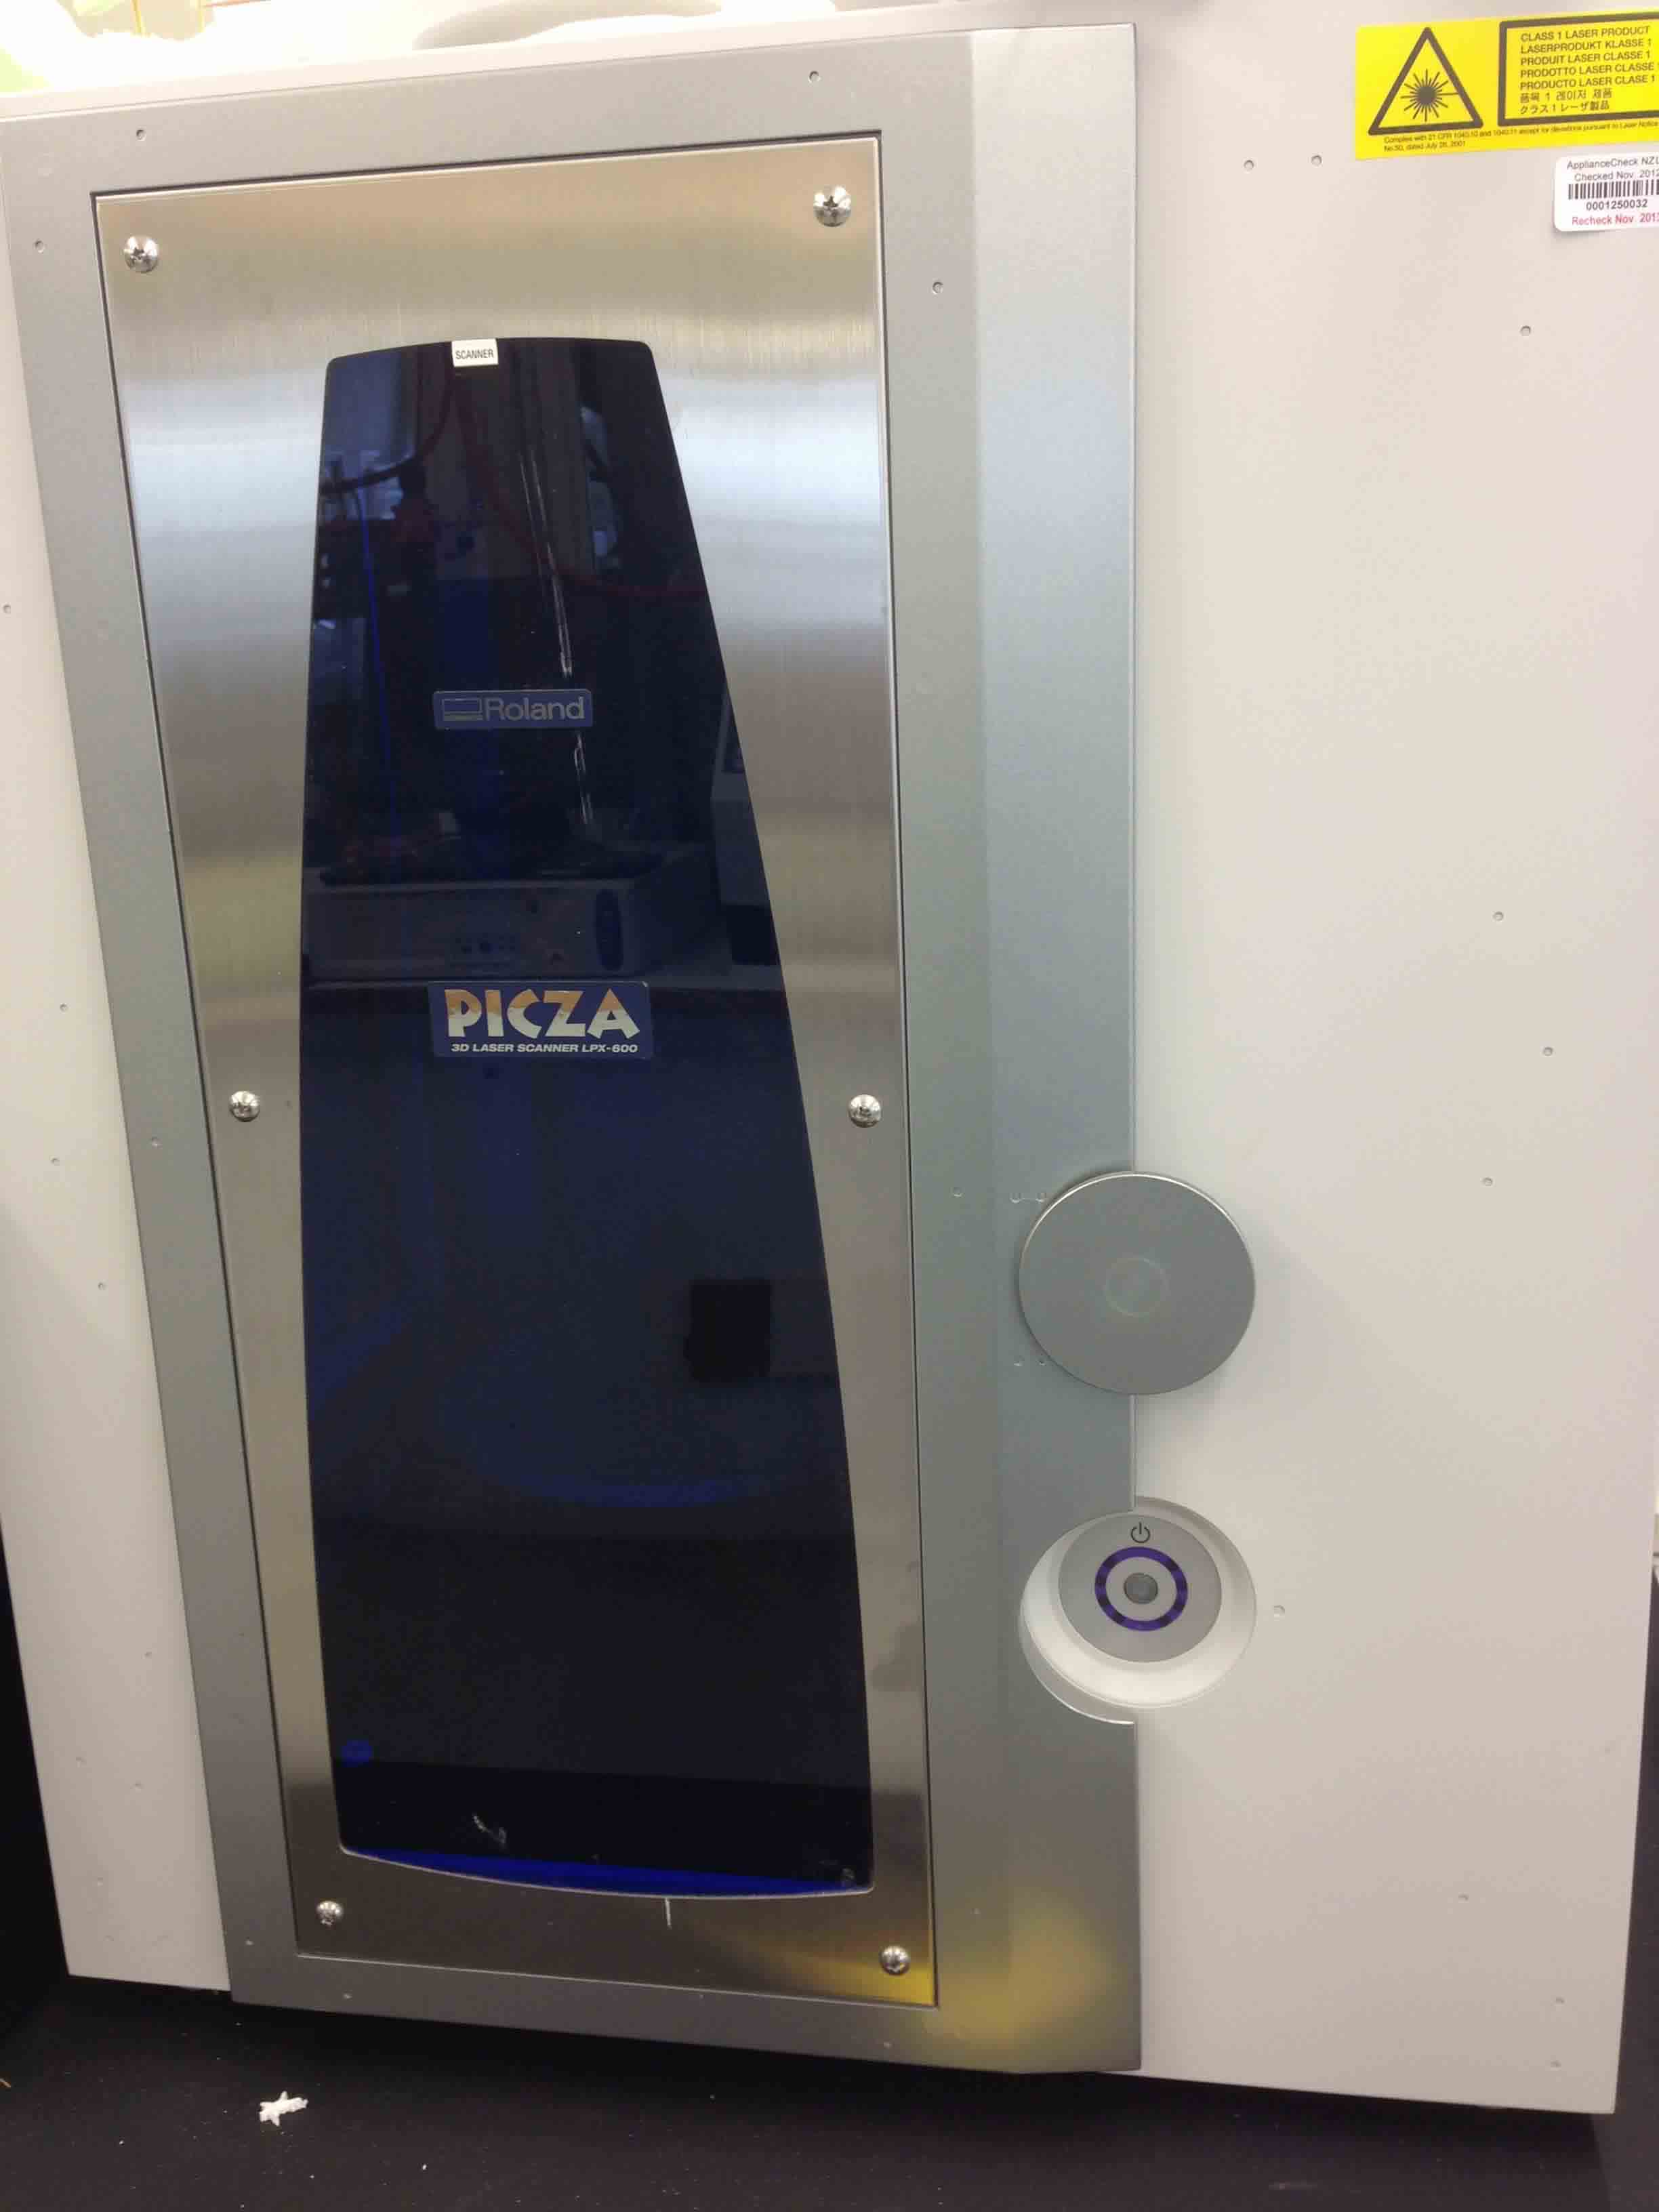

The results were excellent!!
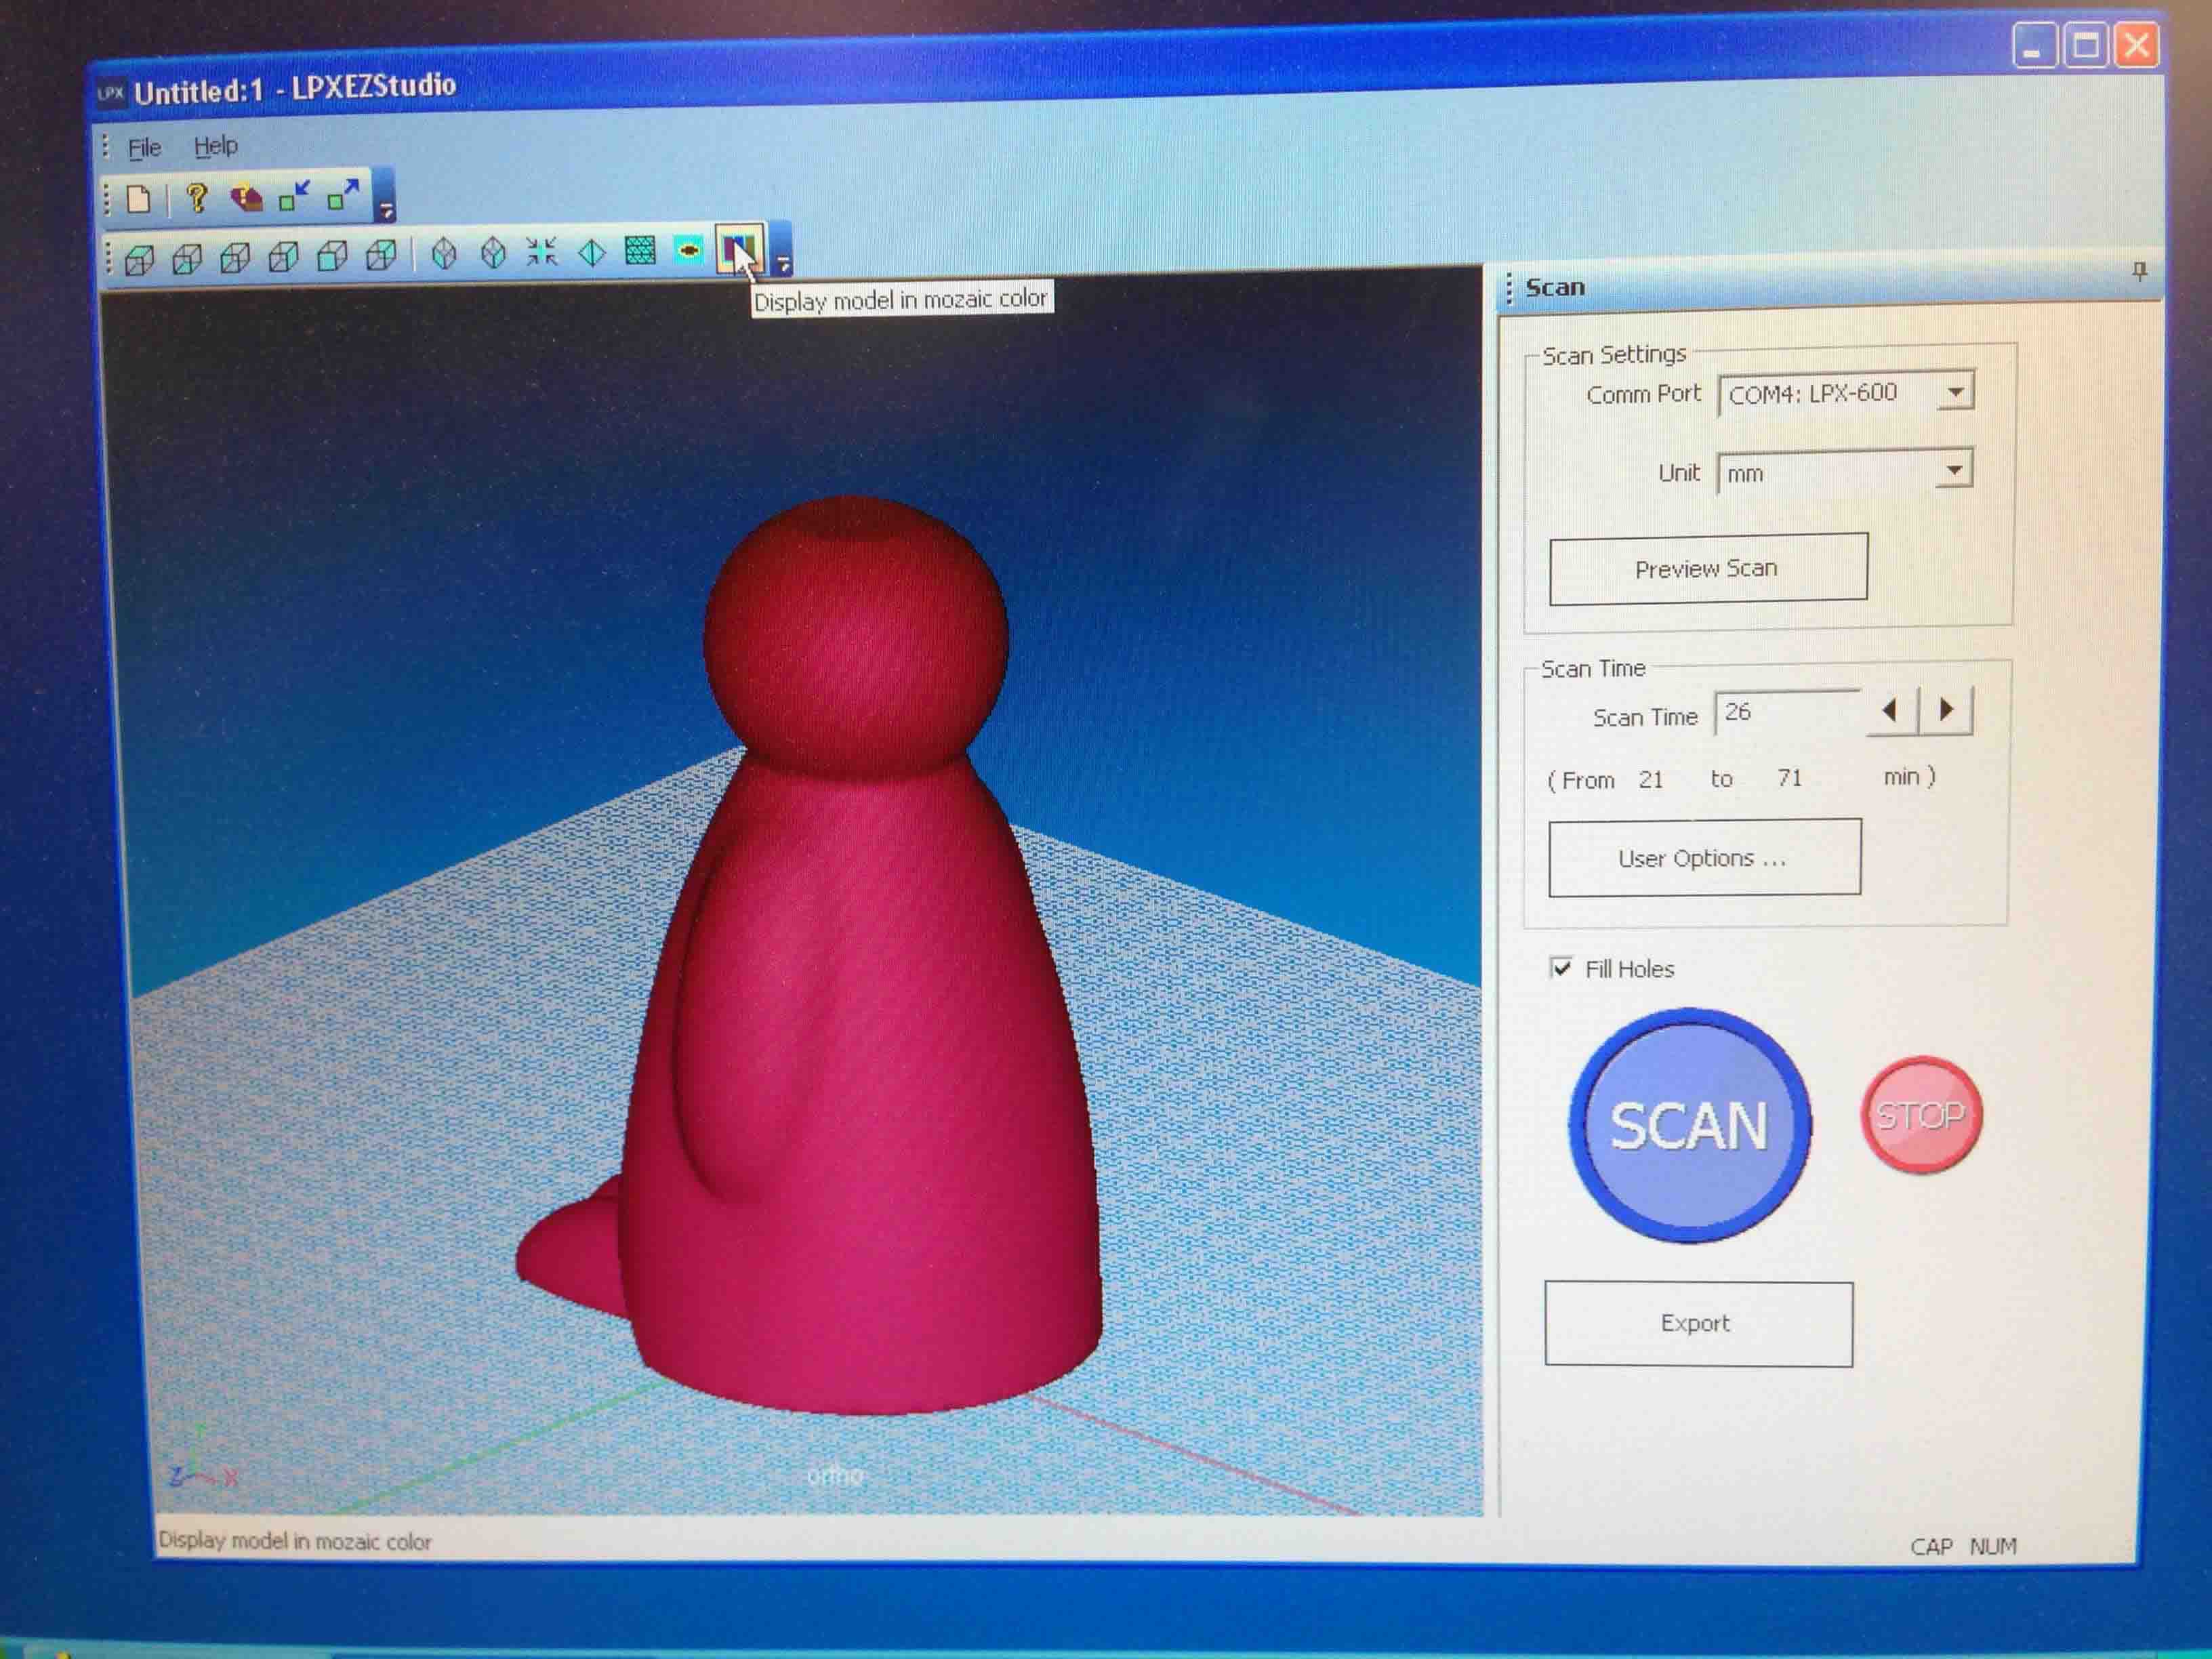
The resulting STL file was good enough to send straight to the 3DUp Printer with out any modifications! Wendys file did need some tweaking in Rhino after the same process.

And the result!!!