
MTM
- For the group project we decided
to finish one of the unfinished machines from the last
years here in Fablab BCN, we chose the
MTM machine the aim is to recycle/reuse most of the
lab products to avoid ordering new components with no
need.
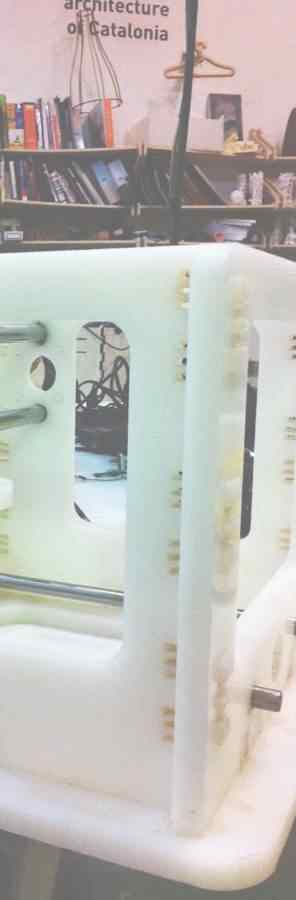
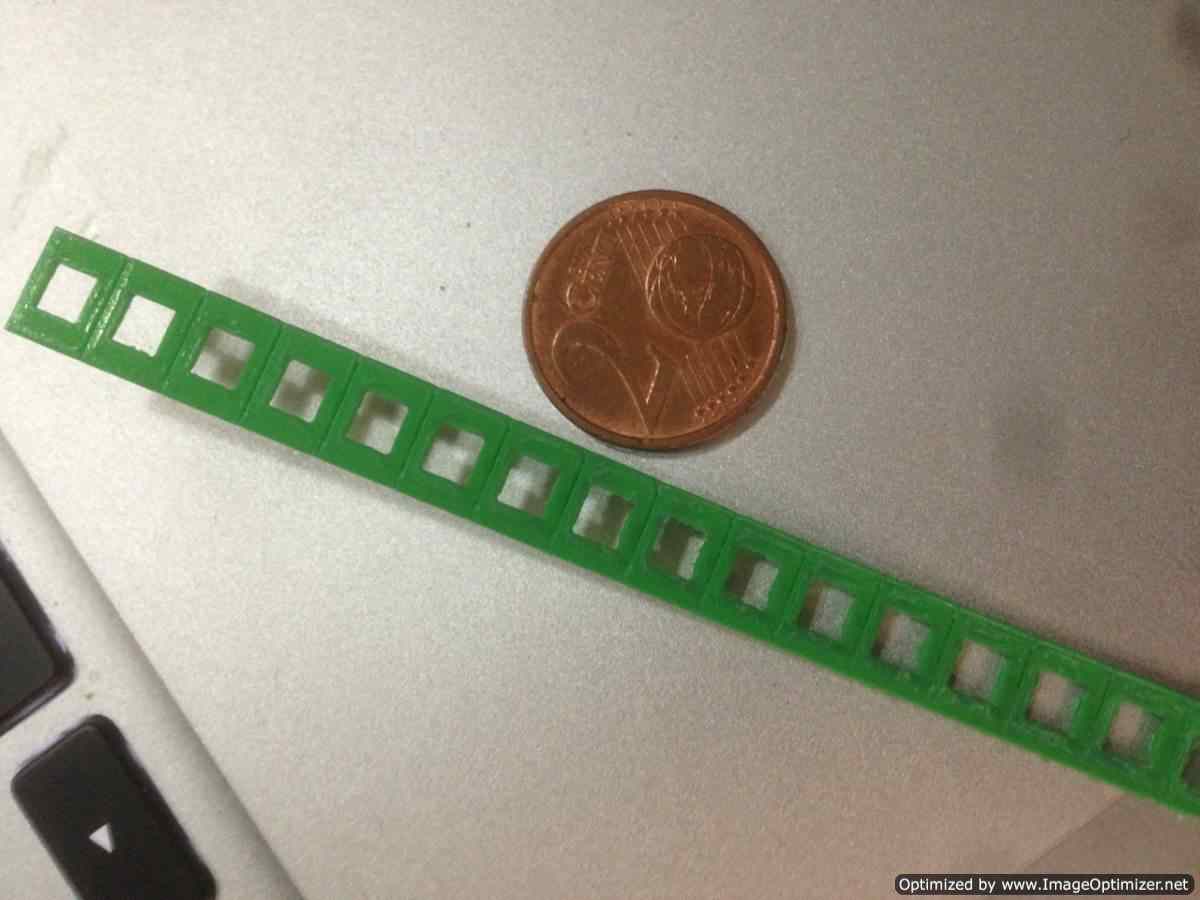
First idea was to change the
bed mechanical system from lead
screw mechanism to belt
movement because we don’t have enough
screws while
the belt we can cast it or cut
it here at the lab.
Fabrication
part
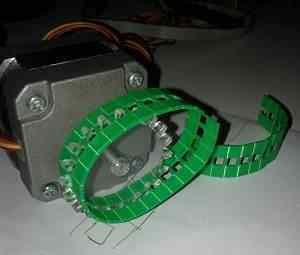
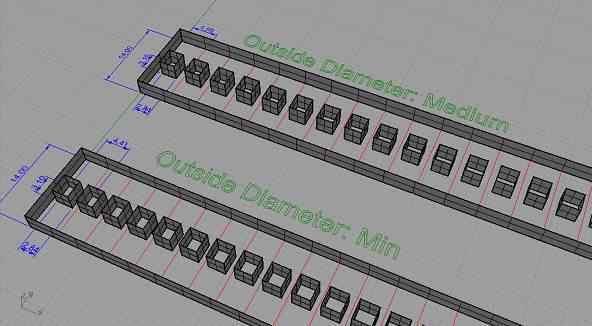
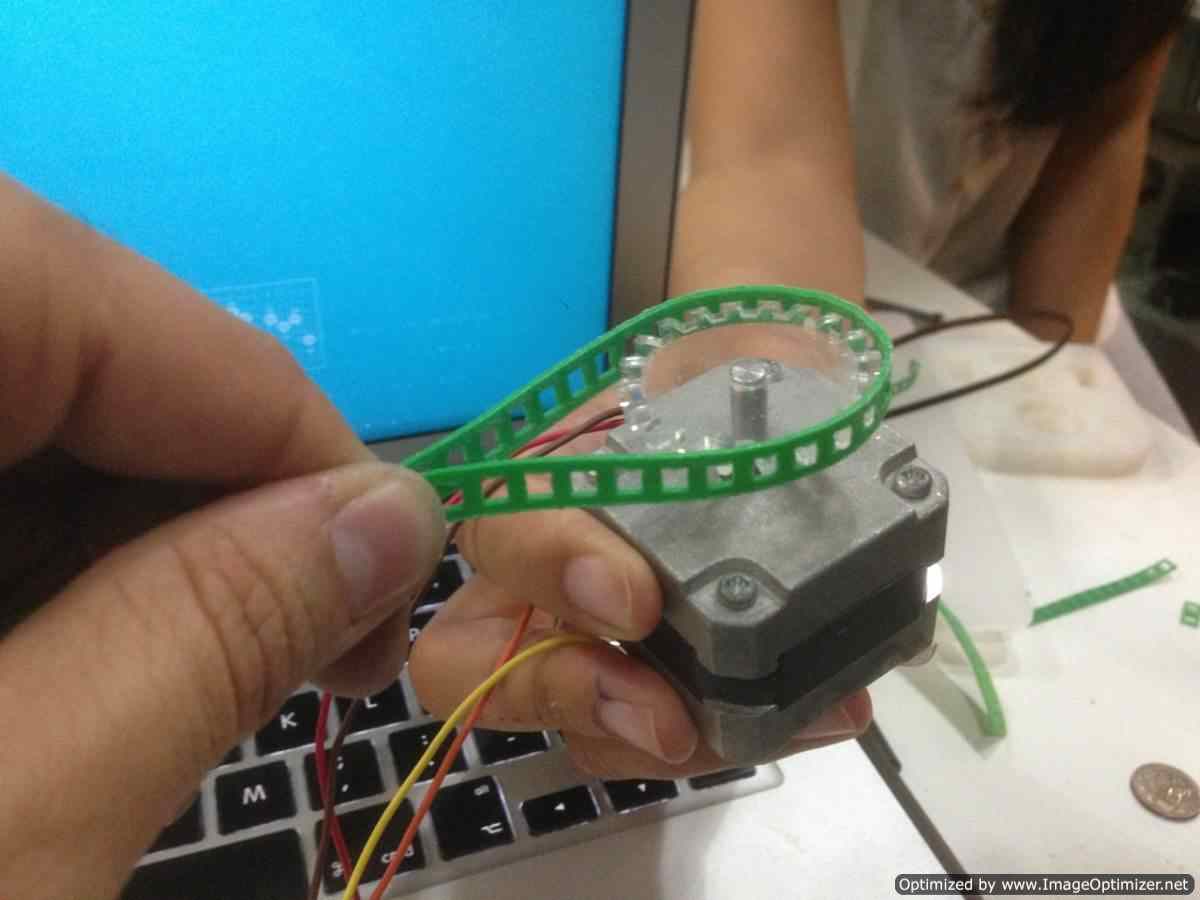
-First we
thought about the best belt
mechanism to use in parallel
there were others thinking about
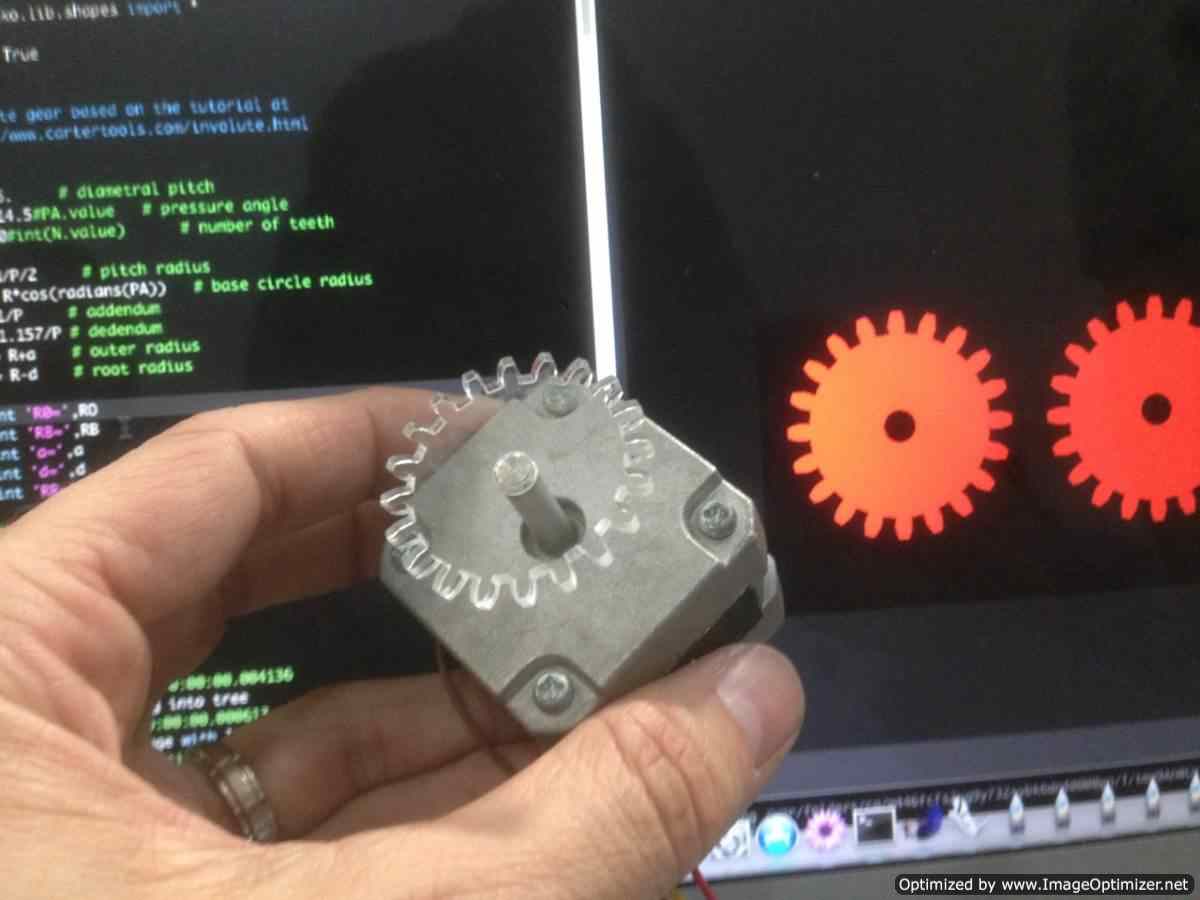
the material
and the gears dimensions
and movement, This
plastic is hard enough to
overcome tension and flexible
enough to bend around the gears,
belt calculation & gear
Software part
-JOSE
PABLO wrote: A review was done on the
grbl code that will be loaded in the microcontroller
that will control the machine. In the github website
of David
Mellis' revision of the grbl code, we find the
different C codes. In the settings.h file
several constants are defined, that will
need to be reviewed once the machine is
assembled. We don’t know yet if we will be having the
same revolutions per inch or the same federate, so
that remains to be
seen in the near future.
-A nice website was found, explaining the basics of grbl. It
also shows a way to change the constants mentioned
before, through the serial terminal, but we’re
not sure if that can be done with the David
Mellis’ version of grbl, which is interfaced with the
PC through a processing program.
Another important code to look at are
the different make files of the fab modules, that
convert different file formats to G code for the MTM
snap. They all contain
the similar constant values of federate and
revolutions per inch that might need change in our
future design.
Electronics
part
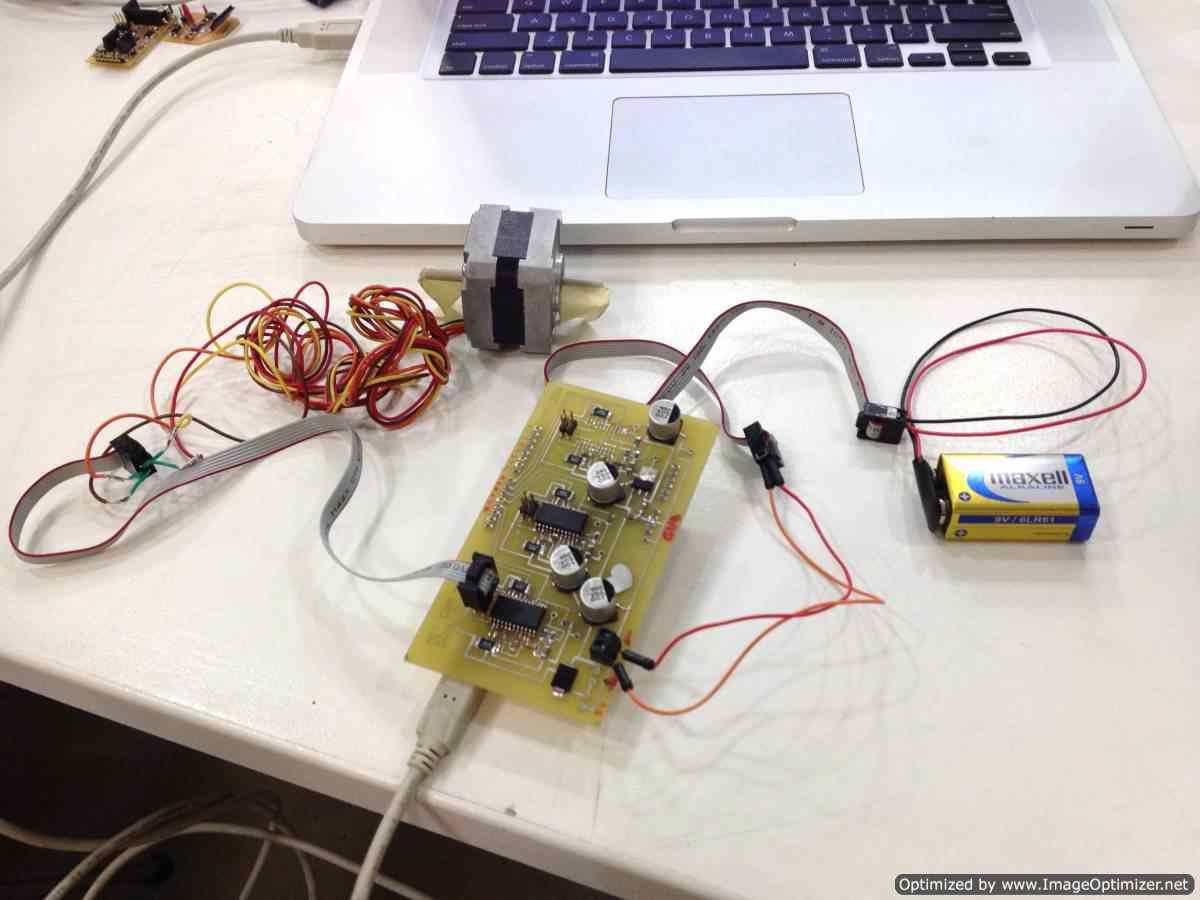
the trick perfectly. The shield is essentially a triplet of Arduino compatible Easy Drivers and can be directly mounted on an Arduino. It uses A3982 drivers to power
each stepper and is powered with an external battery. There was an old one lying around the lab which we tested, and saw that it works by running a couple Arduino
sketches, the first one simple, and the other a bit more complex, after we worked out the ratios for steps to degrees, microsteps, pulses, and microseconds...
Given that one of the A3982's was missing and a few traces on this board were destroyed, we need to order new components, as we don't have many of them in our
inventory. Once these arrive we can build a new board and run the 3 motors. I will also be making a similar board, if not the same for my final project as I plan to use
3 steppers. All the links to the useful pages are on the left!
This
is the Arduino
code mostly figured out by Jose
(which worked
with one
driver). We
based the code
off this Bildr tutorial but
had to tweak
it to match
our
specific motor
as our stepper
takes 400
steps for a
full rotation.
MY PART
- This week i started to redesign the Barduino
board we have to fit it in the motor shields we already
finished repairing, i started by
adding the Arduino headers then arranged all
the components around, didn't have enough time to test it
and program it yet ,

>Proposal
>Digital model
>Laser Cutting
>Electronic
production
>3D Scanning
& Printing
>Electronic Design
>Molding & Casting
>Embedded programing
>Computer-controlled
machining
>Input devices
>Composites