Project Sessions
WEEK 7 (6 March 2013)
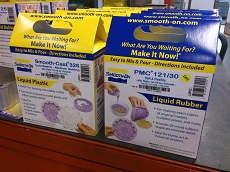
[Molding, Casting and Composites]
This week we learnt how to create detailed molds from machinable wax and make casts from them.
I made a mold of a logo. The idea was to create a pin using the logo of my Theatre Association of Alpedrinha

The steps to follow are:
1 STEP - designing the object in 3D
2 STEP - milling the wax
3 STEP - creating the mold - MOLDING
4 STEP - CASTING
STEP 1: DESIGNING the object in 3D (Archicad and 3ds Max)
I used Archicad and 3Ds Max to design the mold. In creating the file I was able to do all of the things that I wanted. The difficult part was to find out what was needed to make the pin negative or positive in order to make my final cast come out correctly.
Archicad design:
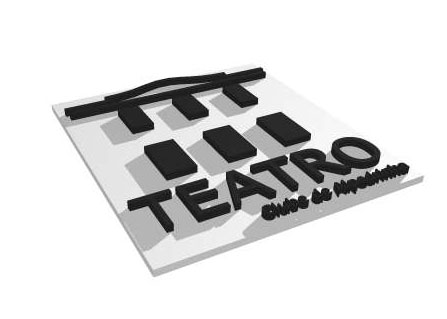
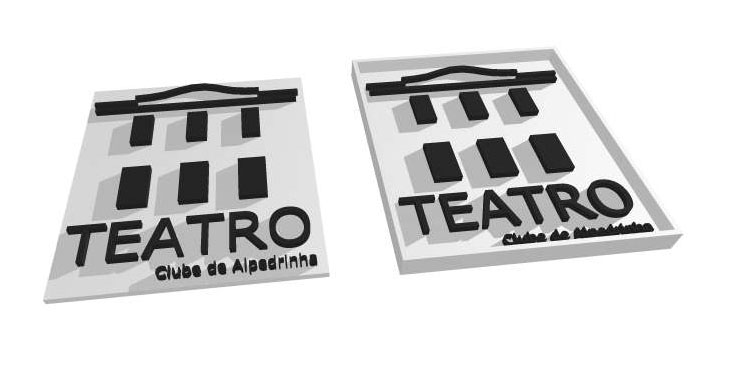
3Ds Max design:
![]()
![]()
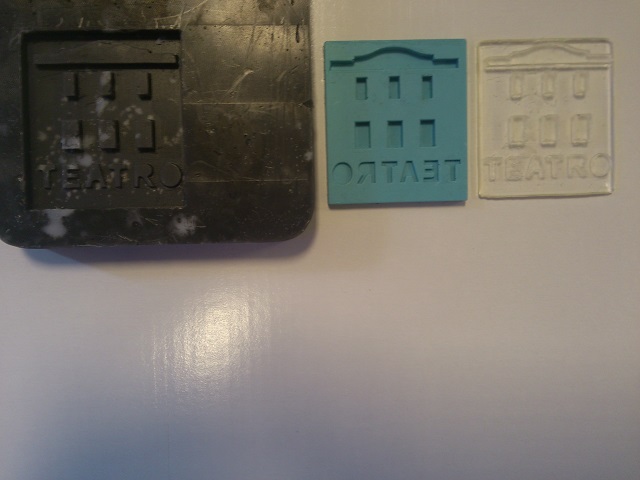
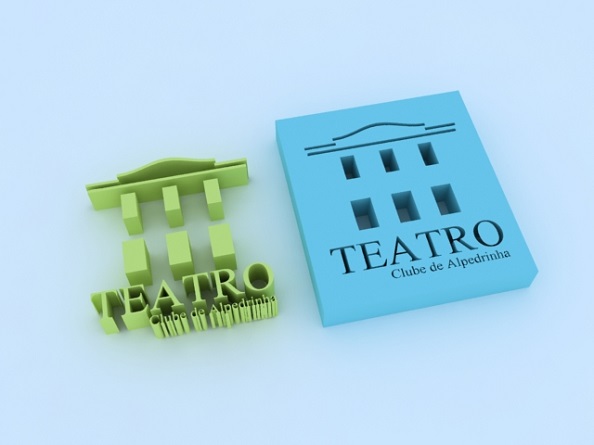
Mold the logo (Pin):
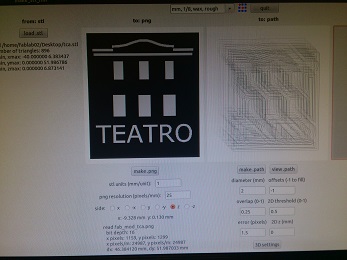
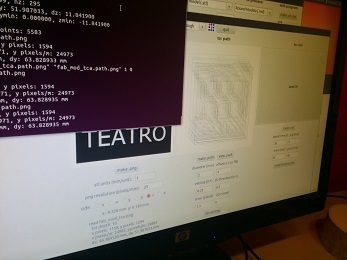
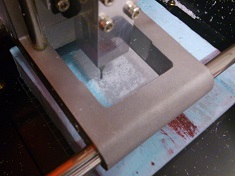
STEP 2: MILLING THE WAX
To make the molde I used the Modela machine which parameters are showed in the next pictures.
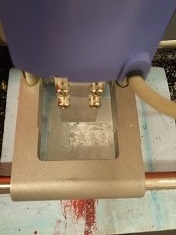
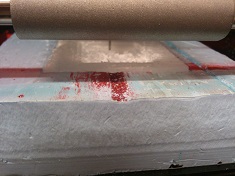
STEP 3: MOLDING
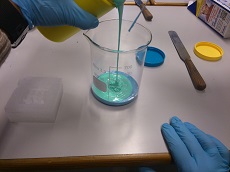
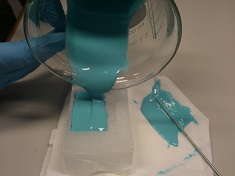
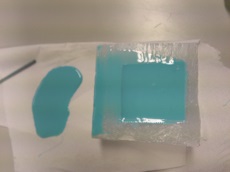


STEP 4 : CASTING


STEP 5 : Conclusions
The end result was not to my liking, so I will repeat the whole process one more time.
I will increase the measures of the pin, and I will change the wax:
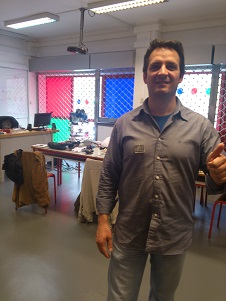
Nice final result :
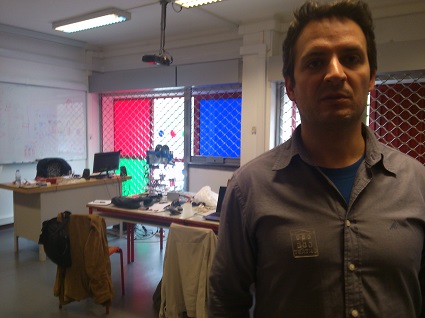
I and my Pin Theatre :
This second attempt has greatly improved the desired effect.