Classes > molding and casting
STEP 1: DESIGNING
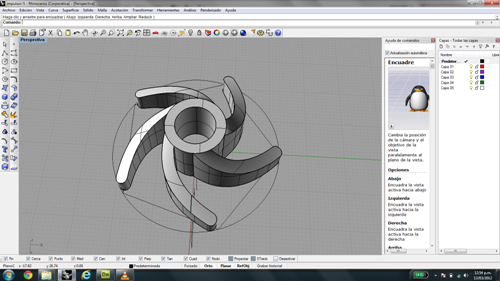 |
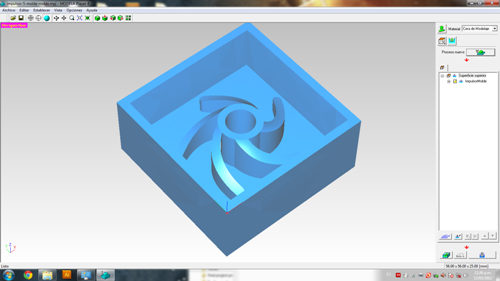
Once more the Rhino program was used to design the component to be produced, It was necesary to draw the complete box where the mold was going to be hosed in according with the tool diameter and taking care to leaving 3 mm bellow the top level of the wax. |
 |
 |
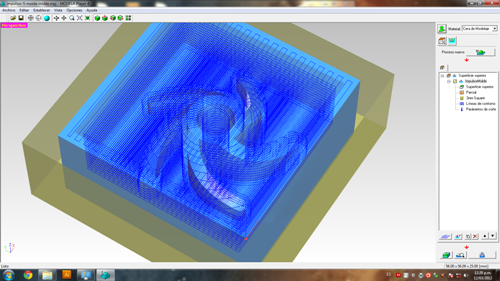
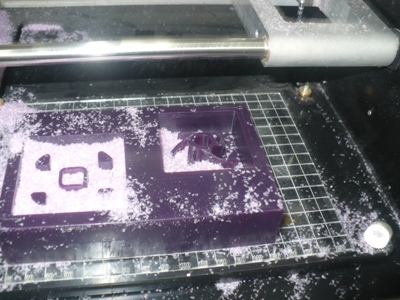
STEP 2: MILLING THE WAX
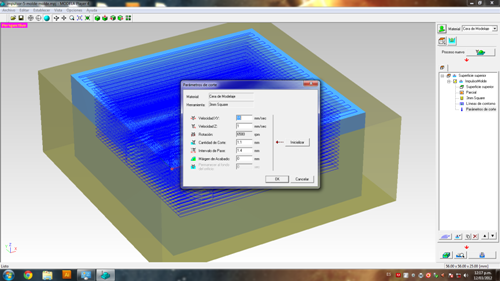 |
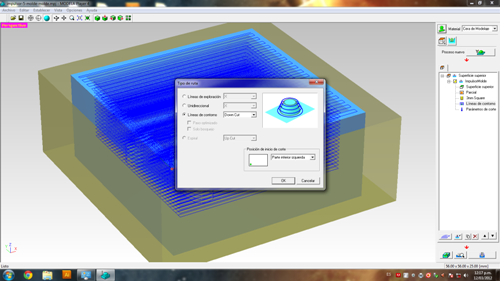
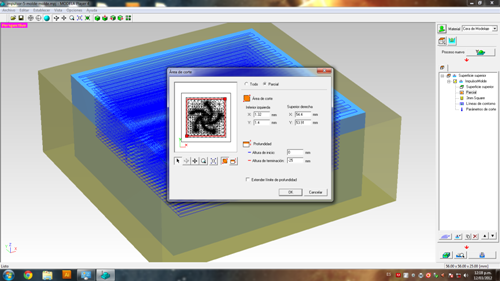
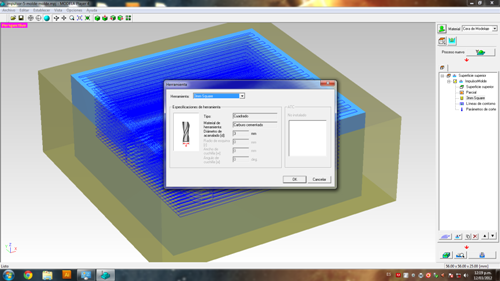
To making the molding for the mold I wanted to work it using the Modela machine which parameters are showed in the next pictures.First It has to export the drawing in *.stl for open it from the Modela Player program where we will have the tool traces as showed as blue demo in the pictures.. |
Here we can see how is the machining process made using the Modela Machine and the final product achieved.
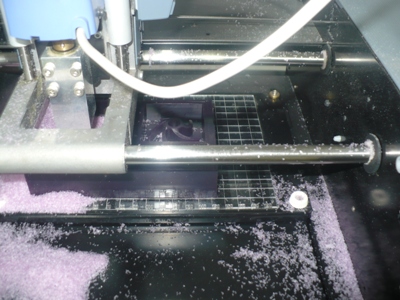

STEP 3: MOLDING
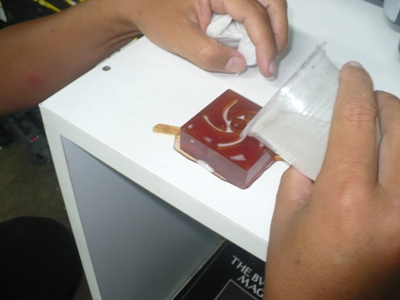
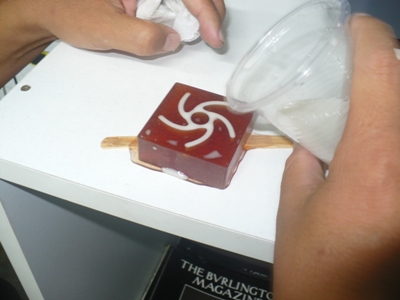
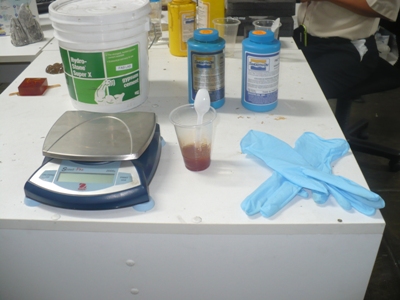
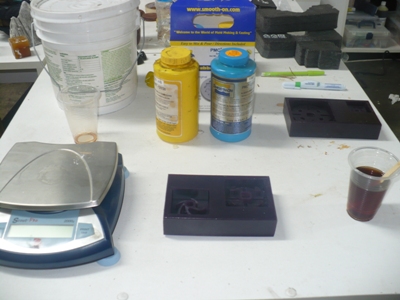
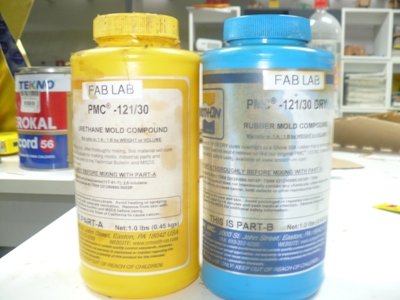
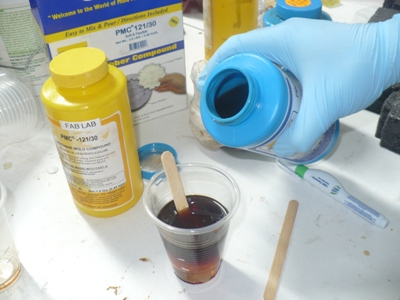
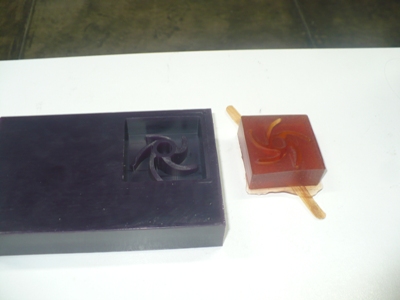
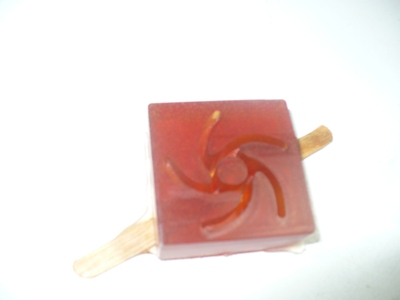
After mixing the 2 parts to prepare the molding resine we must mix the compounds in a 1:1 ratio of A: Urethane mold compound and B: Rubber mold compound. As you can see in the picture it is better if we leave a stick on the top for facilitate the demolding of the casted resine. By the way, it is necesary the use of gloves in all the process stages to avoid the direct contact of the compounds with the skin. It is also important to have the necesary elements at the hand around the work area and make the casting in a clean and order way
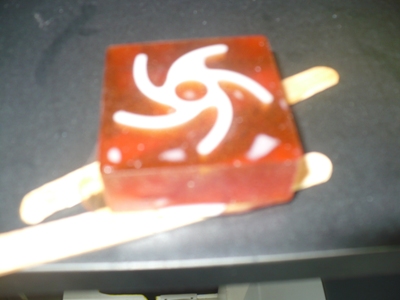
Here I am making the demolding of the mold for the impeller and we can see the surface how perfect it has been made


STEP 4 : CASTING
Once the mold was made we are ready to do the casting of the impeller and for this task we need to choose a material that hardens quickly and grips consistency. For that reason, I chose a cement plaster as Hydro Stone Super X that reaches a high hardness after a few hours after being prepared.
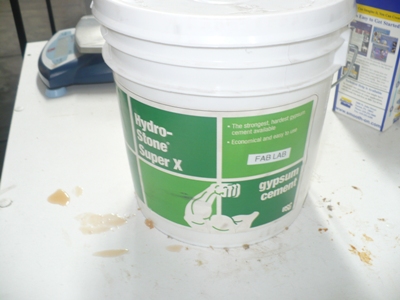
I am doing the casting with the cement prepared in a 100: 22 ratio on weight of water and the cement. at the end and after 3 hours we can demold the impeller from the mold and showed in the last picture.