Classes > computer-controlled cutting
To make something big I wanted to manufacture a portable chair by cutting a 900 x 560 plate of wood or similar.
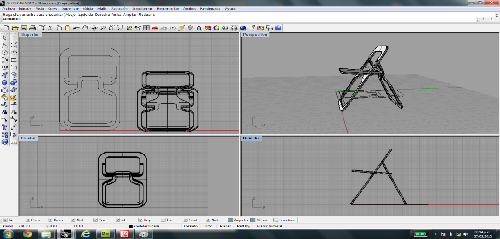
First I had to design it in Rhino and before cutting it I wanted to make a prototipe on paper to check whichever malfunction
So far I've had some time to get familiar with the use and safety of the ShopBot machine , testing all zeros by cheking the movements and adjusting the parameters. Still pending is the cutting of the parts that I hope to do it today.
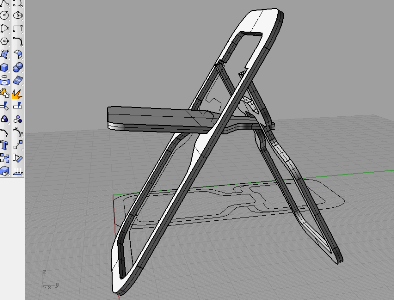
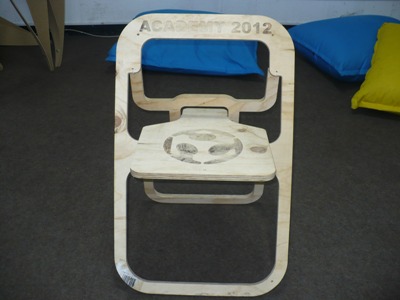
As mentioned it above before cutting the components in 18 mm triplay I prepare a model on 1/5 scale as showed in the picture where I checked the stability of the components and this let me to do several changes about the length of the seat
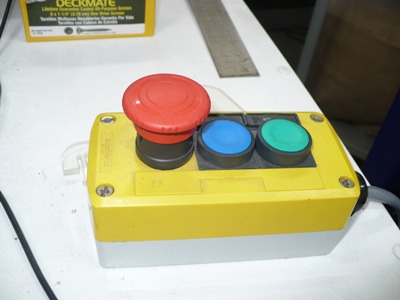
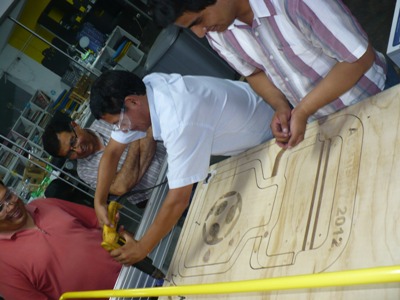
Here I show a critically important element for using the ShopBot machine and any of its kind: the stop button and that along with gloves and safety glasses are the minimum elements necessary for machining
Using the software in the ShopBot to add the logo design about the Fab Academy in my projet.
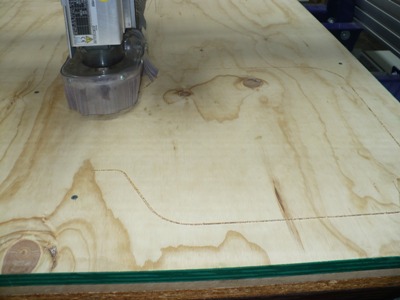
The next figures show the setting of the parameters for the milling machine having special care in adding the marks for drilling the holes to fix the material. here I must
![]()
![]()
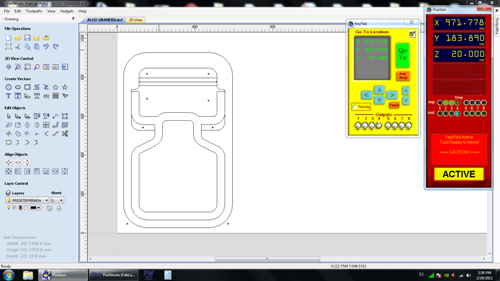
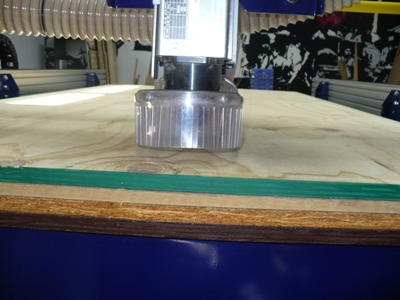
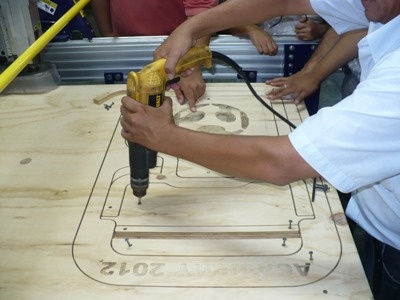
Once setting the parameters and select the 3 mm tool and before milling it is necesary to fix the plate over the millng worktable to avoid it can rise while it is being machinig.
As you can see in the pictures there are several fixing points where it was necesary to fit 10 bolts but these were not enought....
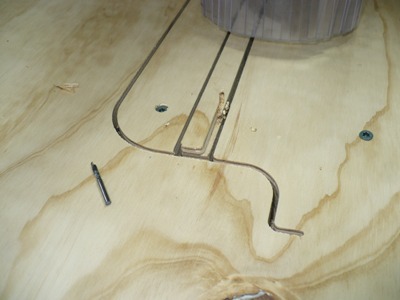
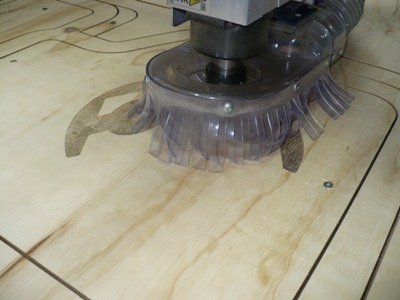
Just after beginning the cutting and to have machined the first component the tool was broken really by no fit the corresponding bolts over two thin elemets. Here I want to give a strict recommendation
when machinig thin pieces of great deep pmaterials: It is necesary to fit all the components to be manufactured not only the big ones. As showed bellow the tool broke as a result of the lateral moving of the cutted element by have no been fitted. After this event I can stop the process (with the red stop button) and I inmediately added the necesary extra bolts asuring all the elemets being fixed after cutting them.
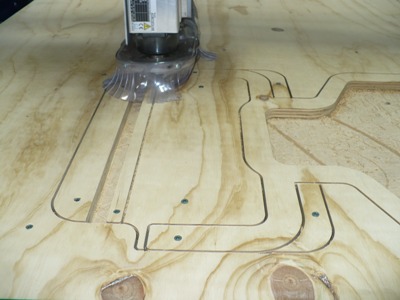
I restarted tthe machining after deleted the lines that were already cut.

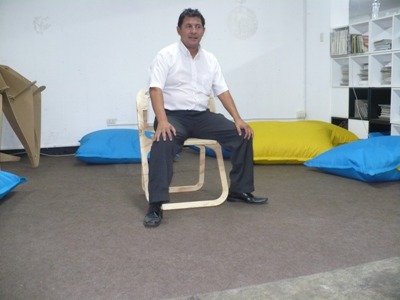
As you can see the anticipation for the big chair was mainly to see if it worked as such. First we have to removing the screws and...
Placing the components in their proper place, the challenge was to establish the type of joint in pivot. I chose to make the pivots using nylon rings to give a rustic appeareance and easy to replicate.
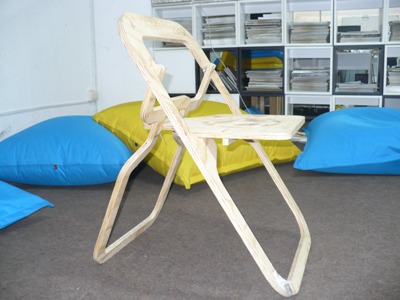
Well, nobody accepted the proposal to test the strength of the chairs so is that I had no choice but to do it
Interestingly, as in a job like this one can draw many conclusions about the construction details, potential errors in machining and by seeing the final product, the real efforts that can withstand each element. Soon I attempt to remake an improved version of the design according to the material used.