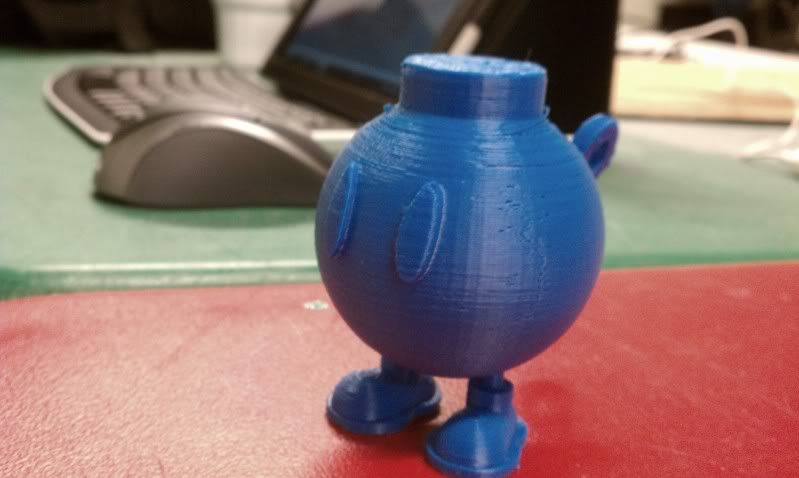
For my project I orginally wanted to create a mould for a Bob-omb that I designed in SolidWorks. Unfortunatly my design concept required that the mould be bigger than the machineable wax that we had available to us.
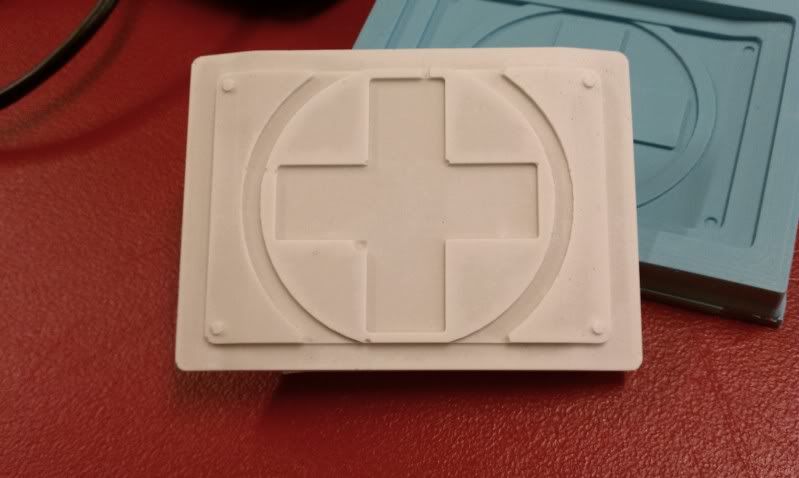
The other design idea that I had was to make a belt buckle using an emblem from one of my favorite video games, Team Fortress 2. The buckle uses the symbol for the medic and is based off of a similar design that a friend of mine created.
Below is a picture of the model that I created in SolidWorks.
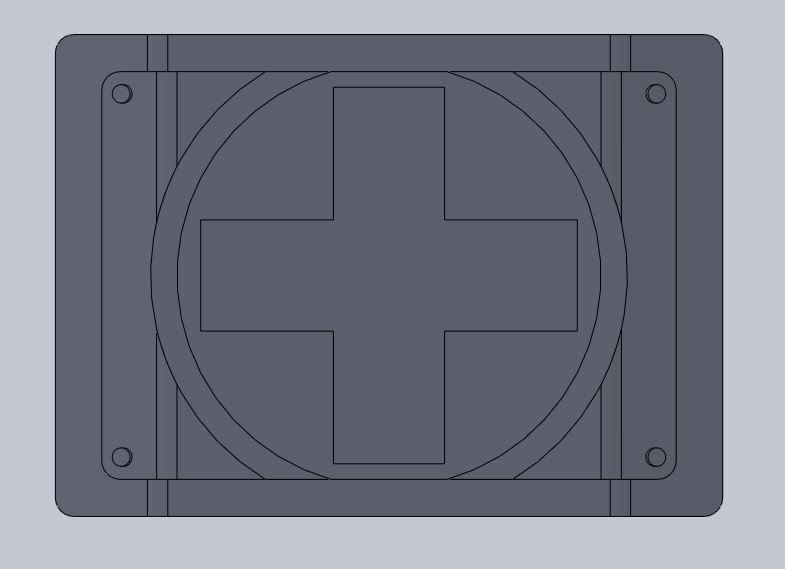
Once I had the model designed I then created a simple box in SolidWorks and used an Assemble type drawing which allowed me to to place the orginal model inside of the box. When I exported the model as a .stl file I was able to merge the two objects together creating one solid object.
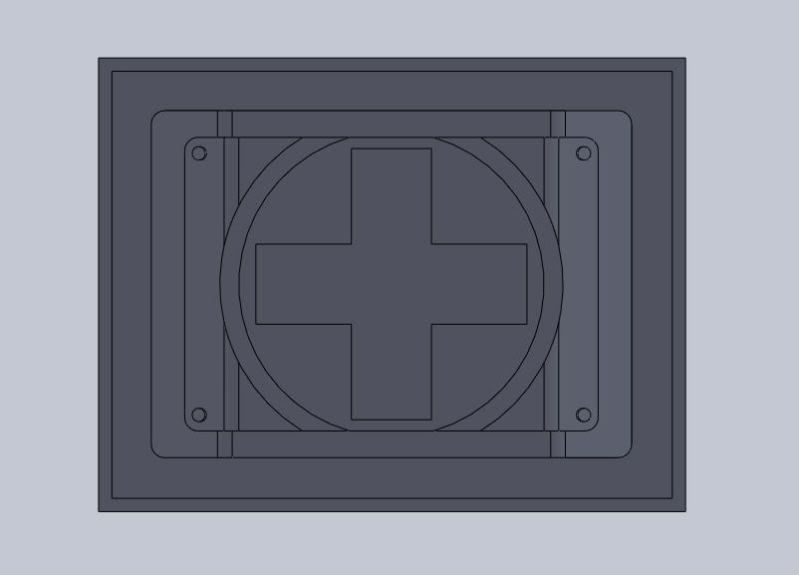
I then imported the model into the Modella programing and created a .png file which allowed for the milling process. As you can see in the picture below, there were some issues in getting the orginal model to mill correctly. It took me several attempts to get the milling process correc and in the same consistant place that was not to close to an edge. The total mill time was somewhere in the range of seven to eight hours between the roughing pass and one smoothing pass.
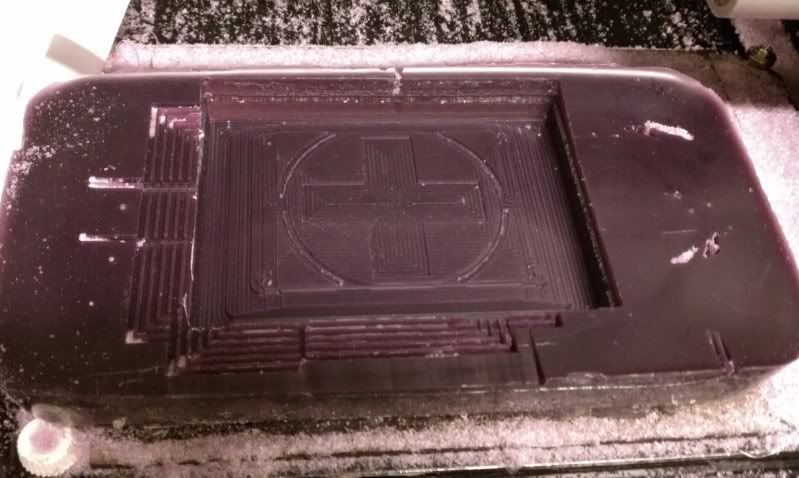
The next step was to cast Omoo 25 Silicone into the positive mould that was milled out. This will create a negitive mould which can then be used to produce more of the belt buckles.
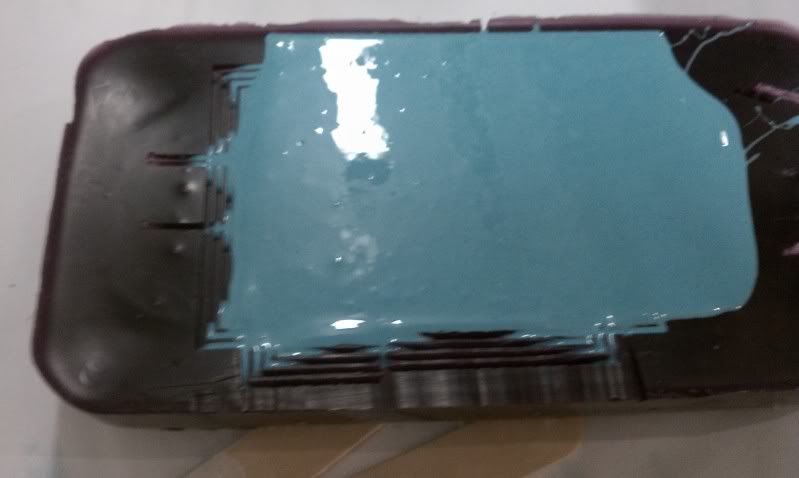
The Omoo took approximately an hour and a half to fully set so that the casting could be removed to reveal the negitive mould.
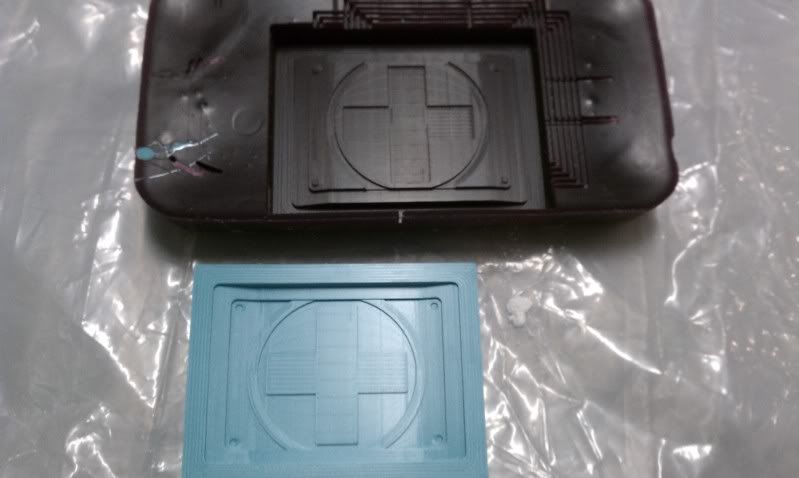
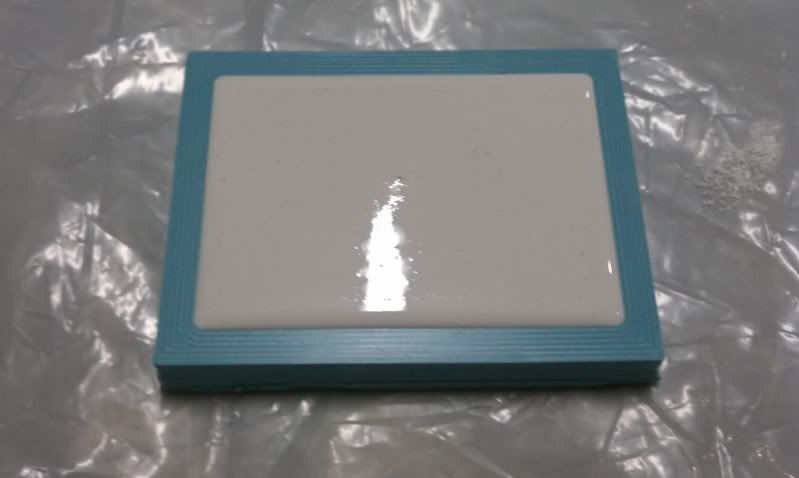
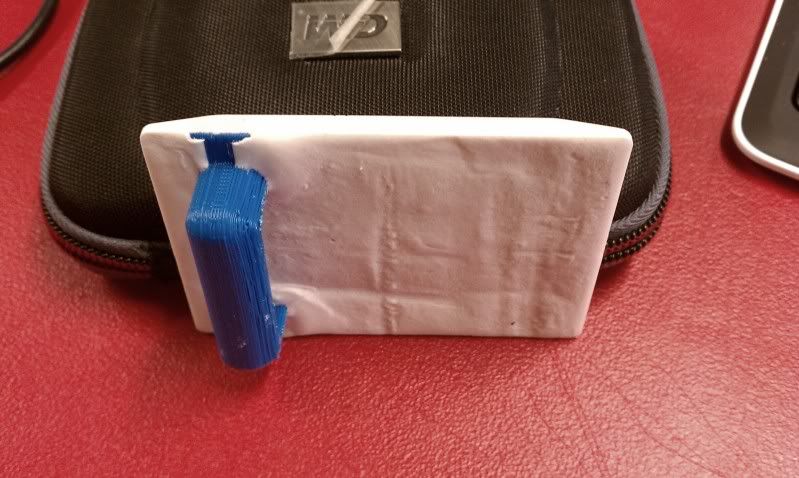
Now that I had the negitive mould I could cast in other materials to create more positive forms. I decided to use Hydrostone as the first material that I cast into the mould. Hydrostone is a form of plaster with a medium hardness. I created a loop in SolidWorks and printed it on the Thing-o-Matic 3D printer in the lab. I placed the loop into the plaster as it was drying to show how the buckle would work.
 Home
Home