Computer Aided Design
This is the first description of my project, mainly all the design us done in Solidworks, Ihave worked in Rhinoceros previously, and I recognize that it has great comands related to parametric design, but it is more difficult to obtain a clear idea of the assembly of the design. Assembly in Solidworks is better done as the simulation rendering and the calculation of effort or resistance and movement of materials and objects. My project proposal, has several mechanic considerations as I prefer to minimize mistakes with the aid of a computer.


My project has been for various designs, but as a friend told me maybe I am taking a detour not considering the main goal but the aspects of form and shape, That is the reason for me to show the work in progress and the evolution and implications of the design in terms of the joints.
Before we start designing we have to draw, for me it is important to define mechanisms and joints, watch:


One of the features of Solidworks is that it allows to create parts and then assemblies. We open solidworks and choose create part, to begin the design you must choose the work area, I always choose En mi caso "plan view", Because my design is symetrical, I must finish one side and then by mirror the next sketch is done.
For that purpose auxiliary lines are indicated to make the symetry. First respect the joint
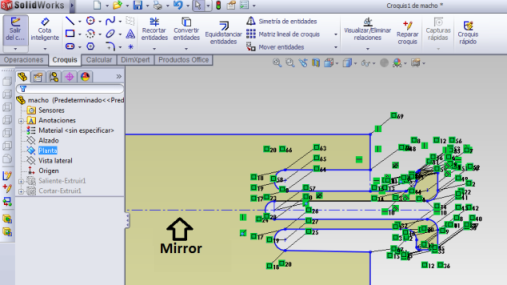
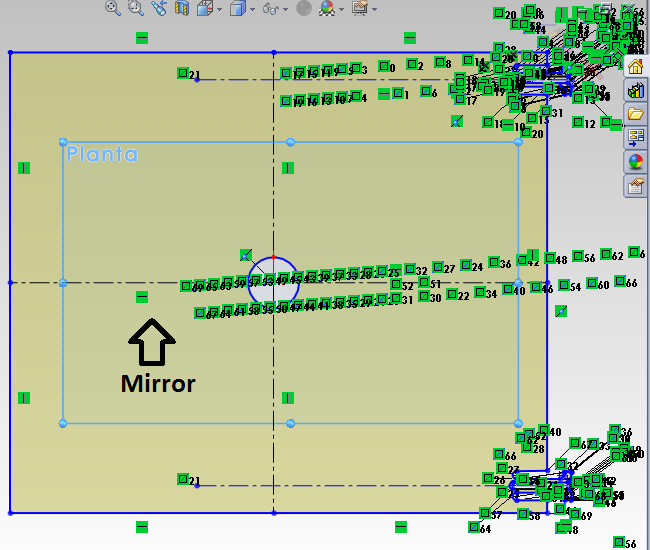
Then a line in the middle of the sketch generating symetry, then a 10mm circle is drawn acording to the coordinates axis
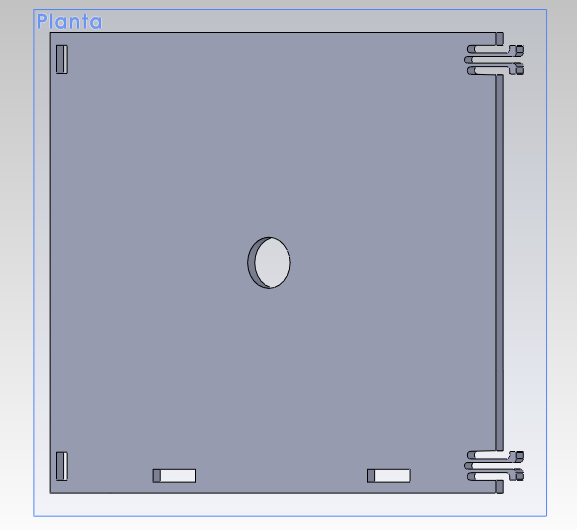
Next a 5mm extrusion is done because is the thickness of the material, ended this way
Same with all the others
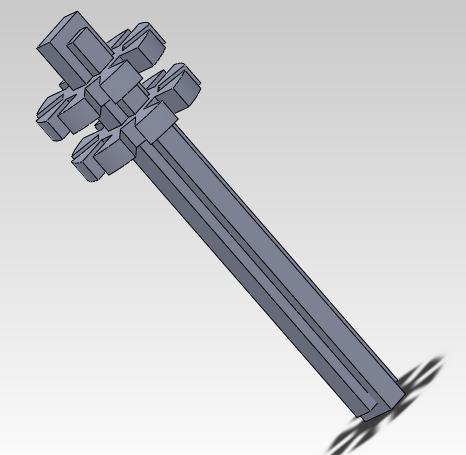
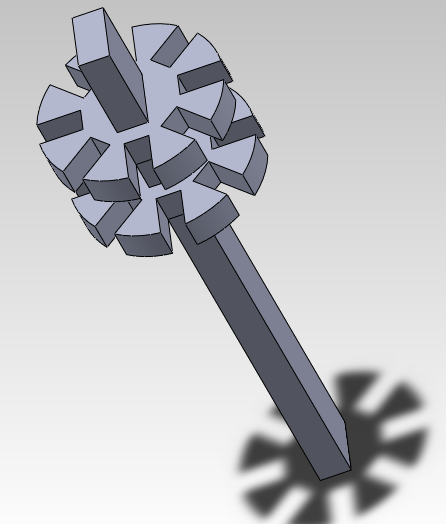
After finishing all the designs, we open a new file in solidworks and choose assembly, in the same option we choose the comand "Insert components", When all the components are inserted, we proceed to establish the "position relation" between the joints, the assembly is now complete
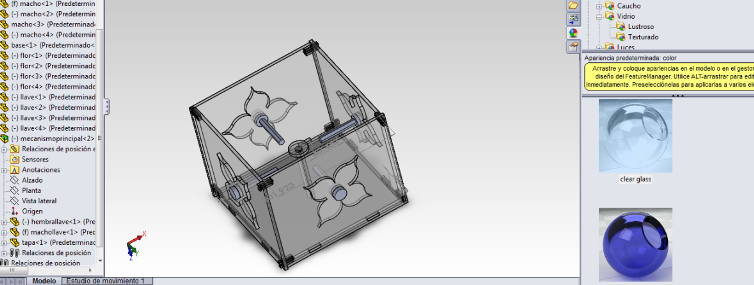
Another feature is that Solidworks cab add textures, in this case, I choose glass