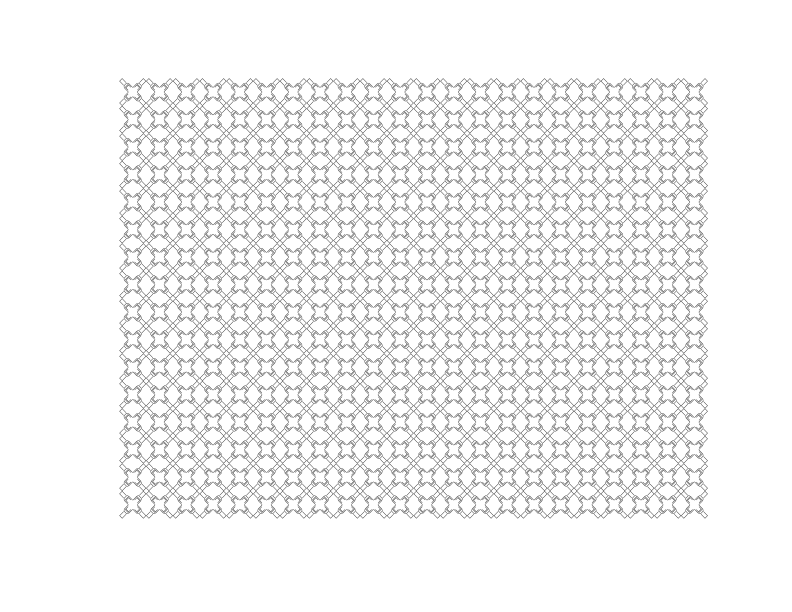
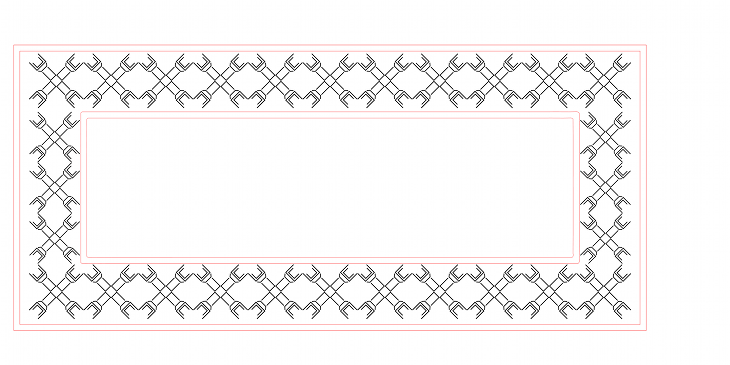
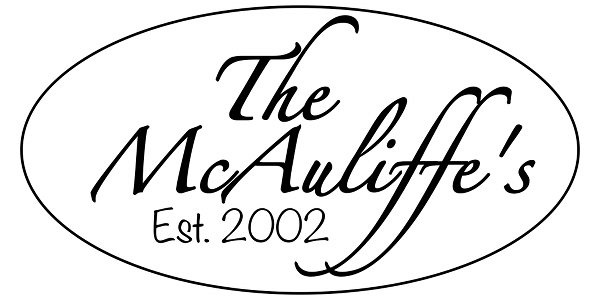
This weeks assignment was to design a file to cut on the ShopBot CNC router. I decide to make a frame for a copper sign that I made using a copper tooling technique. The sign is for a shop that my niece opened about a year ago. For the frame design I decided to use a graphic that she created and used on her business cards. I got a copy of the design from her as an .svg file.

I was then able to open the design in Inkscape and manipulate it to create a rope style border around the frame. When I actually cut the frame on the Shopbot I will recess the entire border 1/8" and then do relief cuts so that the rope design is raised 1/8".

I am planning to cut the frame from a solid piece of oak. Hopefully we will get access to the shopbot soon and everything will go nice and smooth.
We finally got time on the shopbot. Unfotunately we only have about an hour to run our file. My original idea had way to much detail to fit into that time frame so I threw together a quick design in Inkscape.

I then opened the file in Part works to check it and be sure it would cut ok. The simulation showed a few areas that the bit wouldn't get into. I made a few adjustments to the file and was ready to go. I cut the design out of MDF with a 1/4" end mill. The design cut pretty well but there were a few blowouts due to the line width of the font I chose. There was also quite a bit of fuzz left on the board. I cleaned up the fuzz with some fine grit sandpaper and repaired the blowouts with a mix of sawdust (from the MDF) and wood glue. After sanding out my repairs I painted the whole thing with oil based primer. Then I spray painted the whole thing matte black. To finish it off I hand painted all of the lettering with gold model paint. The finished product is pretty sweet.