3D Scanning and Printing
1st- Scanning
To scan I did use the "Modela" plugged to a computer on which is running the software called "DR Picza"
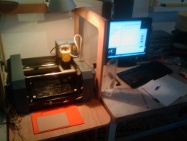
When the DR Picza is running, you have to set the scanning...
A windows is opening it self and you have to set the x, y and Z value.
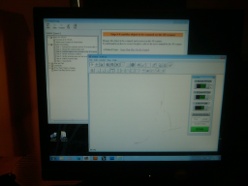
setting regarding the scanning area:
x:15
y:35
than I add to the
X value: 15 so the scan will occur between the 15 and 30 value in mm
y value: 31 so the scan will occur between the 31 and 66 value in mm
xscanpitch is 0.50 mm
yscan pitch is 0.50 mm
Z bottom is 10mm
according the Dr Picza software my scan will take around 27 minutes
I did use the same value for the second face of the grape's scan
The previous scans were with a definition which could pe increase adn I
decided to do it as I had severals hours available to use the scan for myself.
raisin HD:
First face:
setting regarding the scanning area:
value for the first corner of the square
x:19
y:32.6
Make scan I did add on X and Y on the first value (not correct to change)
x: + 16.9
y:+ 31
xscanpitch is 0.10 mm
yscan pitch is 0.10 mm
Z bottom is 4mm
I get the message:
Memory will be to low for scanning with this setting.
Resize the scanning area smaller or make the scanning pitch larger
xscanpitch is 0.20 mm
yscan pitch is 0.20 mm
Z bottom is 4mm
This time I have no message regarding any lack of memory to do the job.
So, the Z value is matching bottom value as indicating in the Machine
It took my around 1 hour to scan the raisin with this high definition
second face:
raisin HD
setting regarding the scanning area:
value for the first corner of the square
x:18http://www.instructables.com/id/Using-Meshlab-to-Clean-and-Assemble-Laser-Scan-Dat/step7/Exporting-The-Mesh/
y:32.6
Make a caluclation for 1s and second setting
than I add to the
X value:
y value:
x is 17.5
y is 31
z: 4mm
I did find out why on my first scan for the second face did not scan
the all other face of the raisin, it it because we we turn the raisin...
It was not return correctly which did cause the problem ....
so, be careful when we turn the face of the object to get the second face.
The best is to restart the area testing to be sure the scan will be done on the all object.
copy of the second face, is done with the same setting
is indicating that:
Extracting mesh data from Dr Picza:
Open your .PIX scan file in Dr Picza
Choose FILE > EXPORT > STL
Use the BINARY file format, and choose an appropriate filename.
I extracted 2 files, called:
face1.stl and face2.stl
On my laptop is running under Ubuntu and I can use Meshlab and Freecad as 3D software
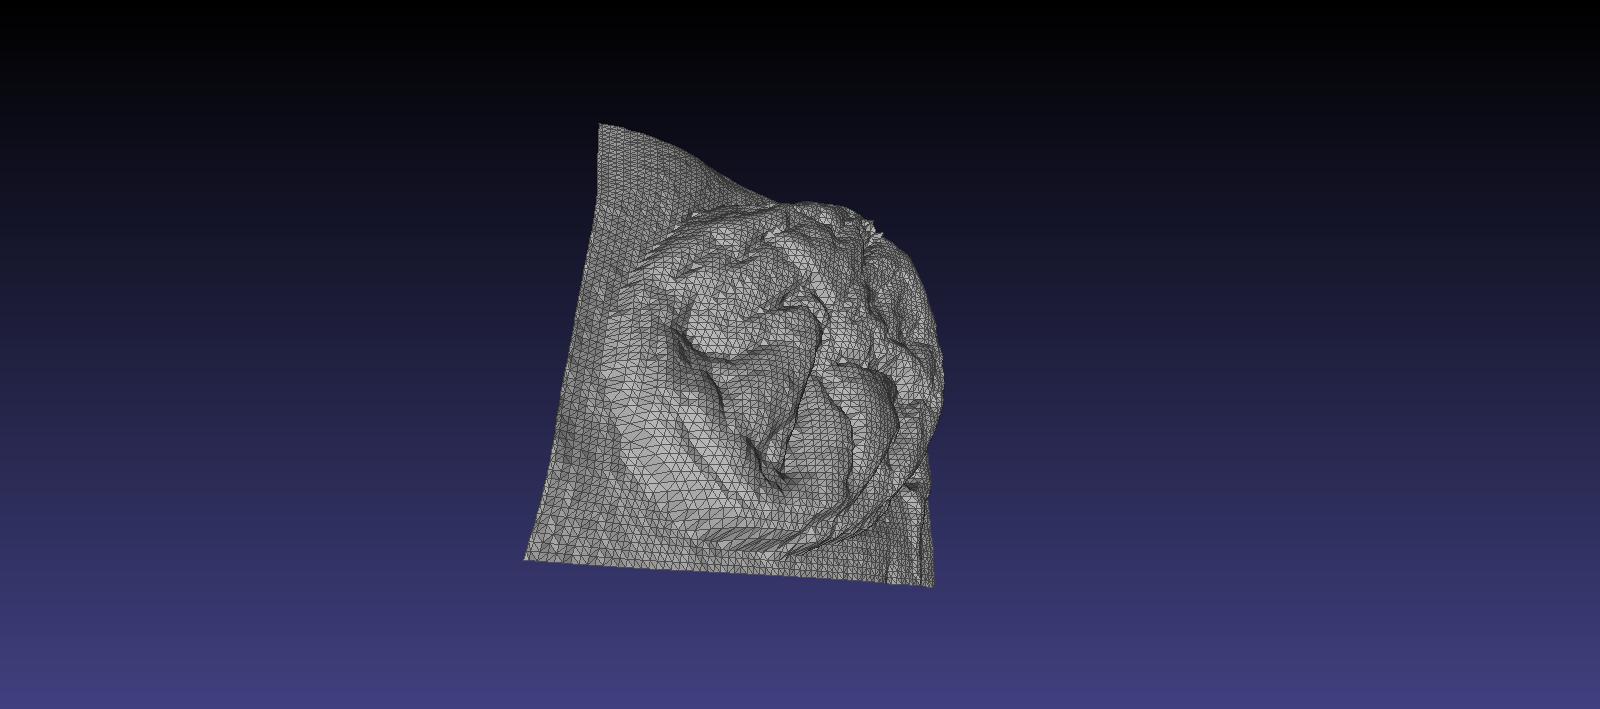
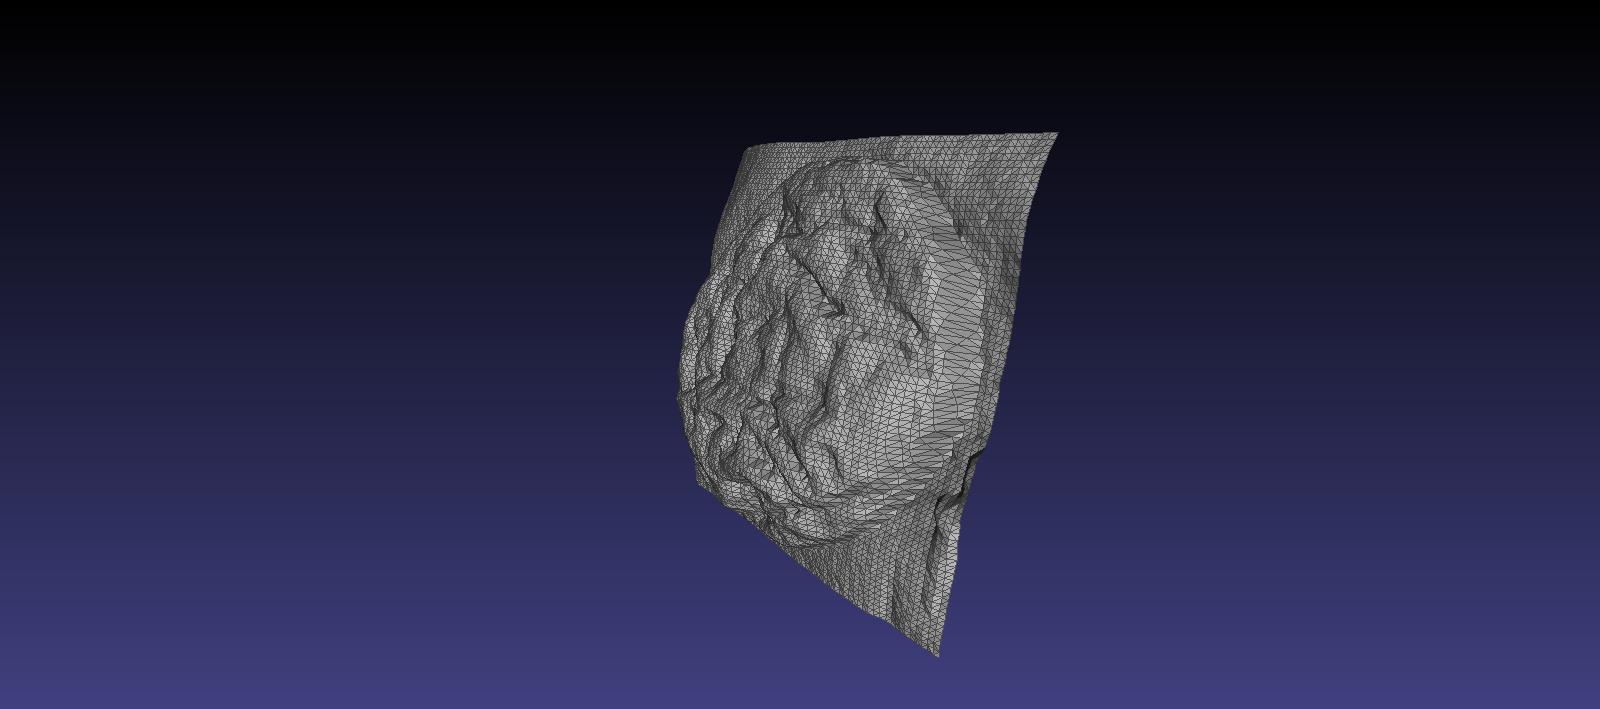
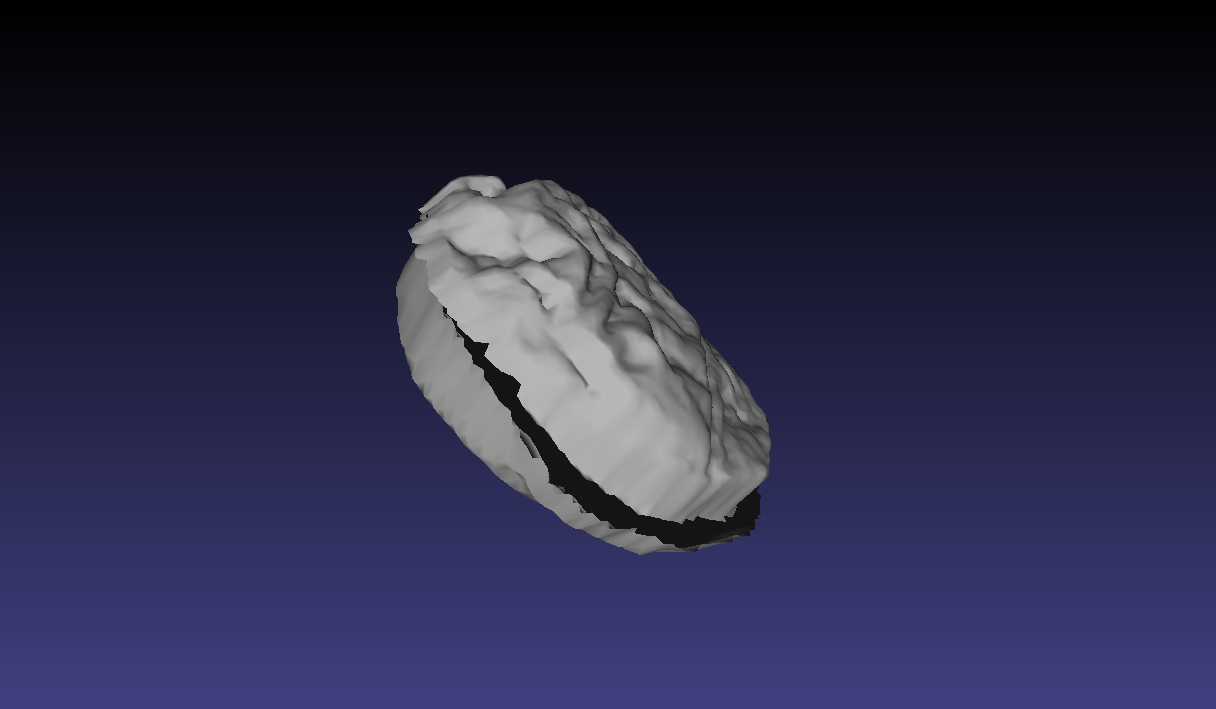
This is what can I see on my screen with Meslab on the first and the second face of my raisin:
2nd - preparing my pictures to merge them and to be able to use them to print my raisin
How to use this tool? I make some research on the web and after a moment ( severals hours) I found this web page:
http://www.instructables.com/id/Using-Meshlab-to-Clean-and-Assemble-Laser-Scan-Dat/
now, by following the the advise of this site, I will manage to merge and doing a mesh smoothing and reconstruction.
result:
I do have 2 pictures I did get from my scan and I use layer to get tem on the same page:
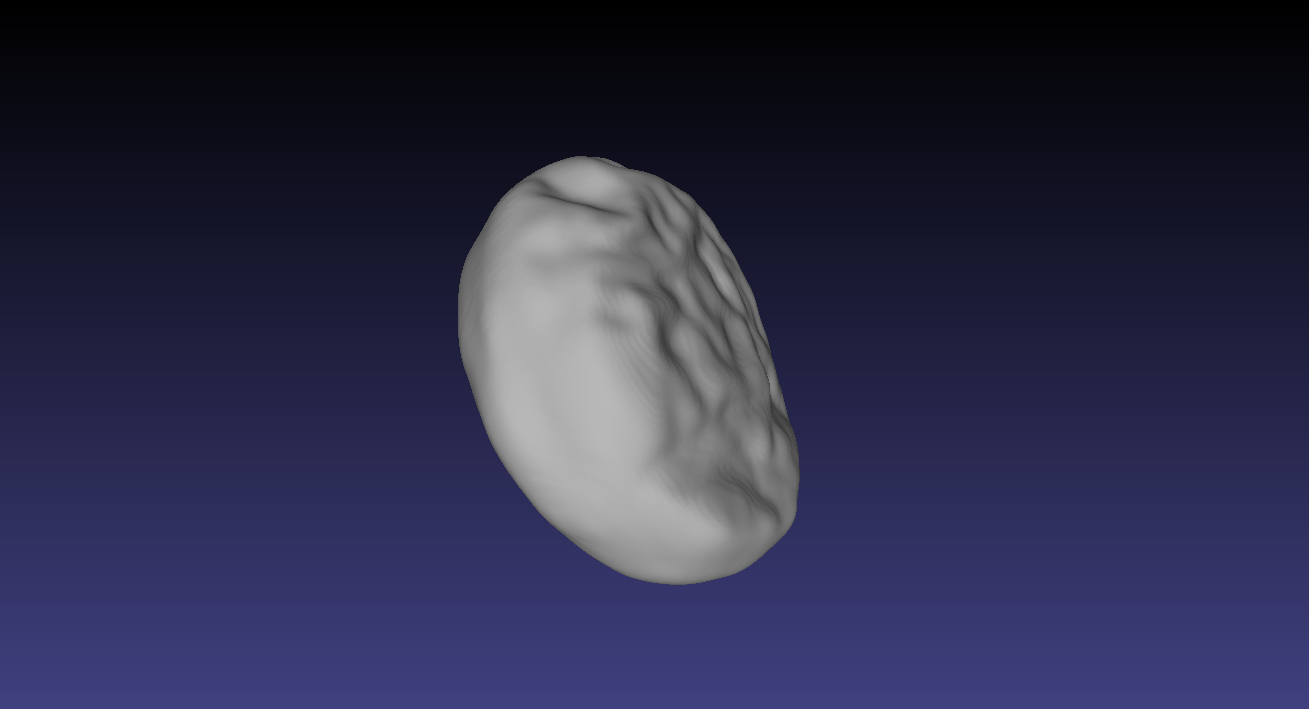
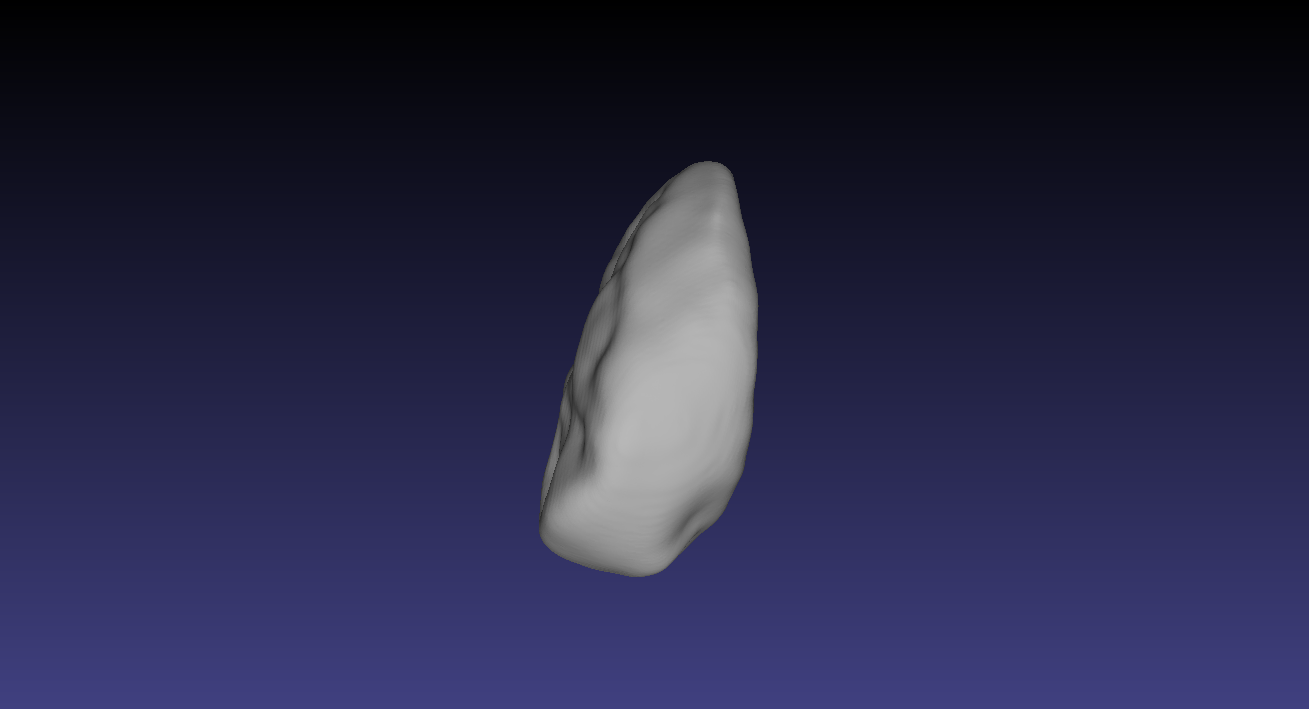
after all the steps, as indicated on the web site link above, I manage to get this smooth pciture:
3rd - printing
I will use the Ultimaker used in the fablab of amsterdam: http://fablab.waag.org/machine/3d-printer


