Week 15 - Networking
30 April 2012
Ultimaker: We are continuing to work on the Ultimaker Clone build and this will also count as our networking assignment. There are no interesting updates
to mention about the clone build at this time, and I will be adding all Ultimaker updates to week 14 anyway.
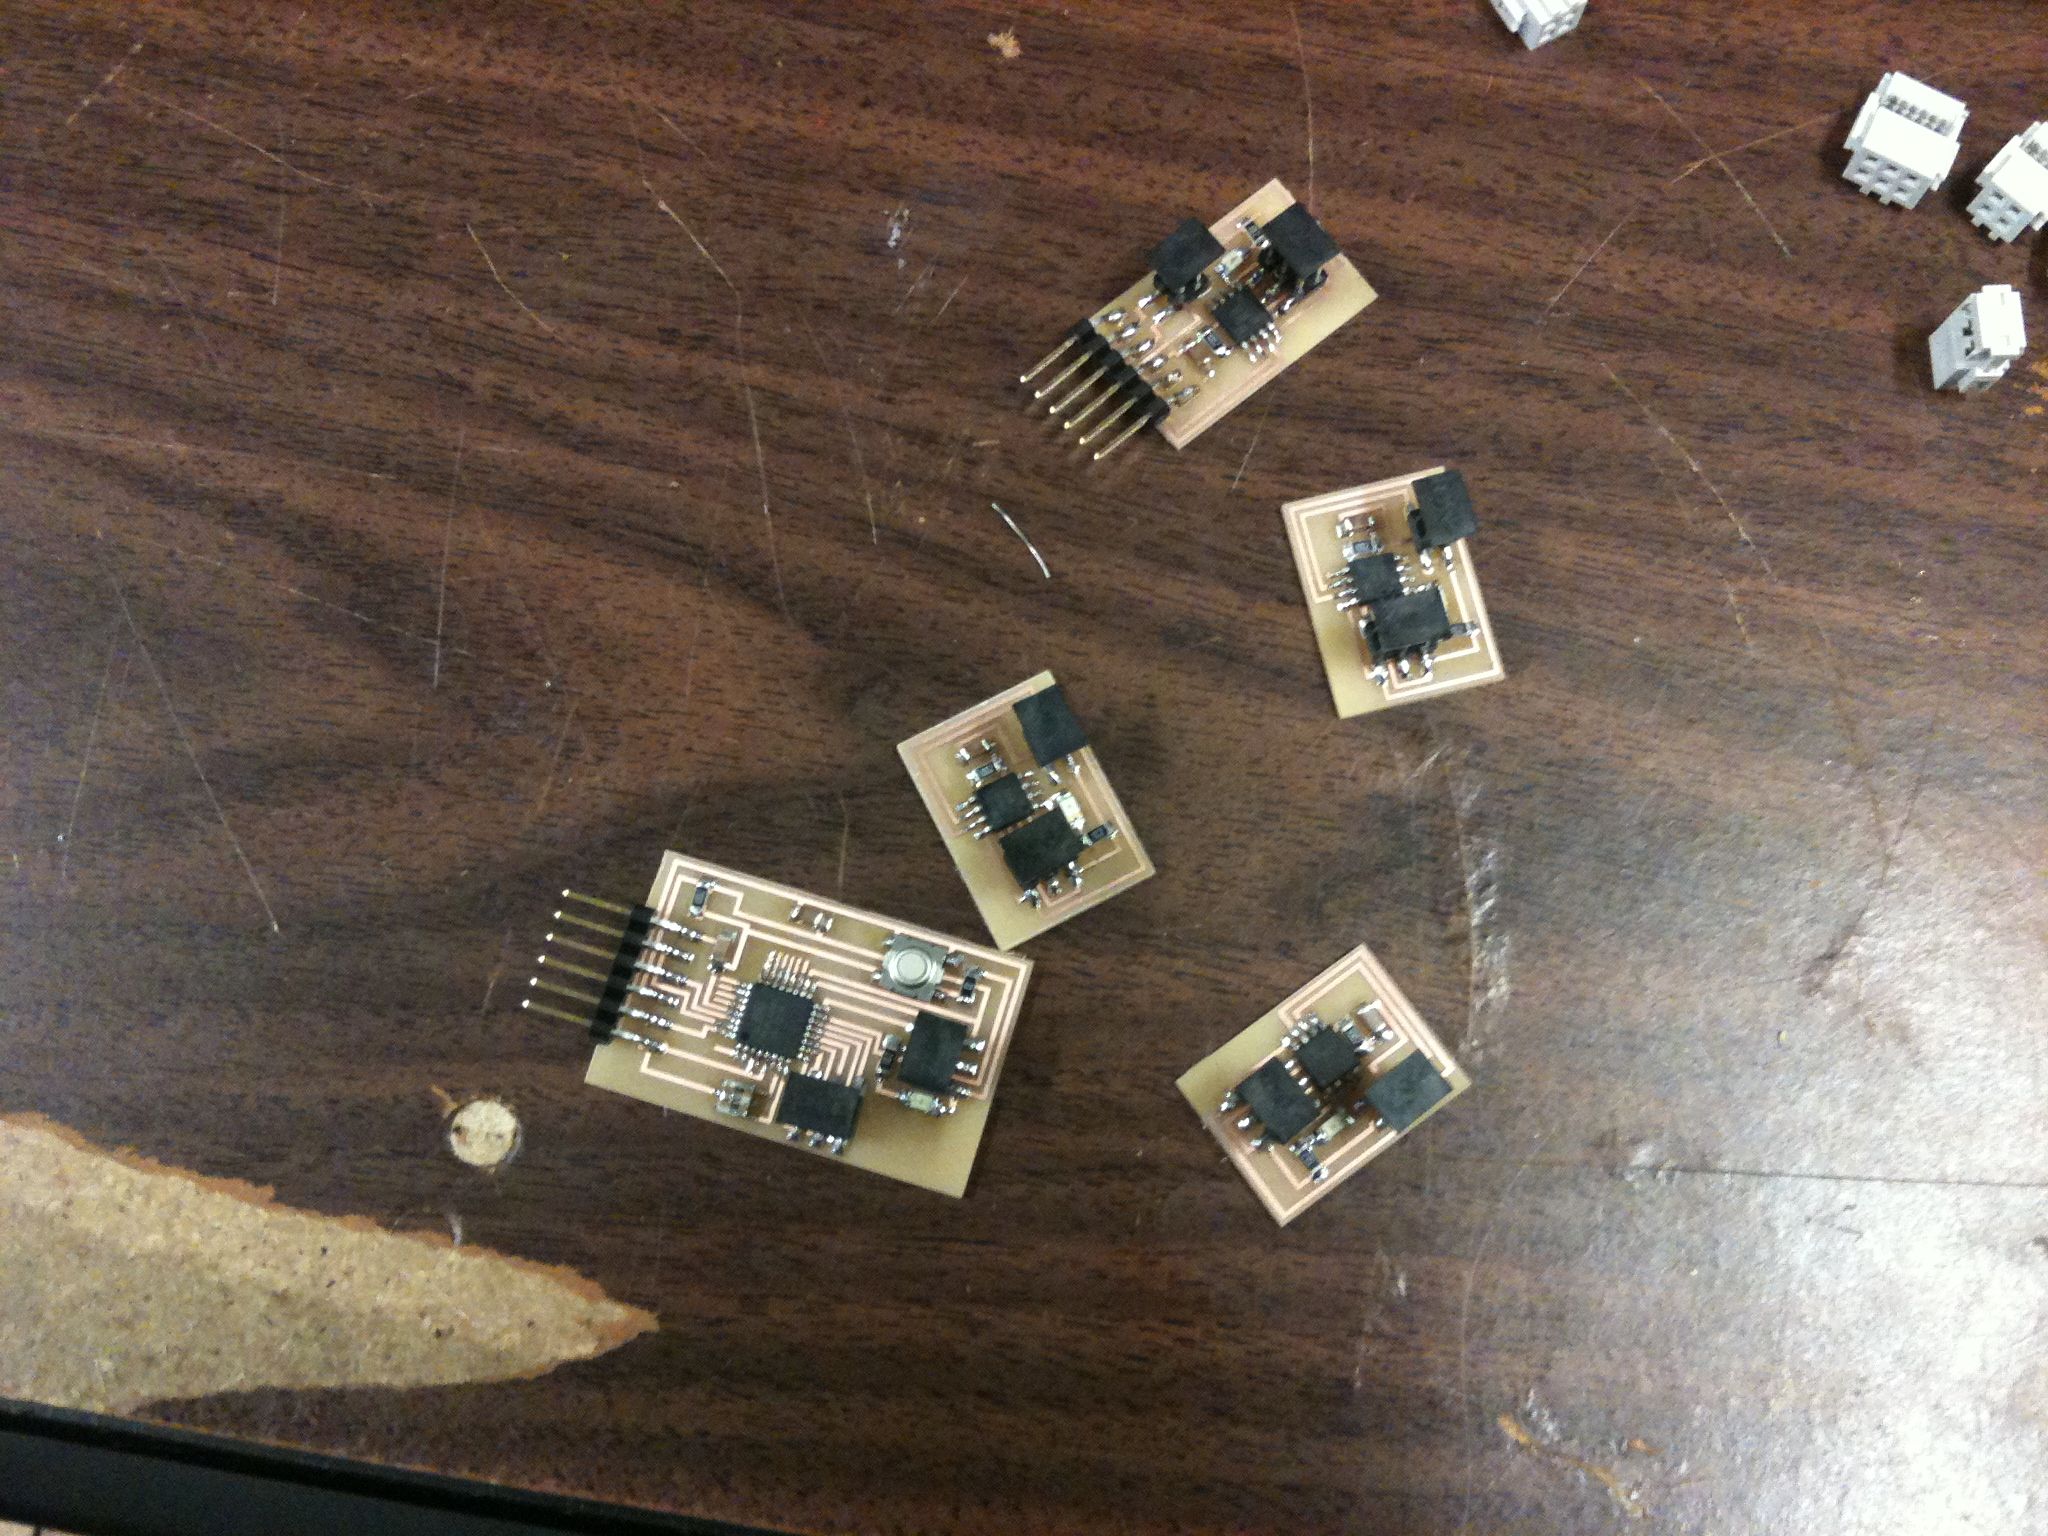
Bus/Nodes Project: Anna has put up a tutorial on the AS220 website for a series of fab-able boards which can be networked using FTDI cables. I have decided to
go through this project, but thus far have only made it as far as building all of the boards. I do not have internet at home and so before I
left AS220, I took all the boards with me and downloaded what I thought was all the necessary material for running the tutorial. However it
appears I missed something because there was a section of code which I missed. Consequently I was not able to test my boards and will have to wait
until I get back to AS220 whereupon I will download and run the code for networking.
28 May 2012 13:25pm
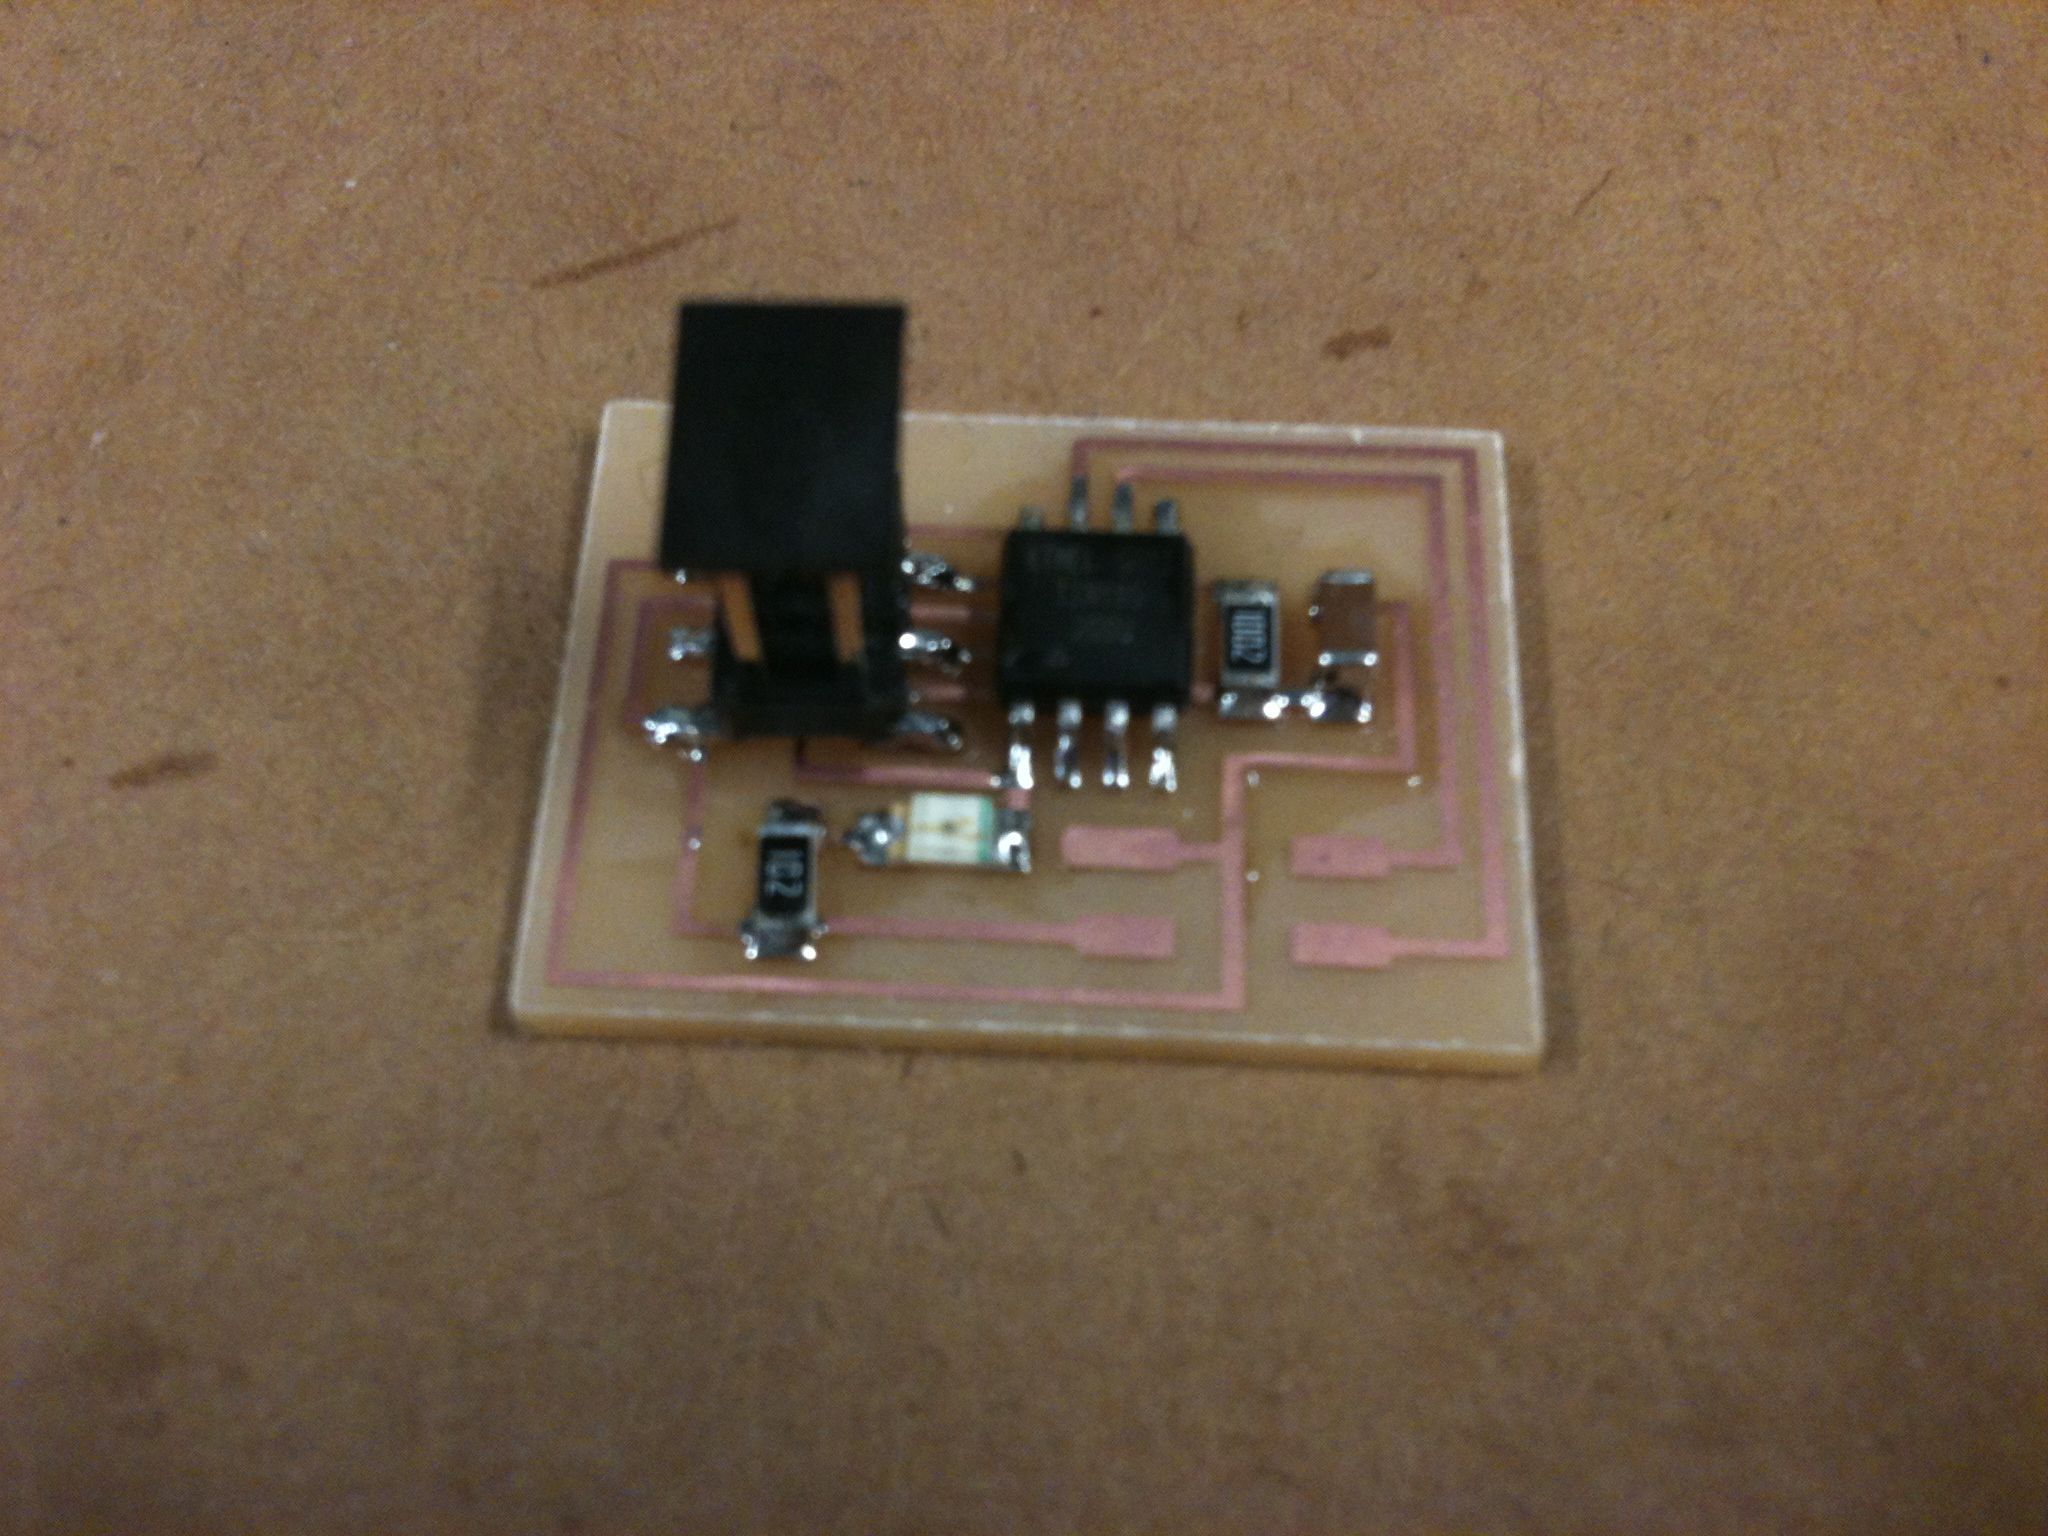
Bus/Nodes Project: When I assembled and stuffed my node and bus boards the first time, my TINY85 chips were soldered on upside down
and so everything was burned out when I plugged it in. Initially I tried desoldering the chips and LEDs in hopes of salvaging the remainder of the board.
I tried both the "bake it in a toaster oven" and "heat it with a heat gun" methods, but the results were a toasted board in the first instance
and all of my components bouncing off the board in the second instance. The most satisfying part of this process was throwing the golden-brown
toasted board on the ground and stomping it into dust. Until today, I have not had any opportunities to build new nodes.
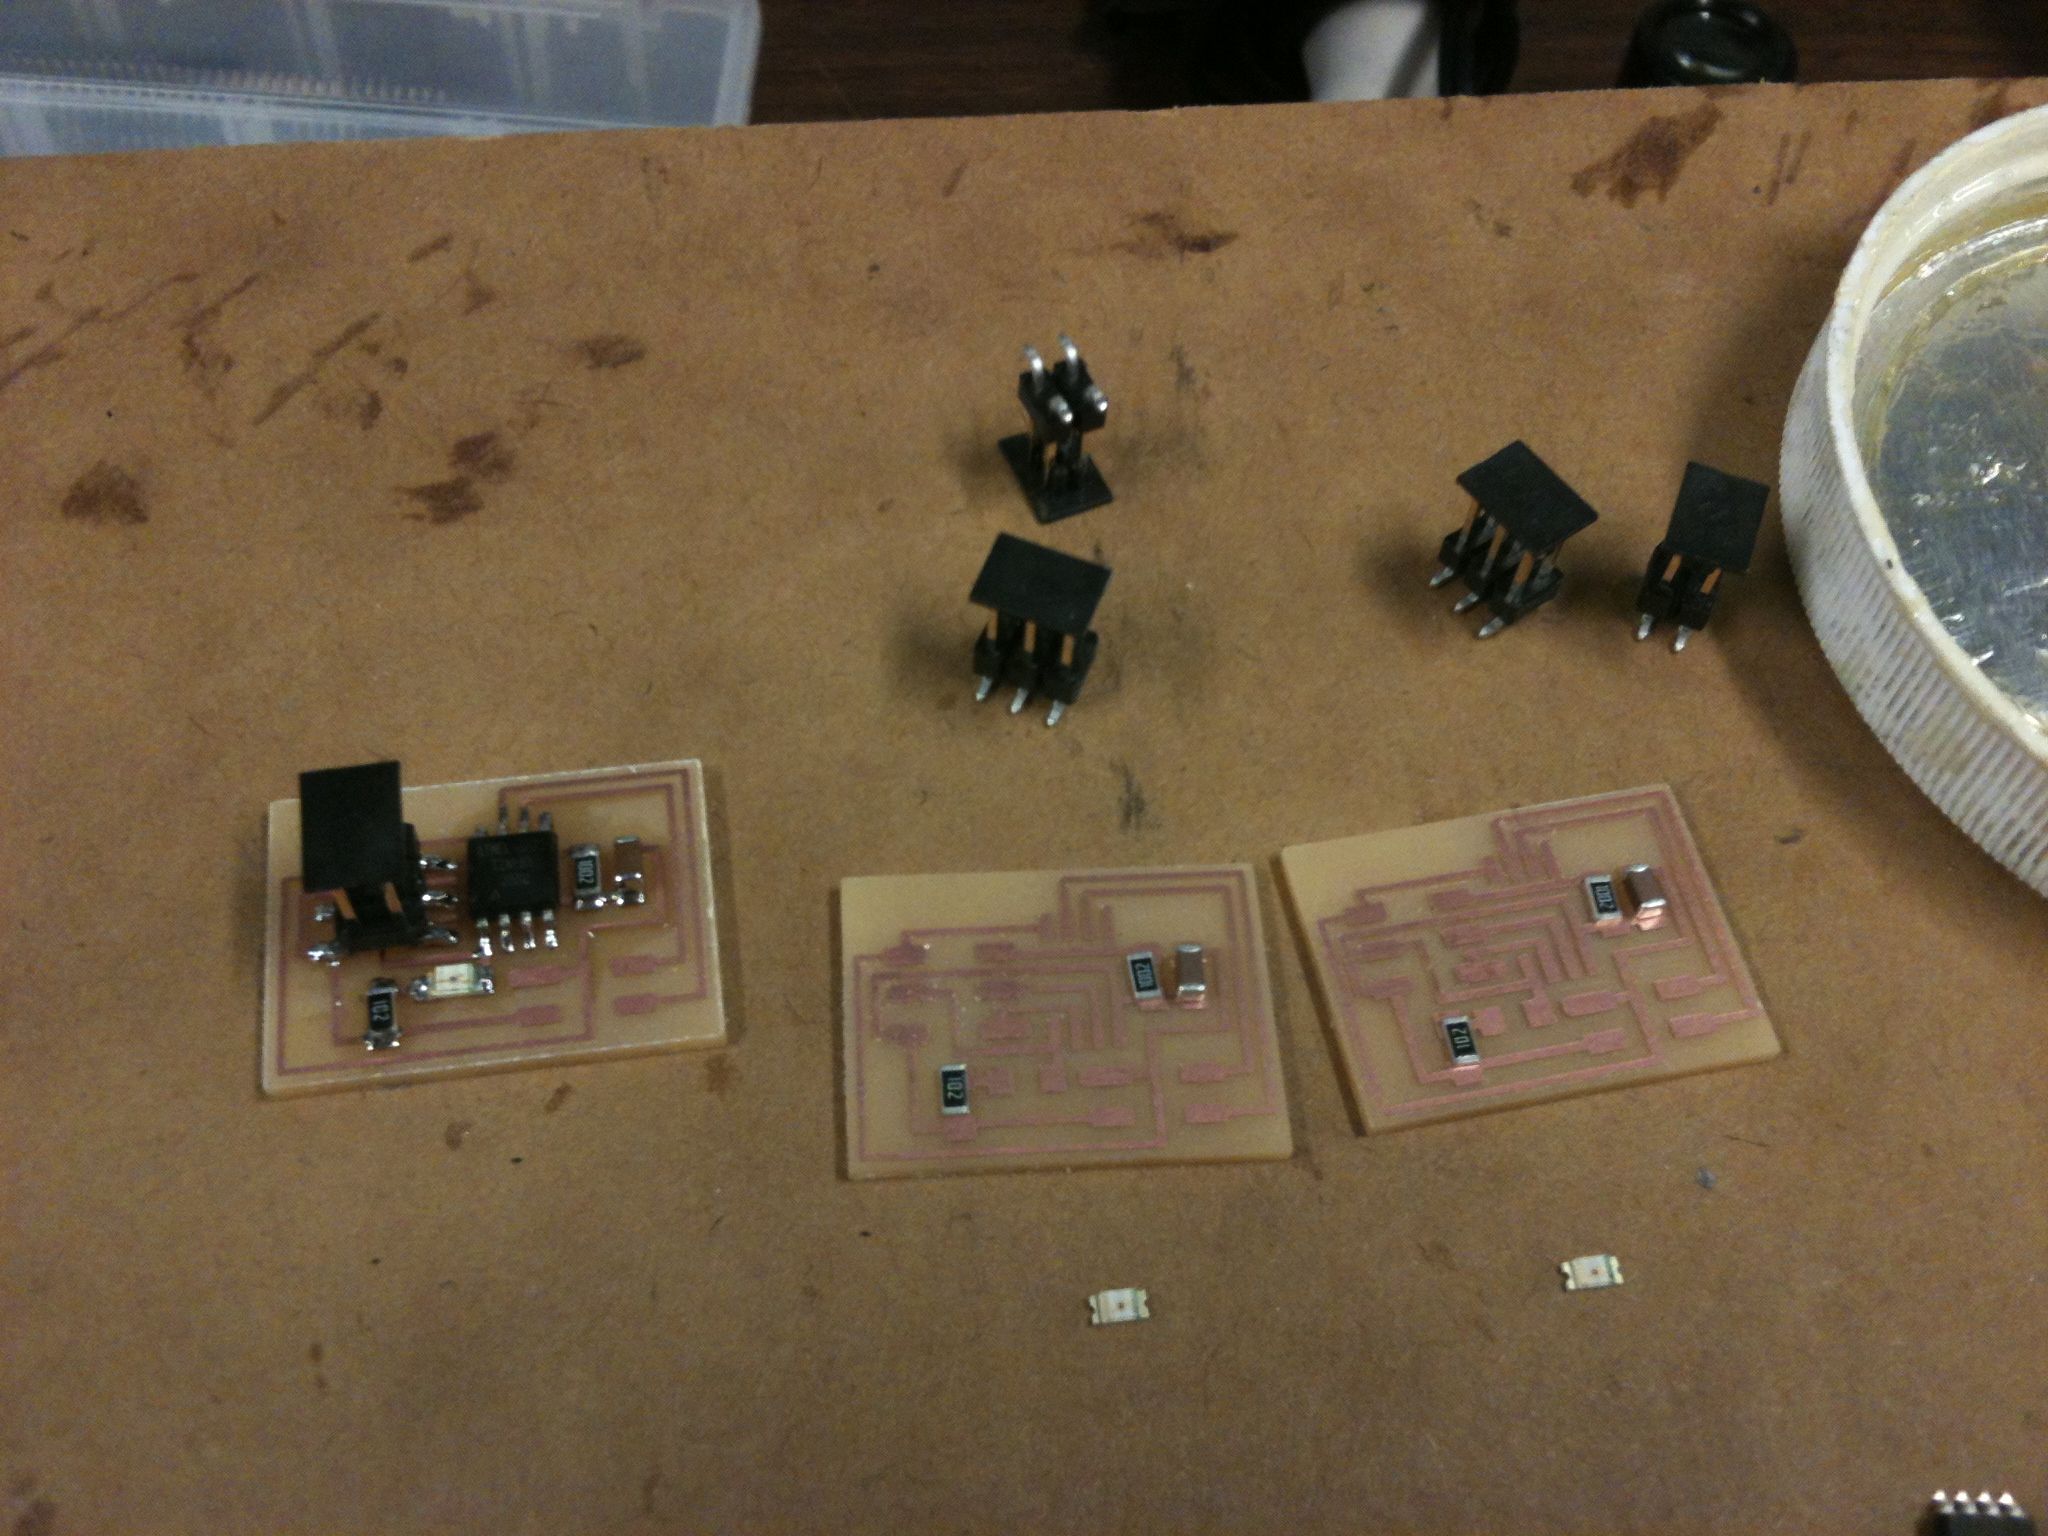
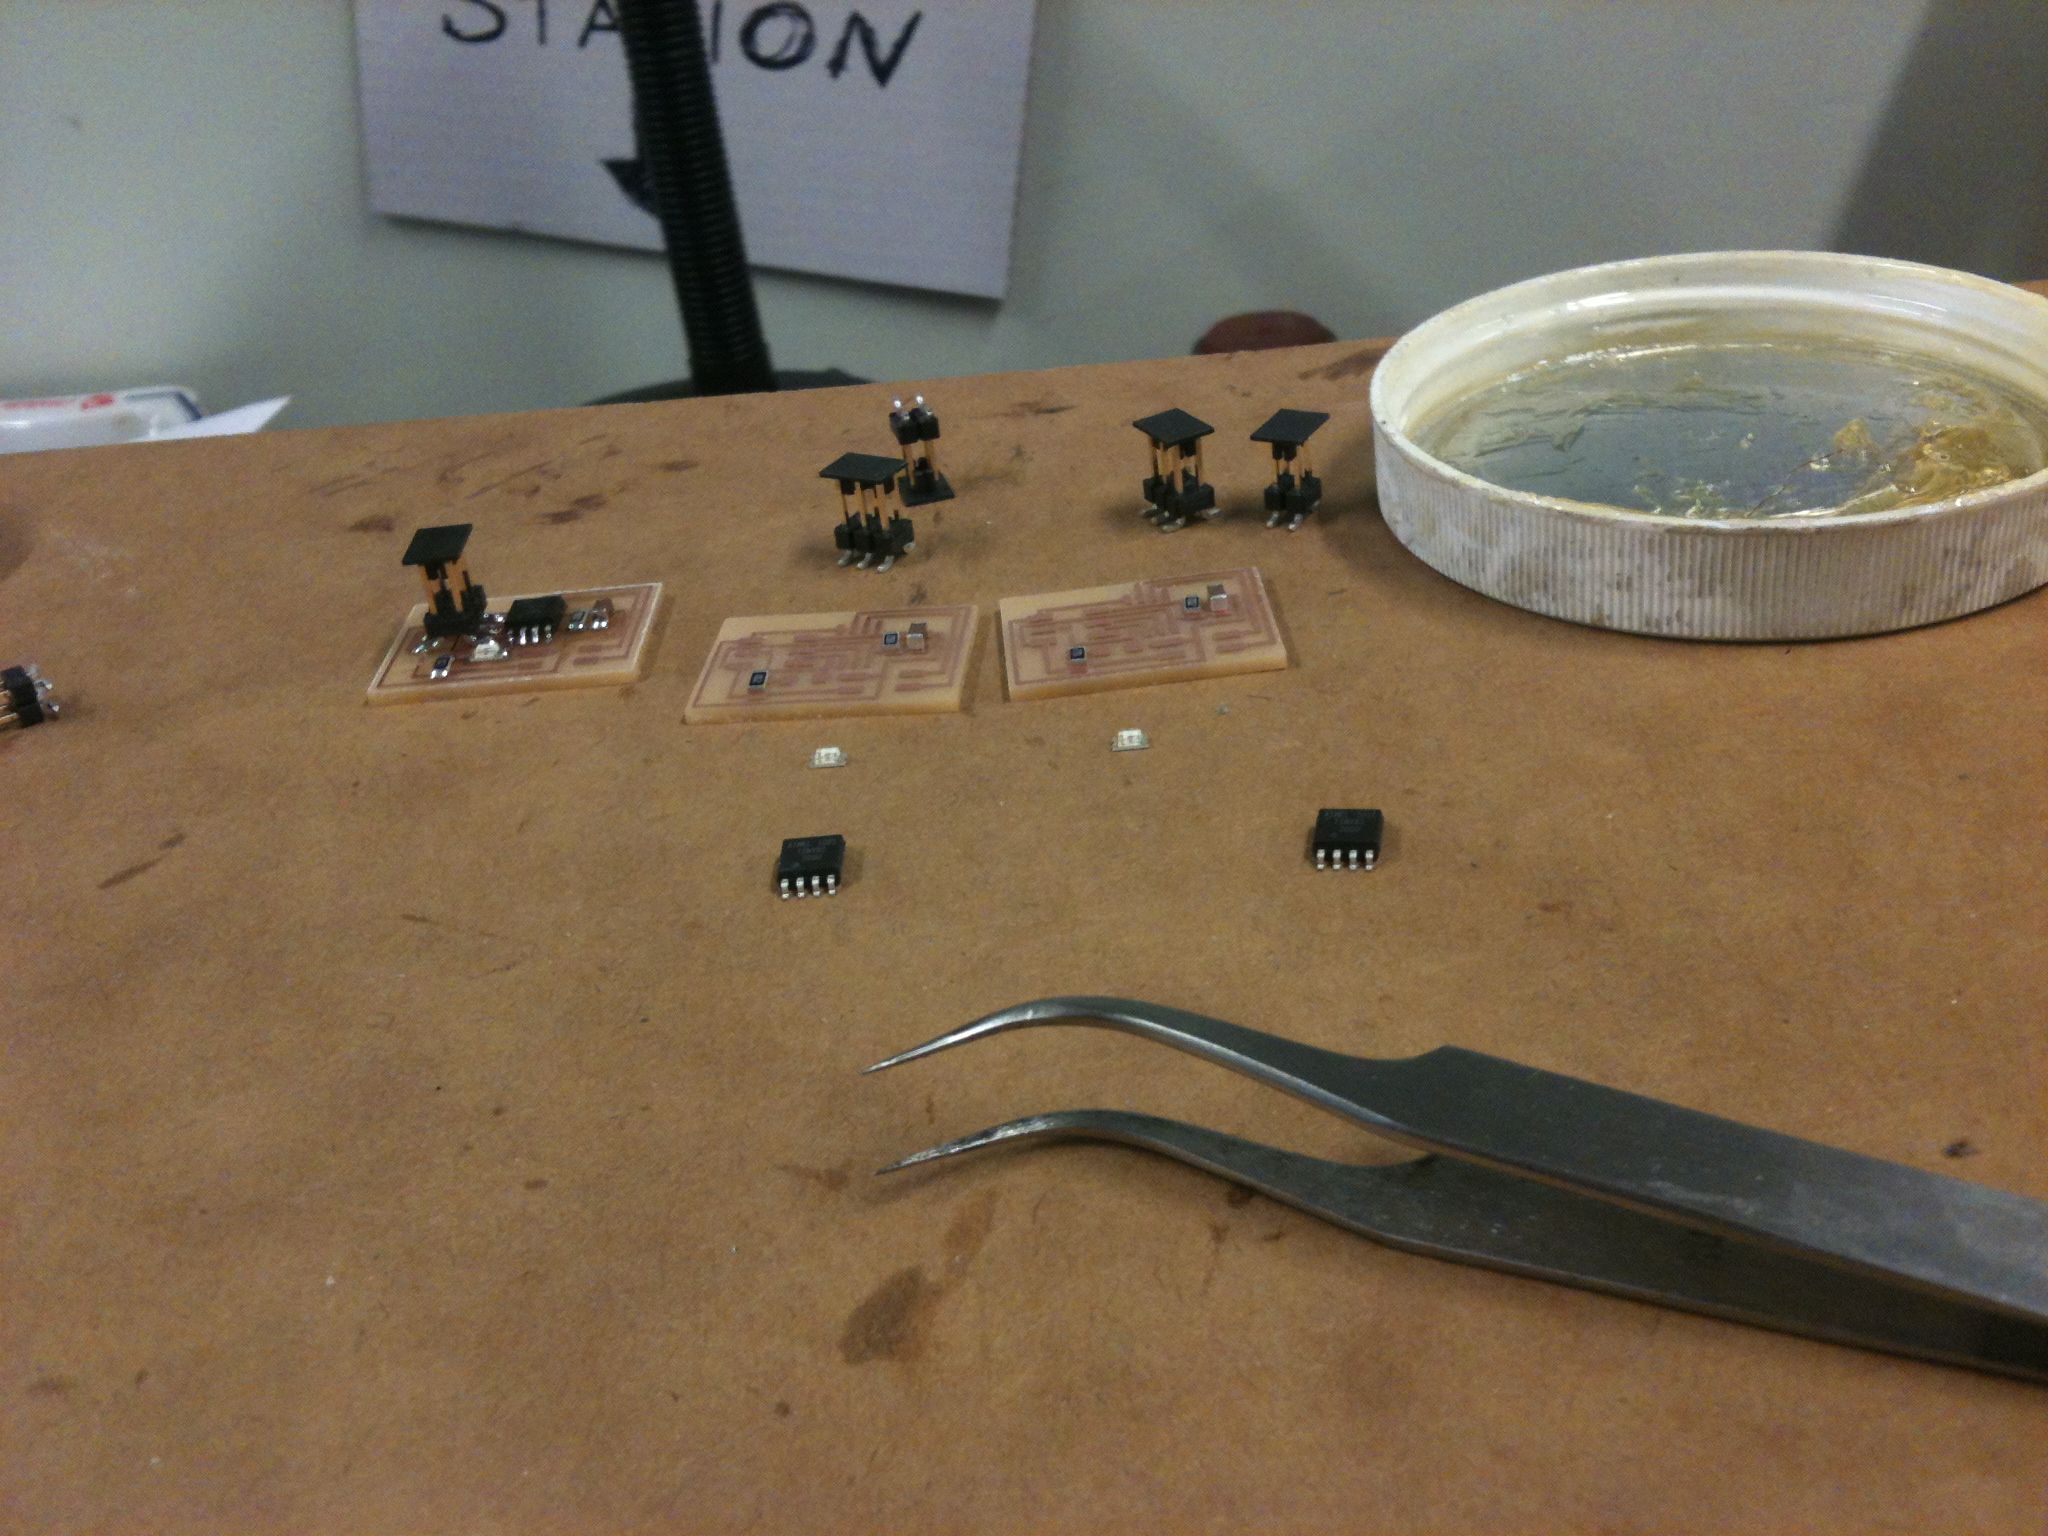
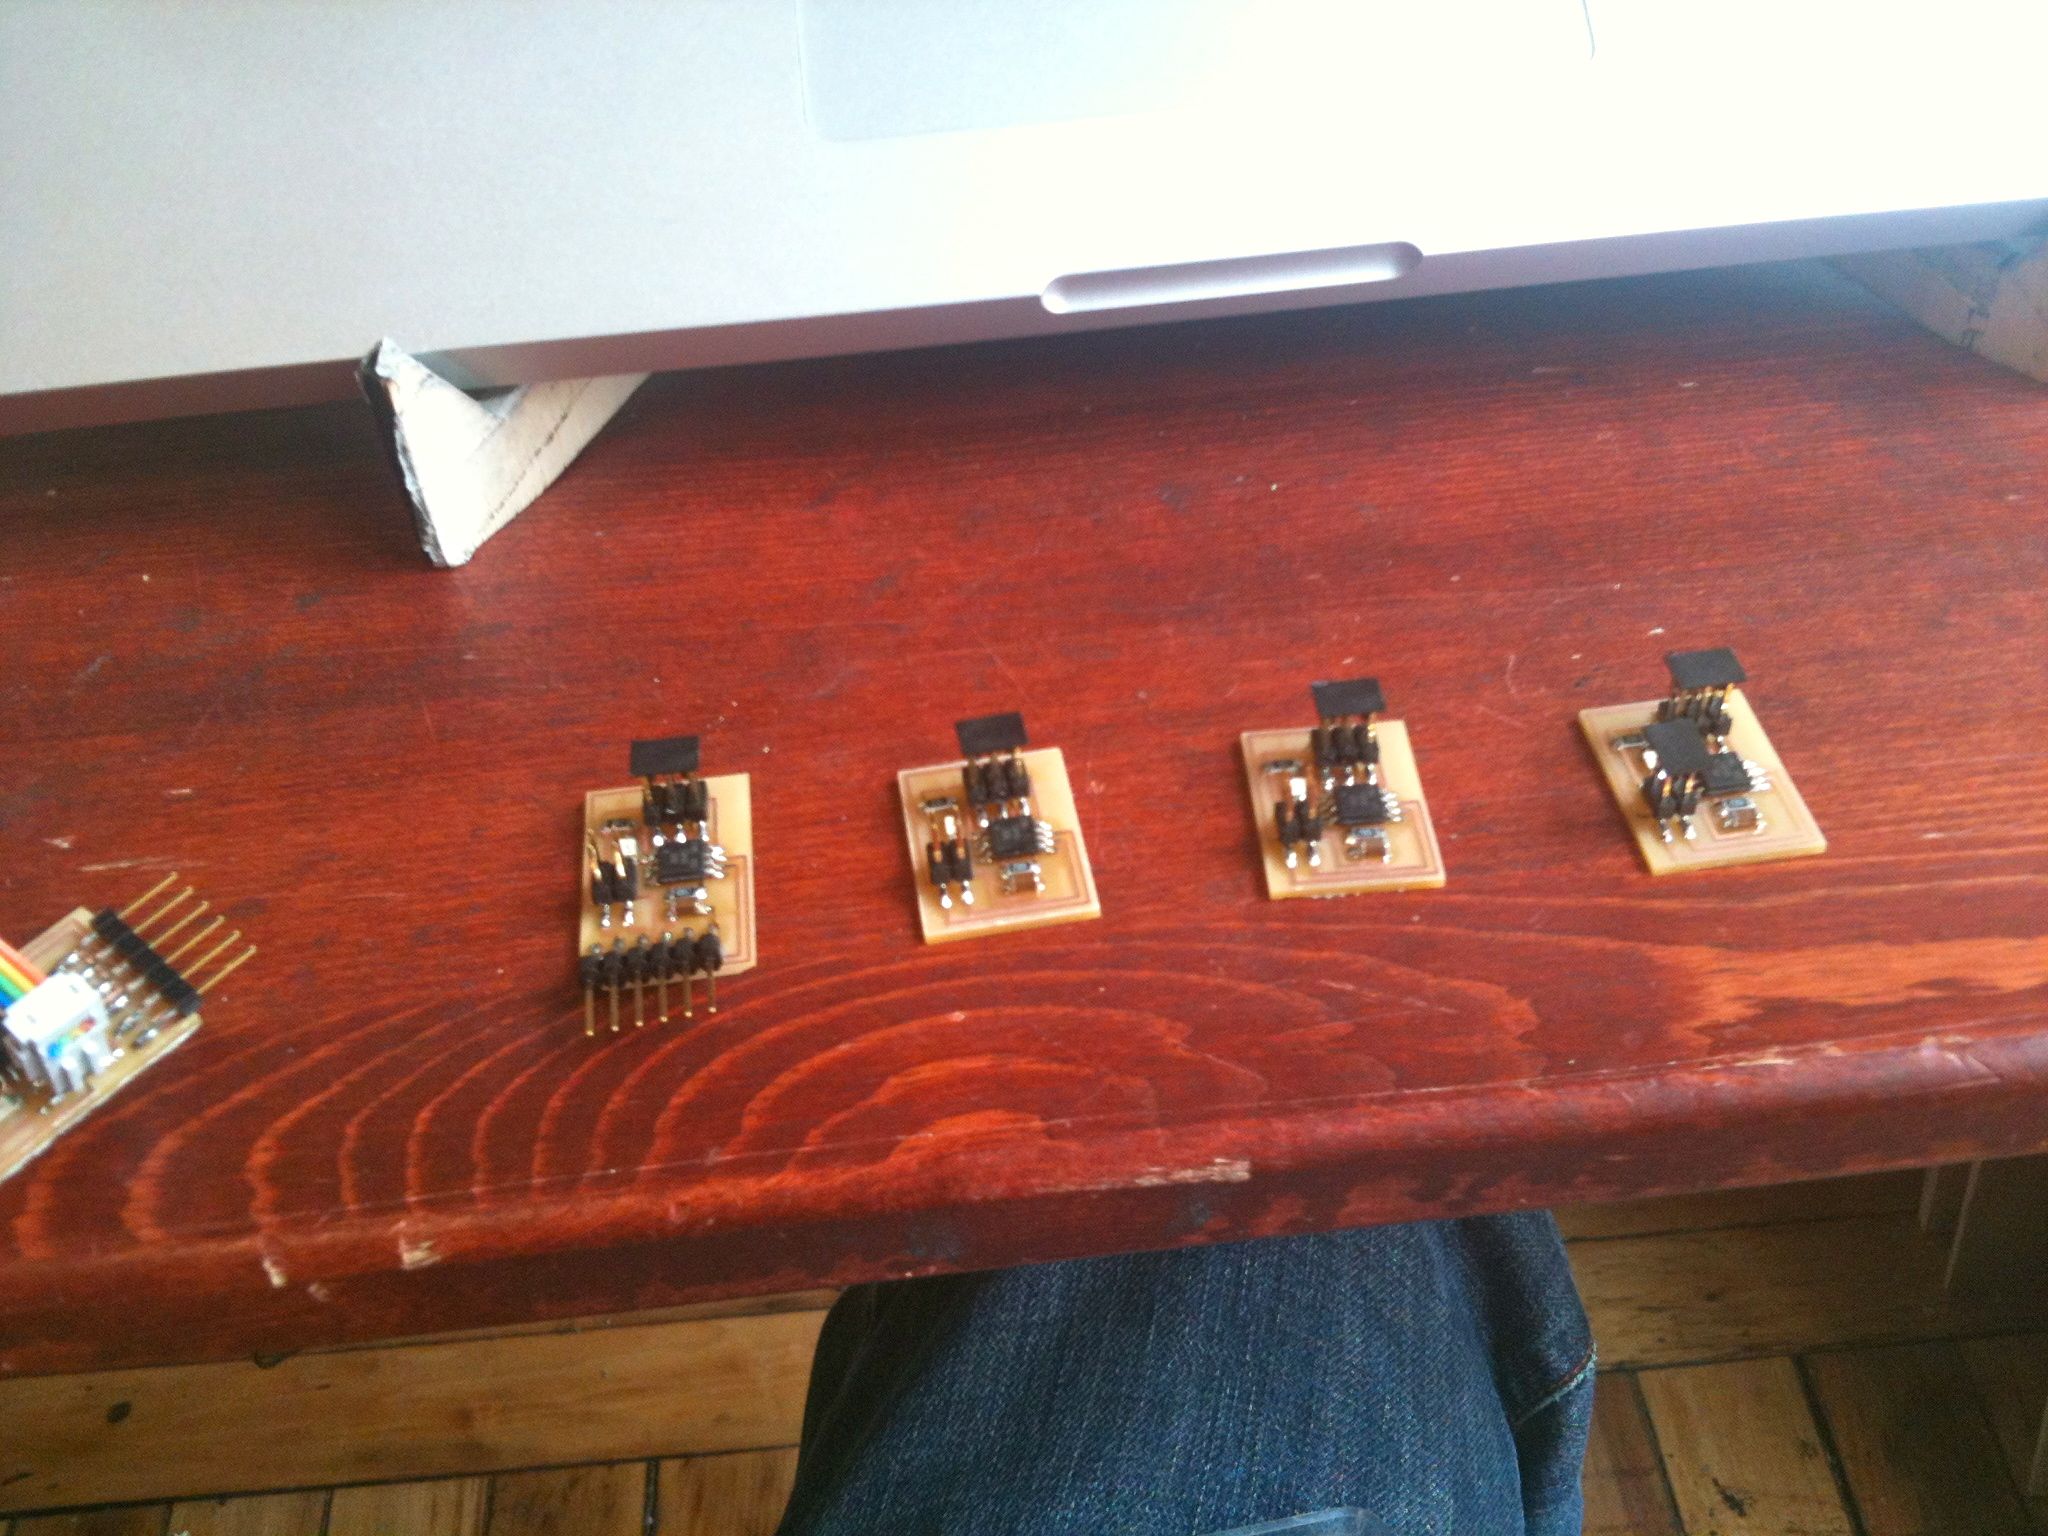
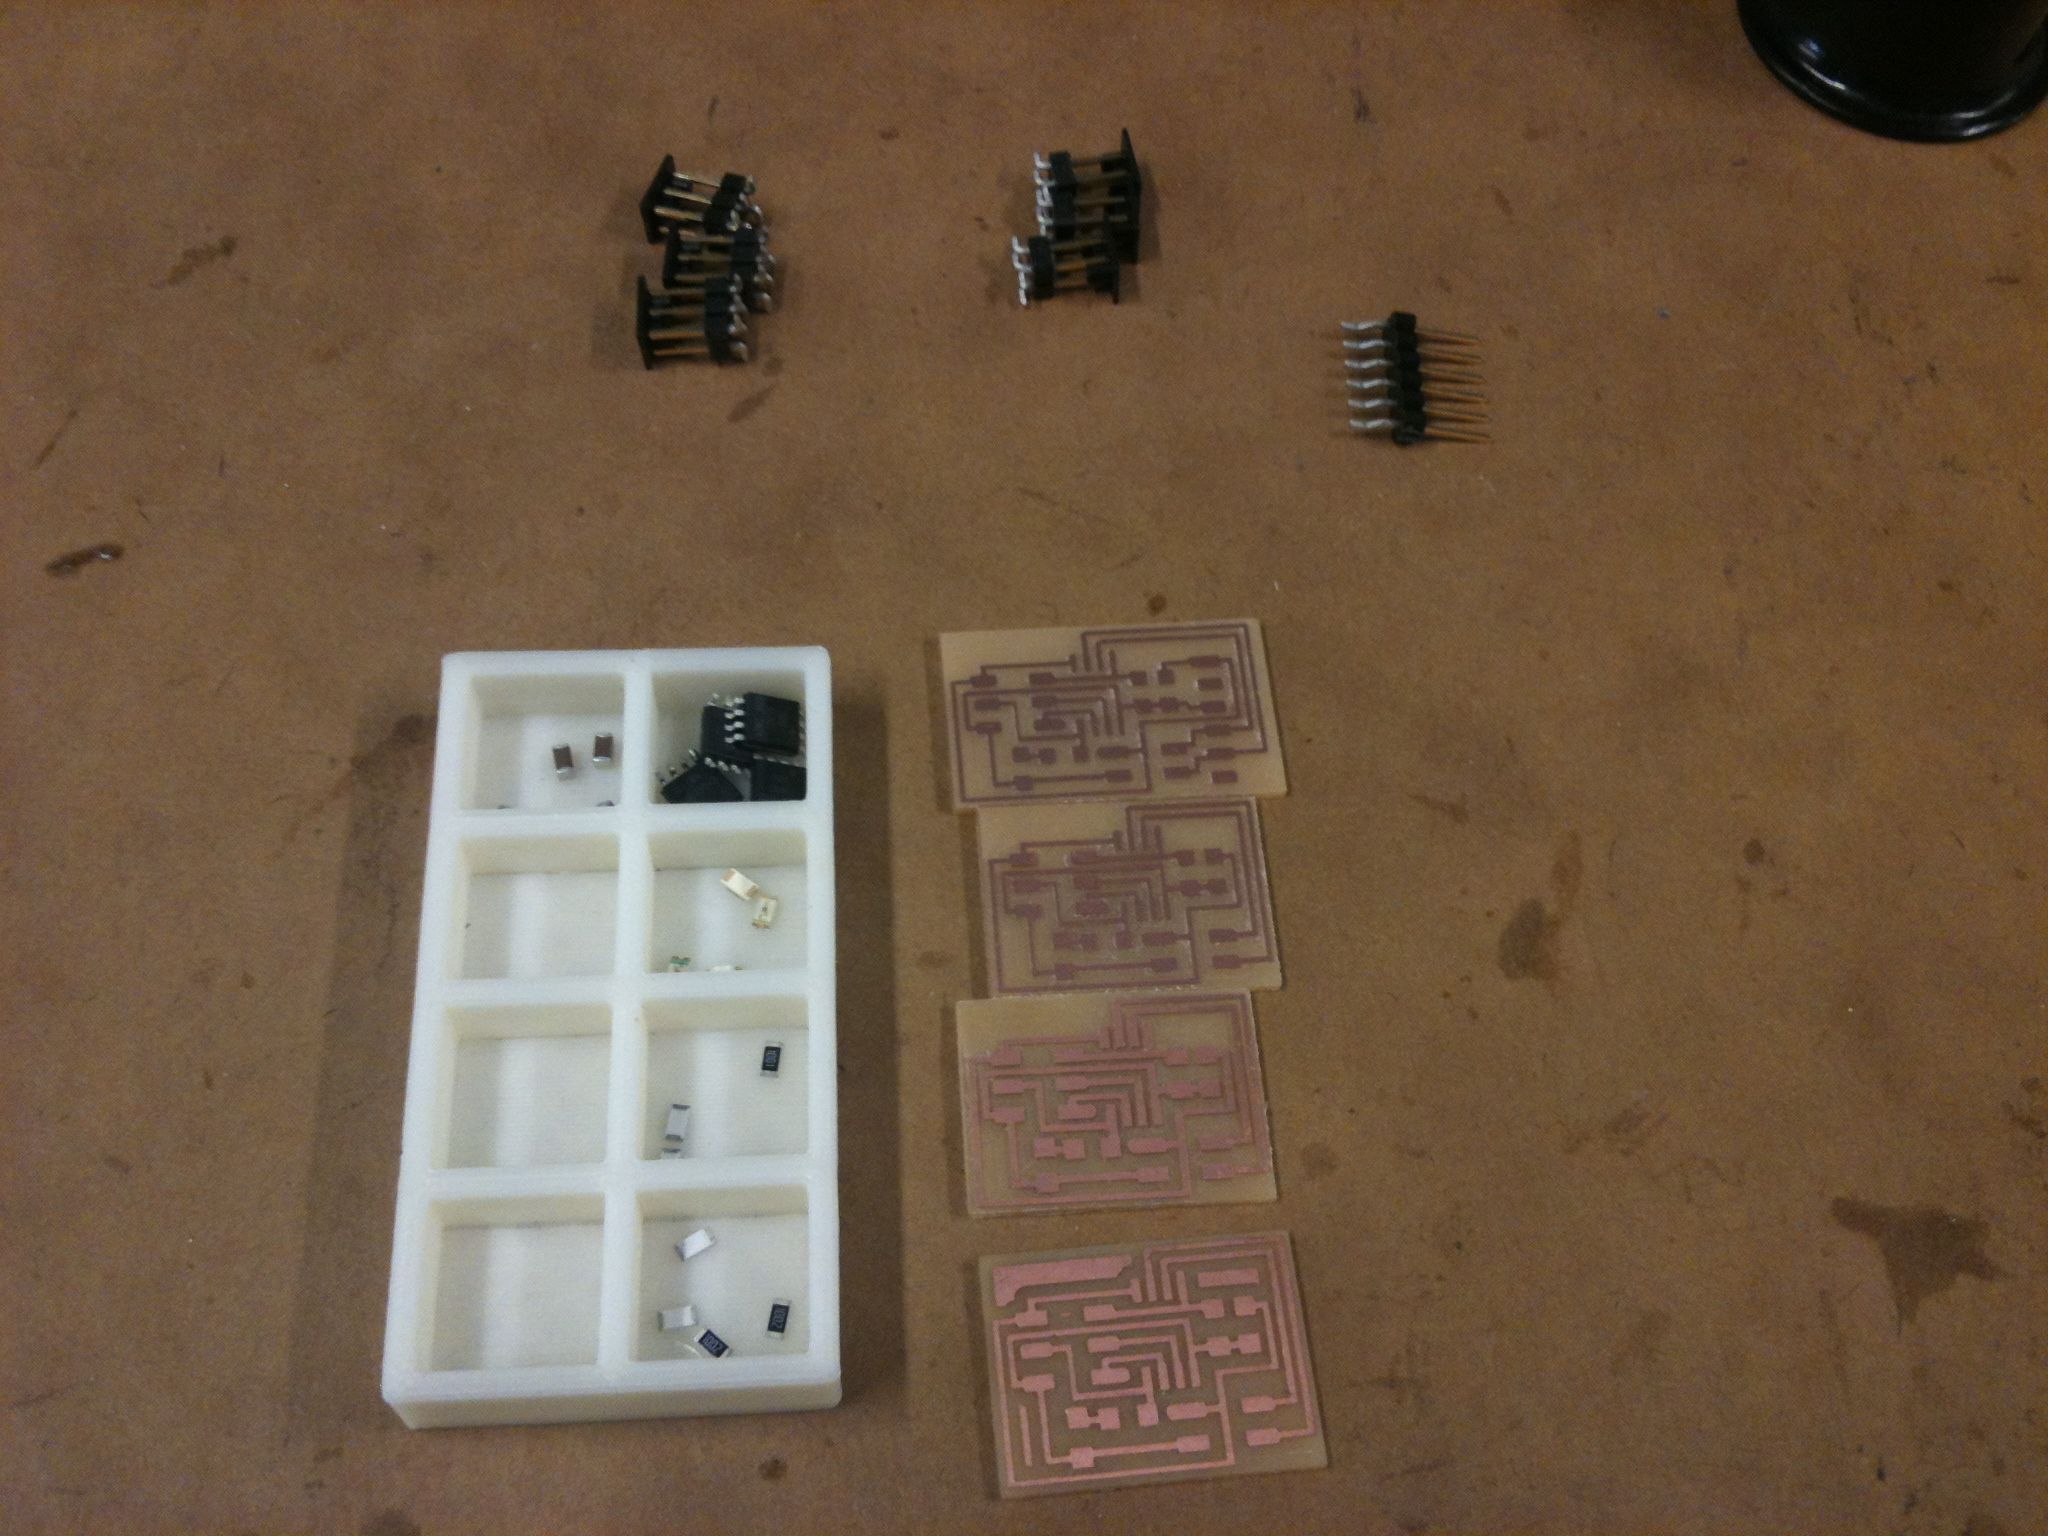
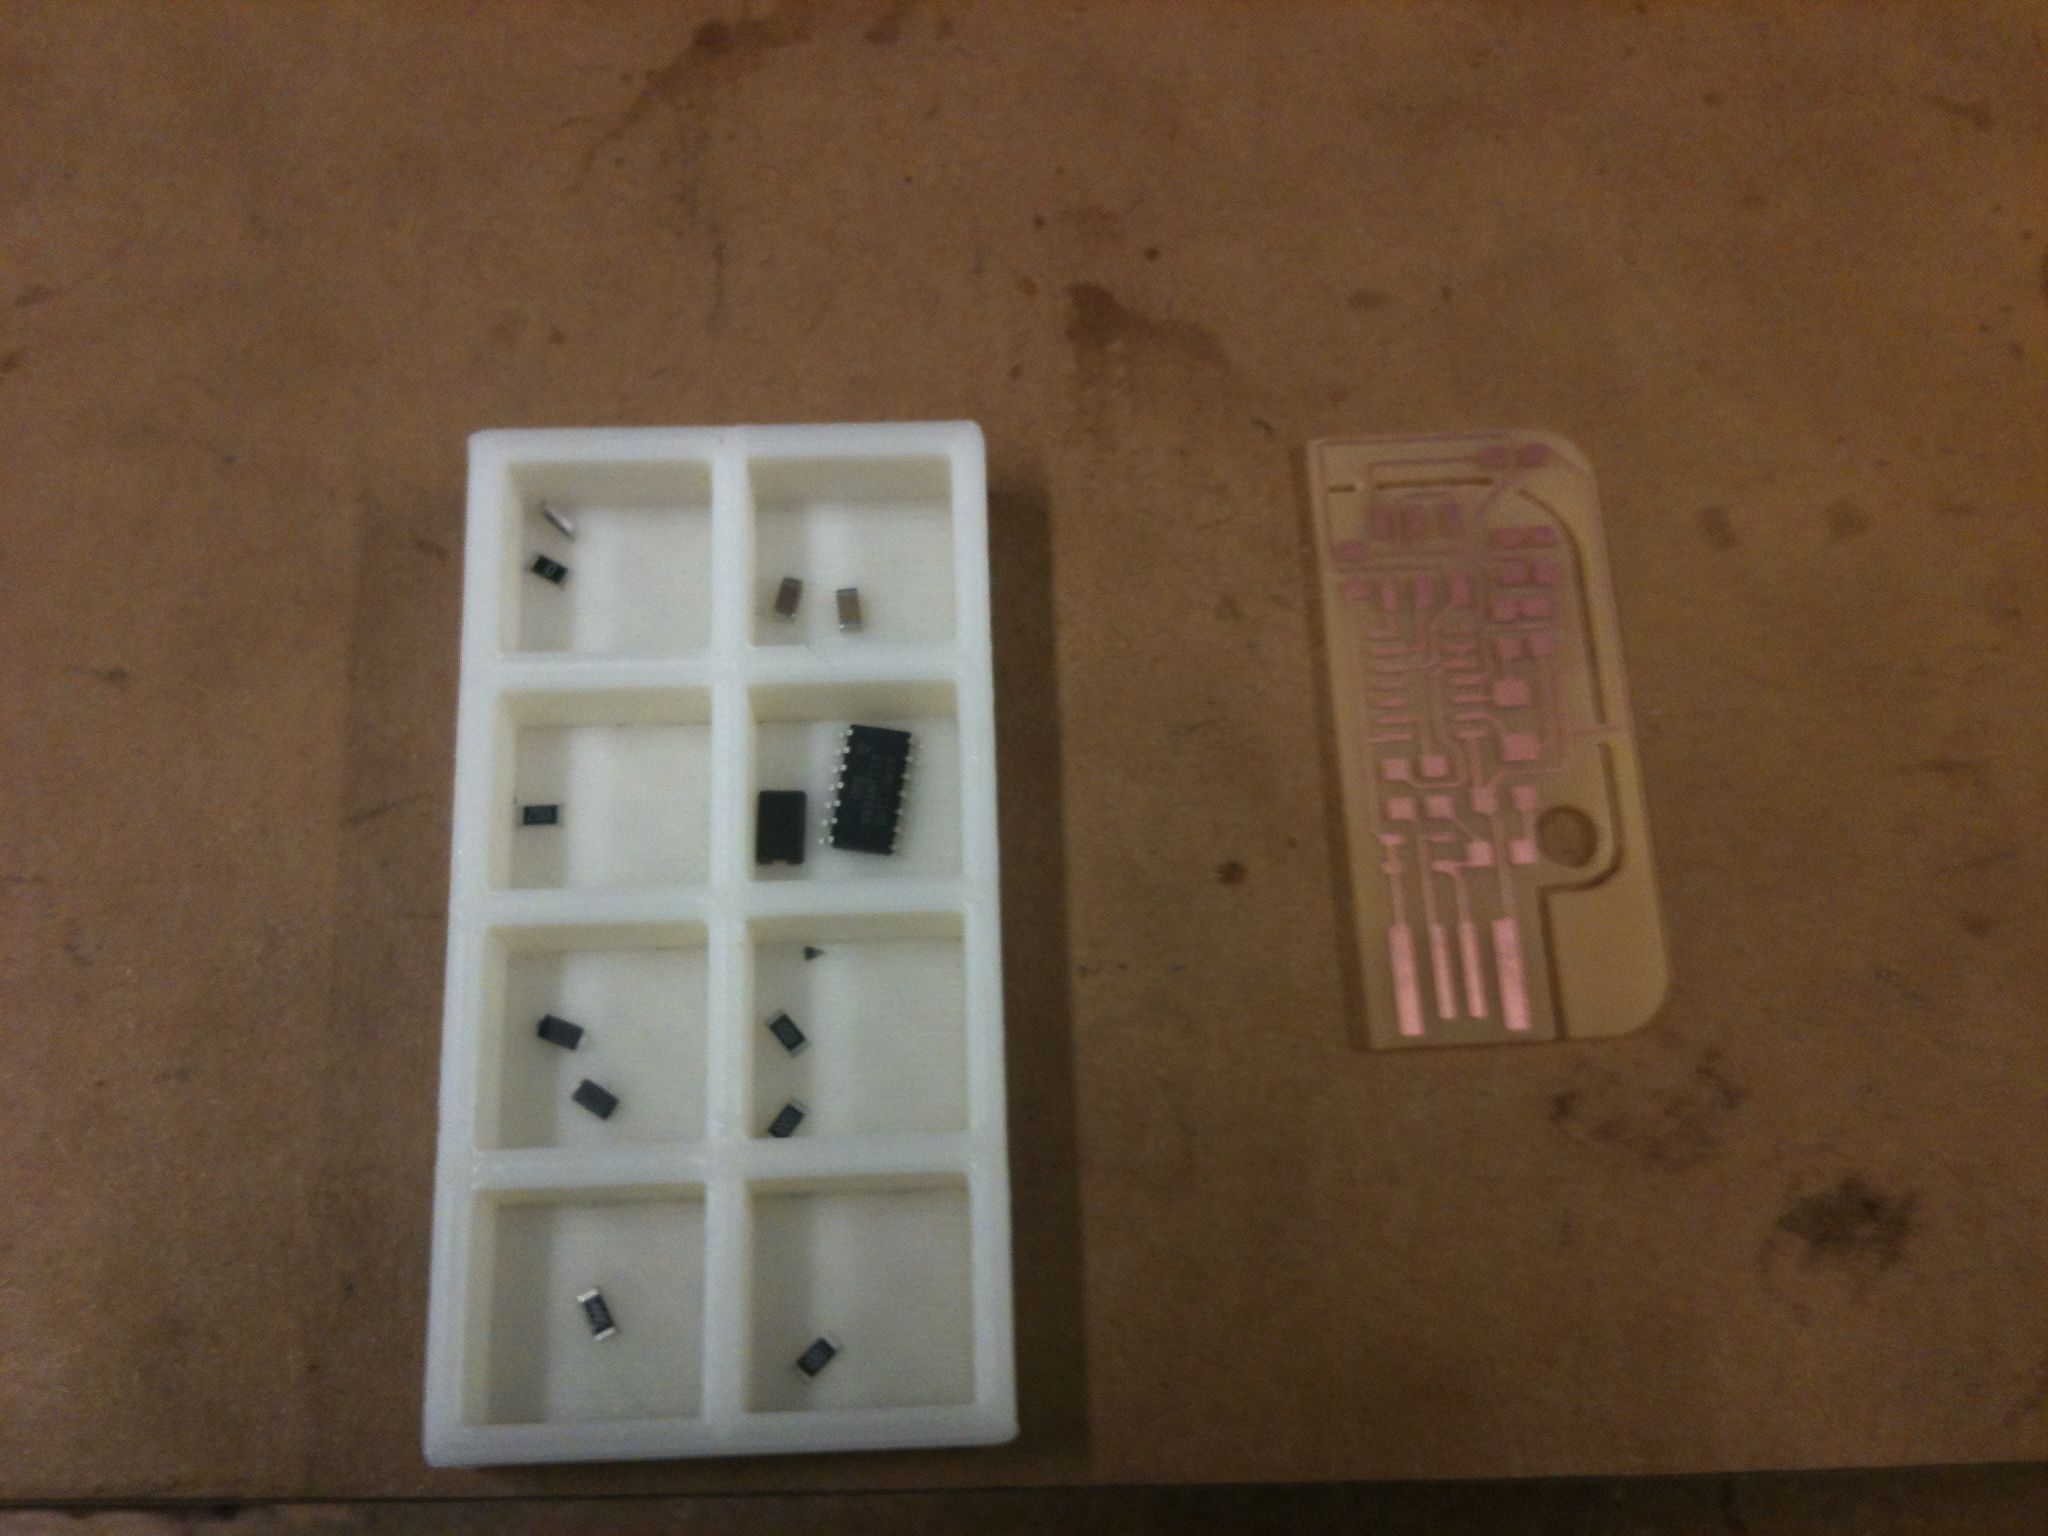
After milling a new bus and three new nodes, I double checked with Anna that all of the components are in the correct orientation. Then I
went online to http://www.hobby-hour.com/electronics/smdcalc.php and checked that all the components are indeed for the values that I hoped they
are. As near as I can tell, everything checks out, so I will go ahead and perform the next steps.
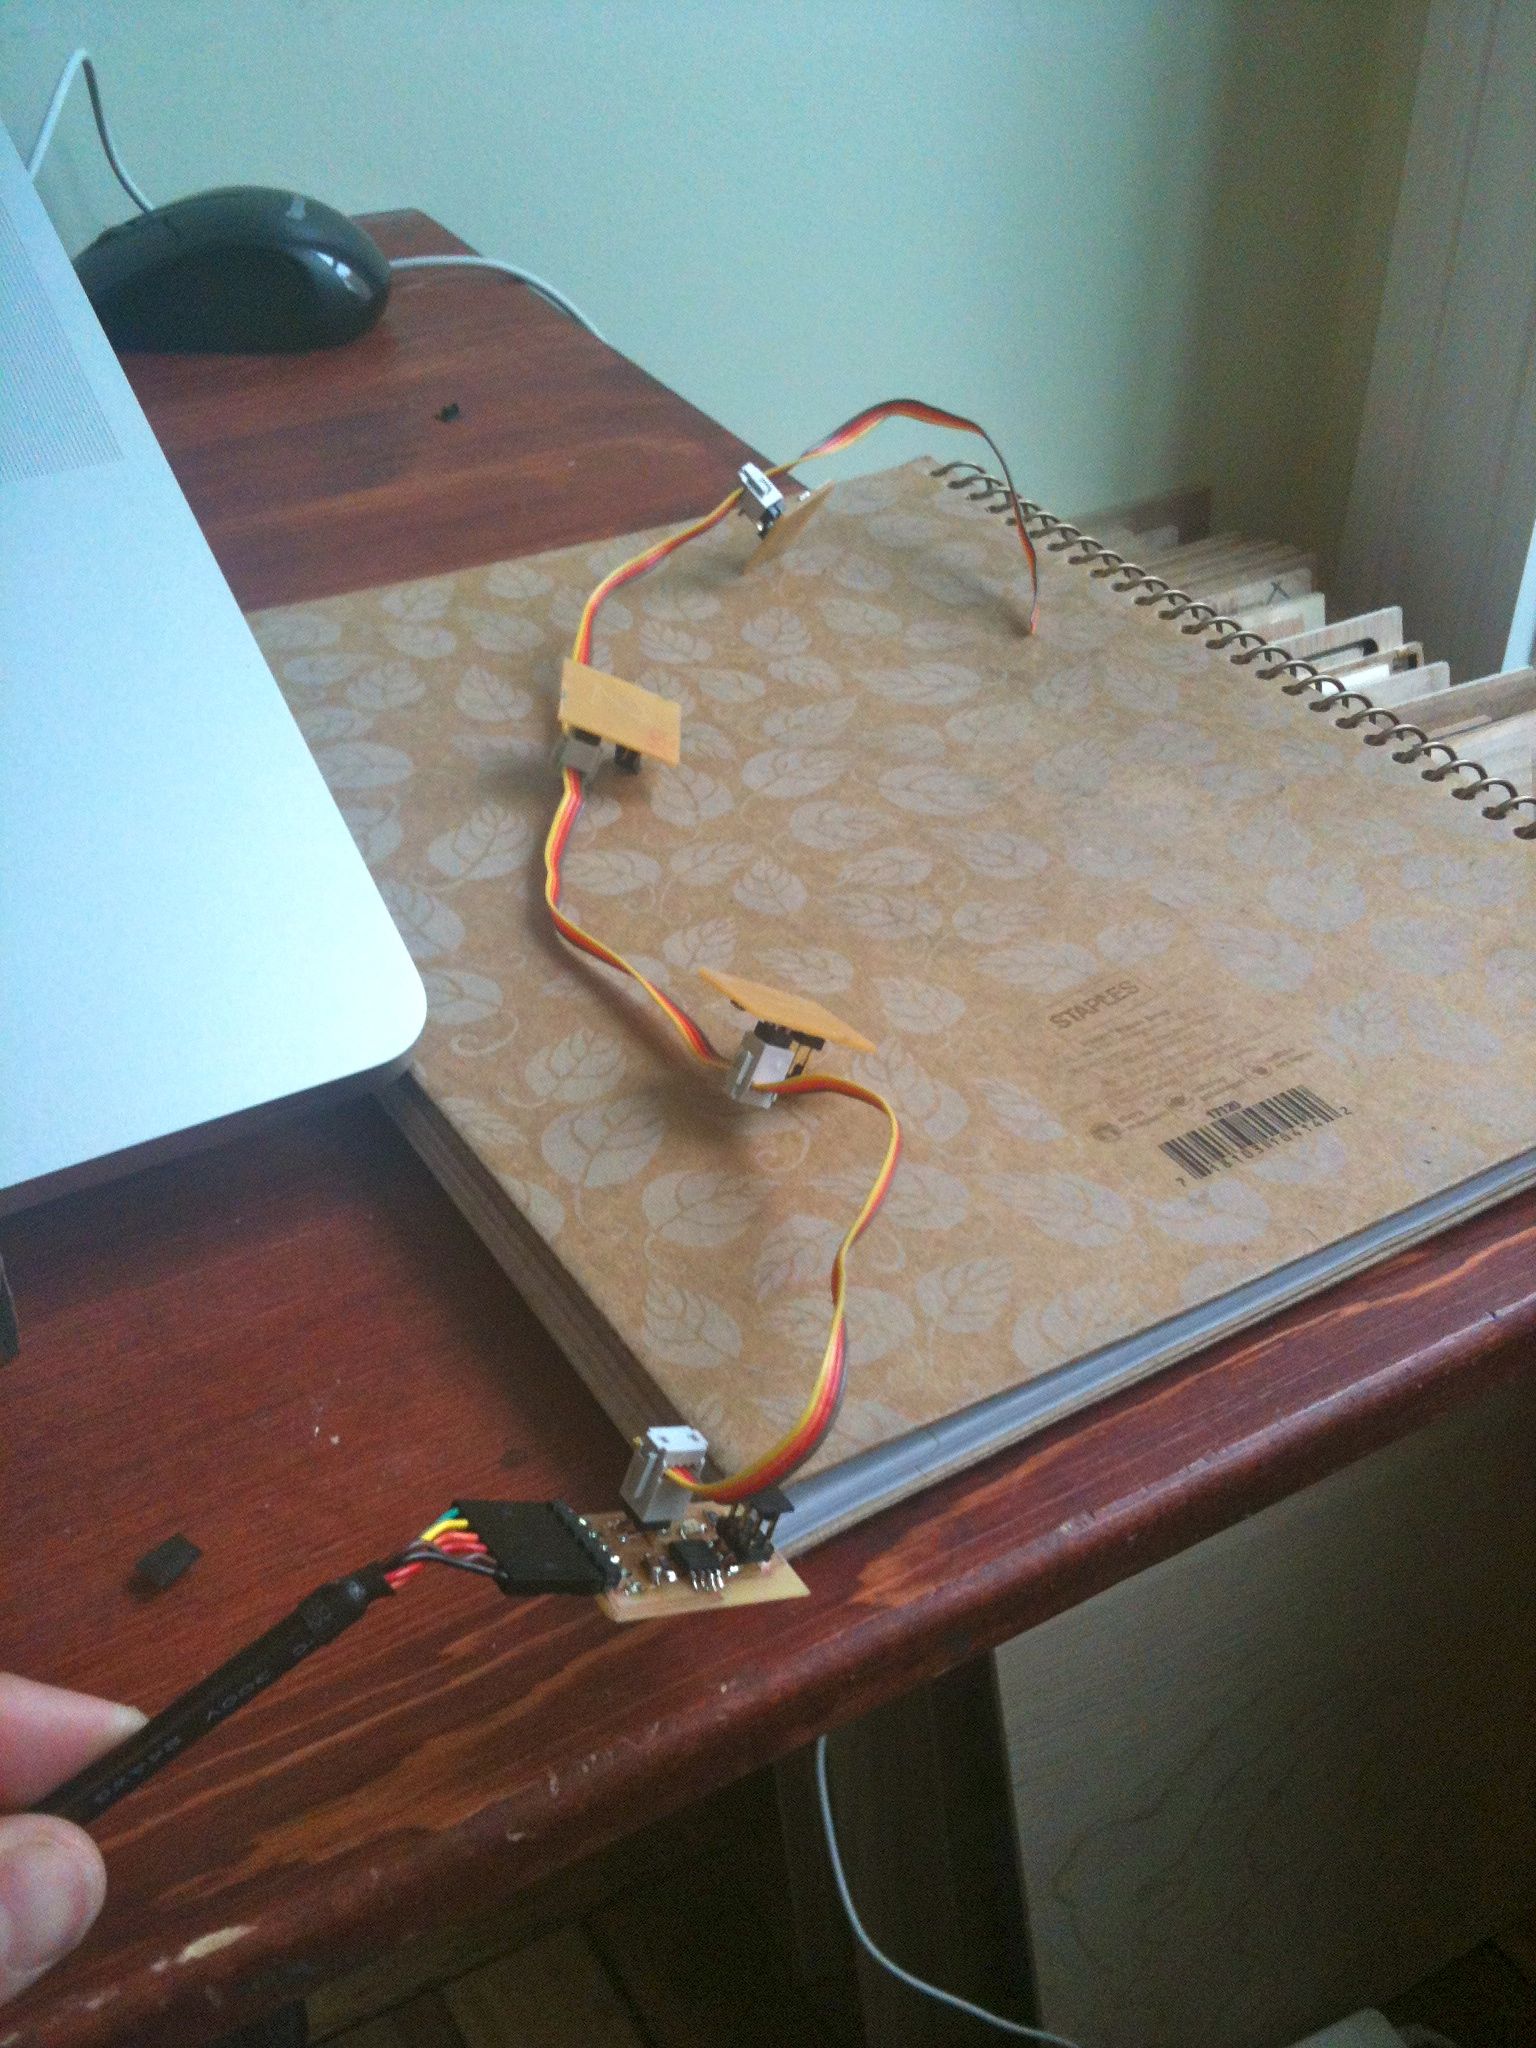
14:22
Plugged in the Node/Bus without any smoking. So that's good.
First Node flashed successfully.
Or maybe not:
avrdude: initialization failed, rc=-1
         Double check connections and try again, or use -F to override
         this check.