24 April 2012 15:33
Ultimaker Clone Build
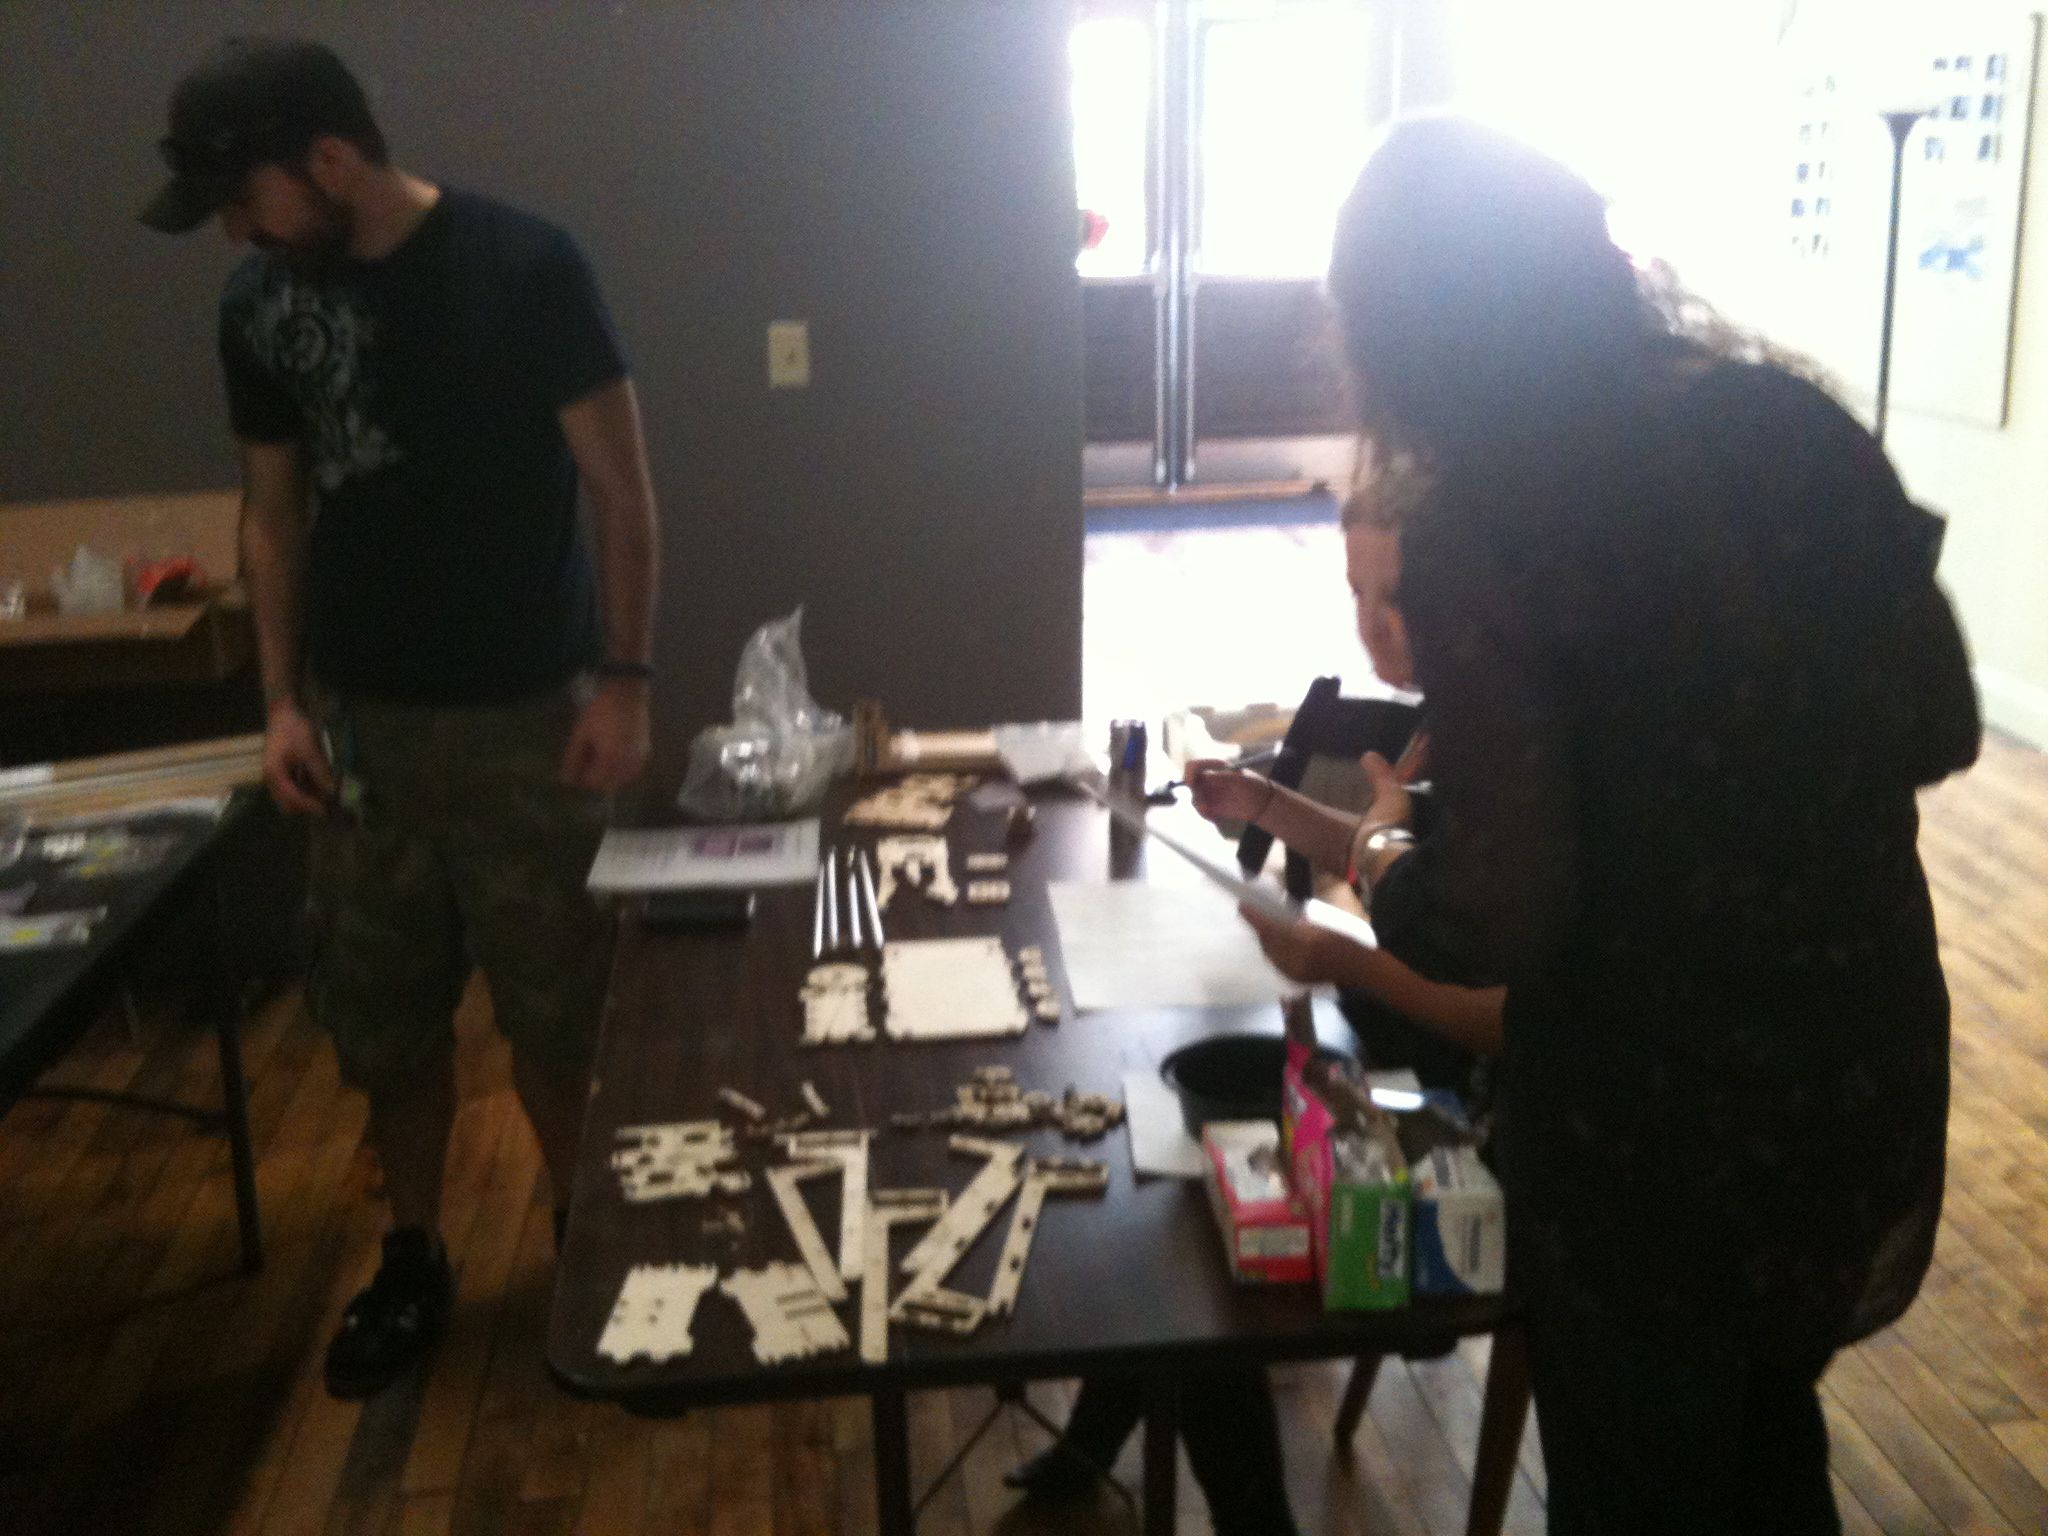
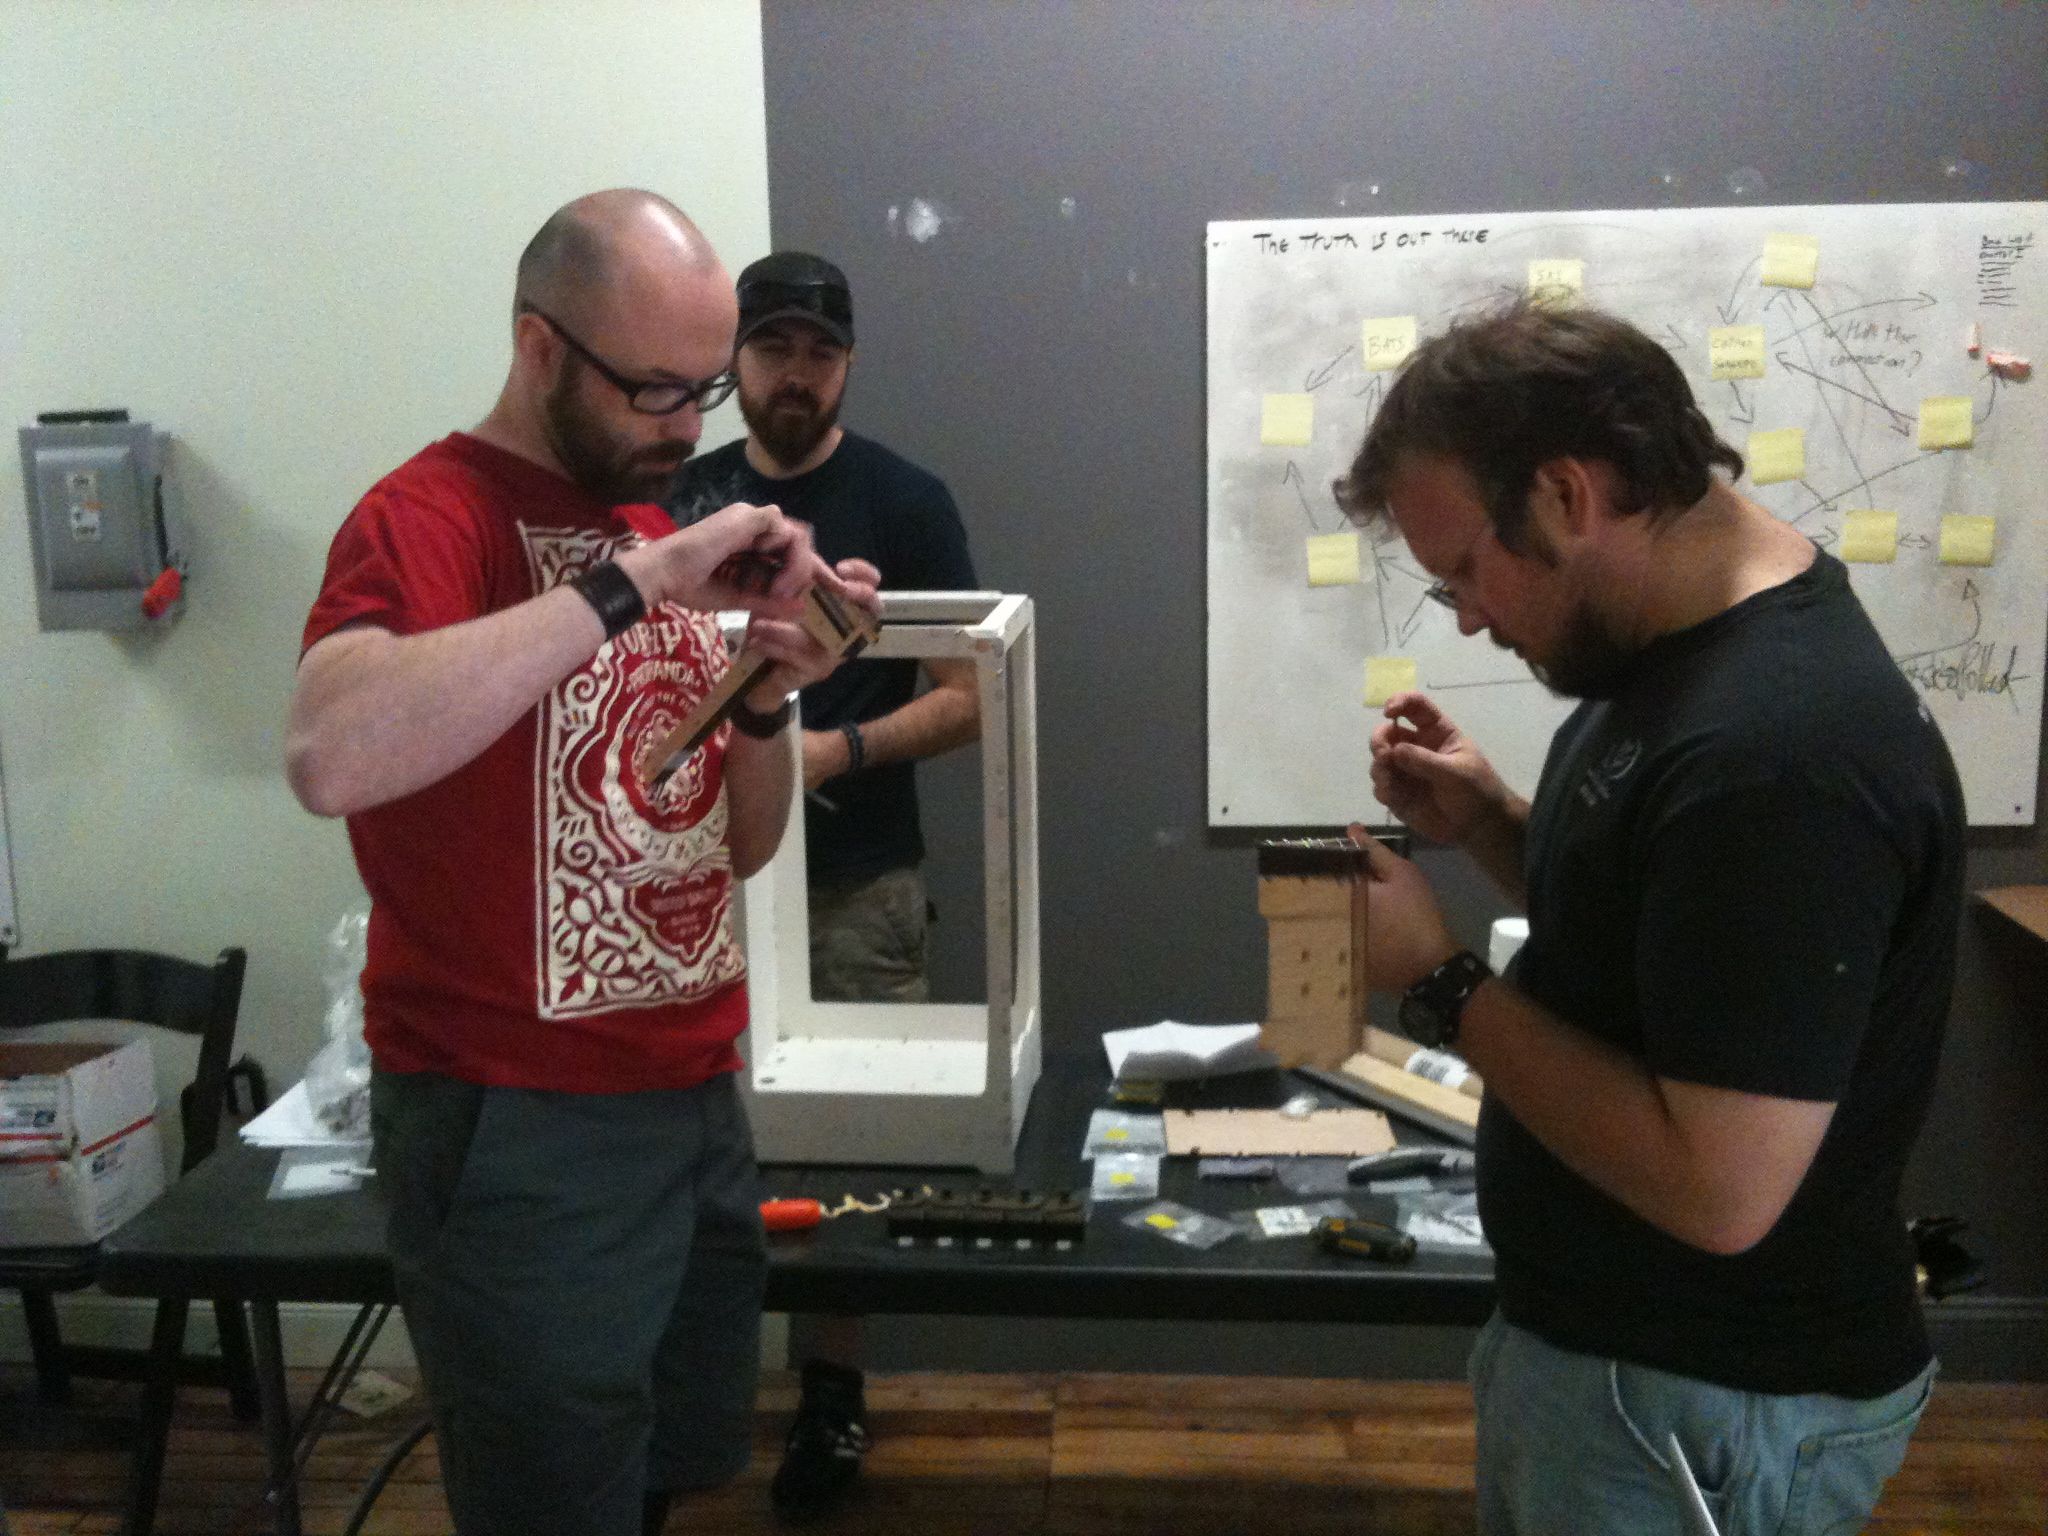
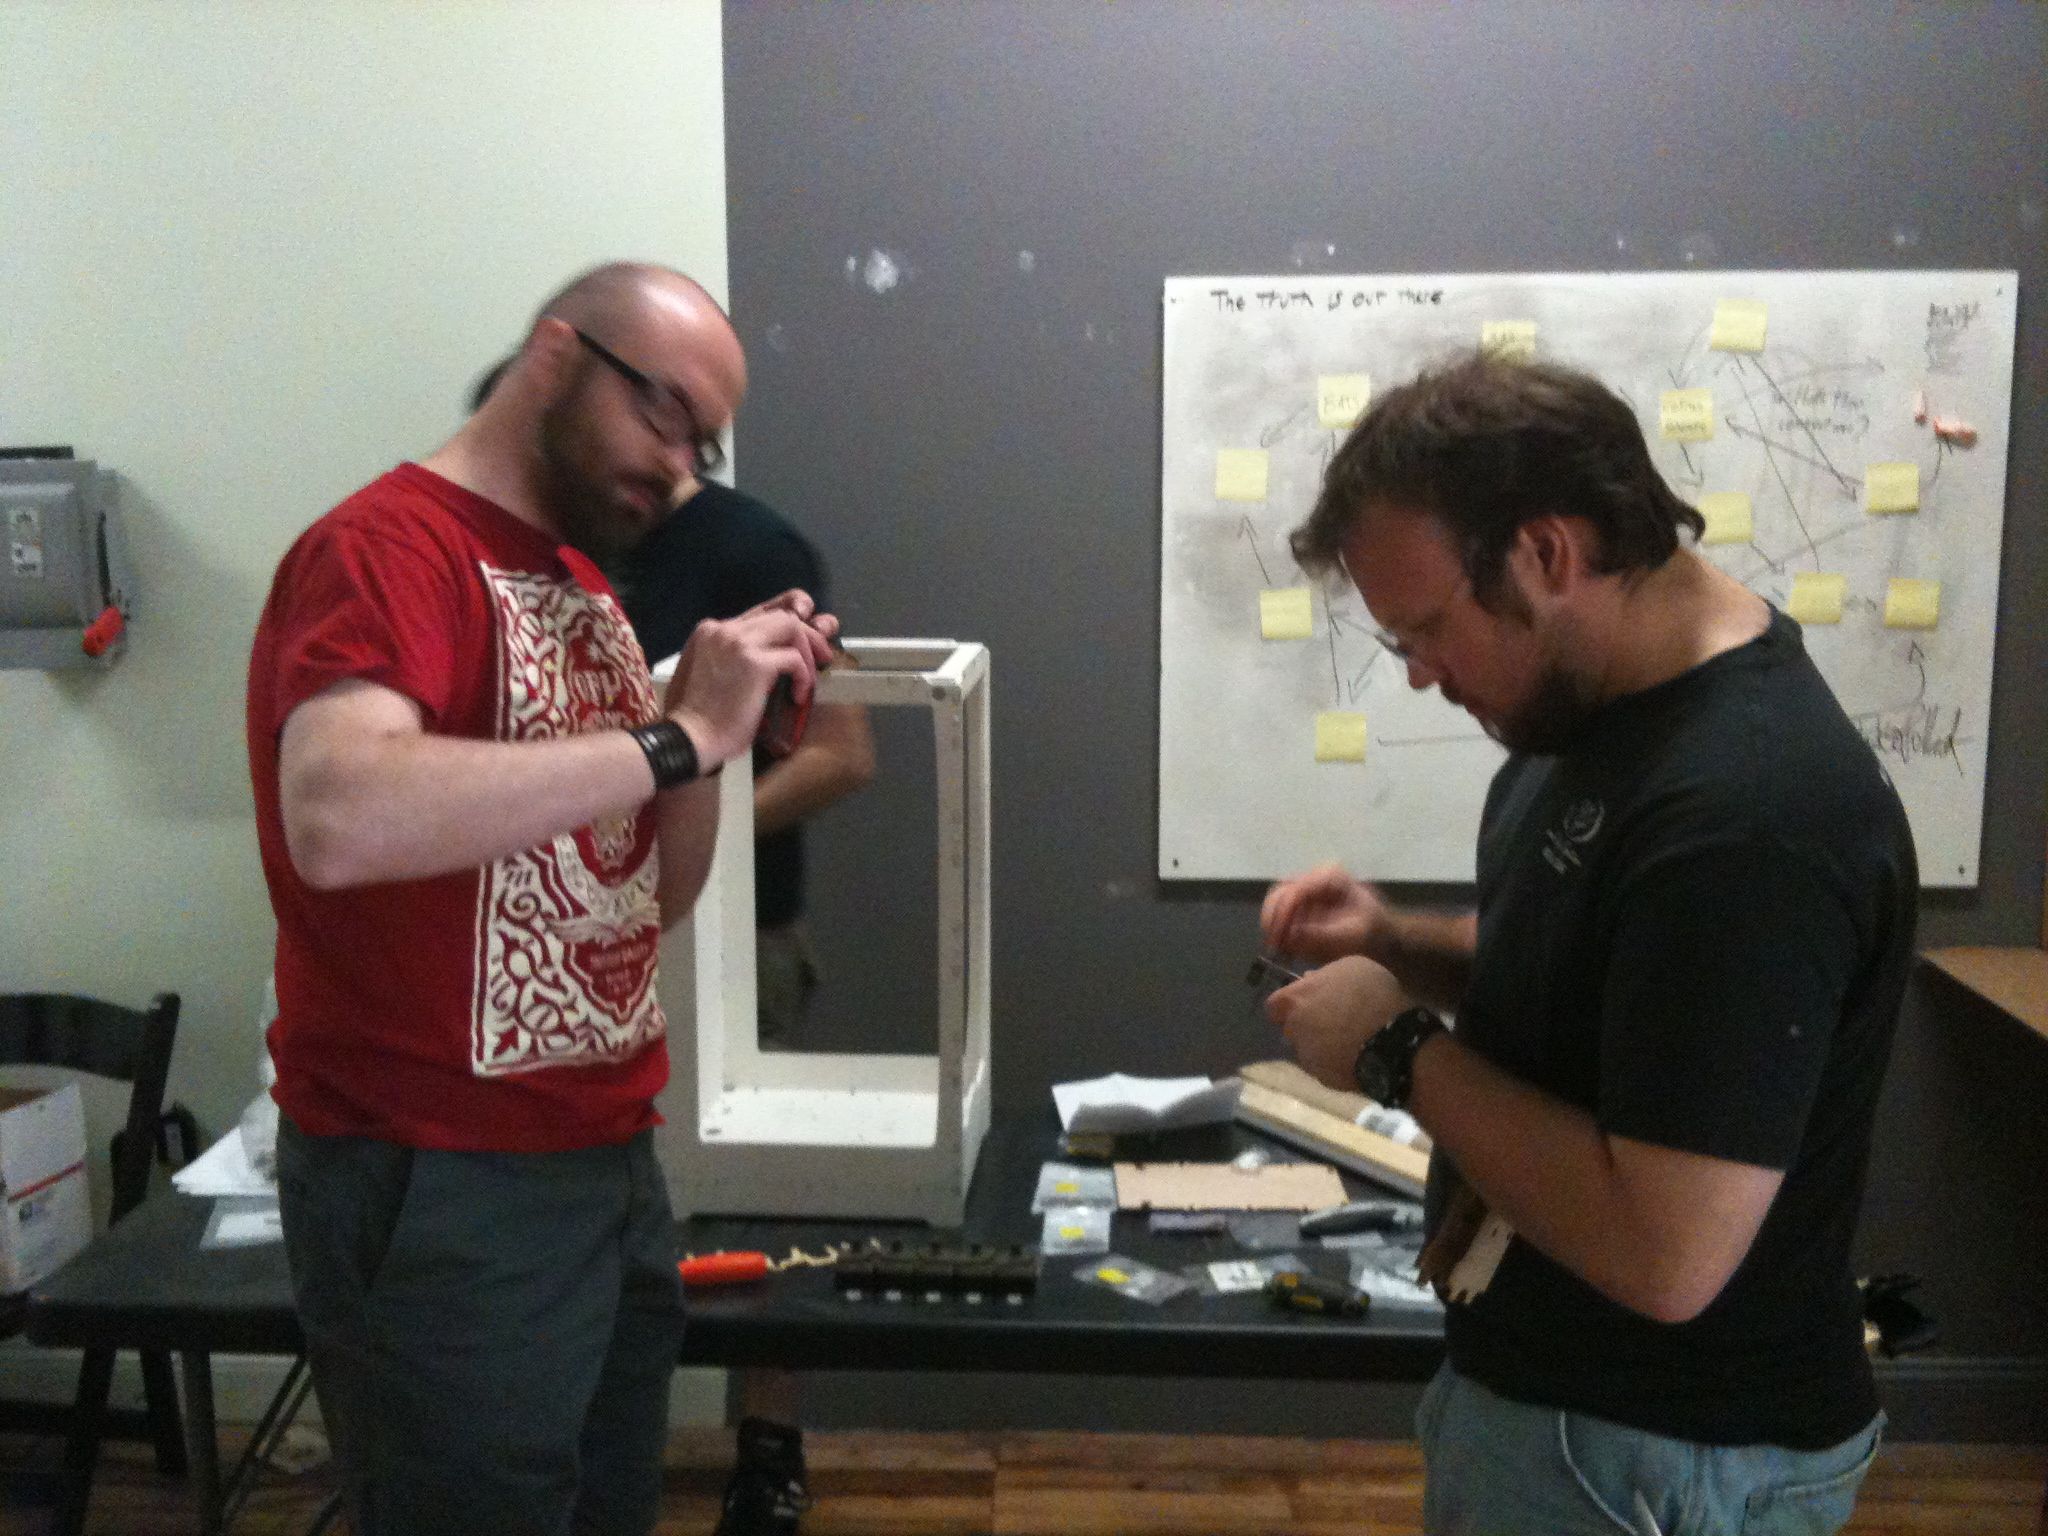
Our class is building an Ultimaker Clone. Ultimaker is a brand of 3d printer, normally sold in kits. The product is sort of, kind of, a little bit "Open Source". That means that the schematics, parts lists, and assembly instructions are supposed to be freely available for people to use, enhance, or modify free of charge. It means, supposedly, that the creators of the Ultimaker have made freely available all of the source material needed for someone to build their own Ultimaker.
There are really only about 3 people actively working on this project, at least at this stage. The rest of the class is along for the ride, taking photos and notes. This counts as our "mechanical design" lesson.
I'm going to transcribe the logs of my observations so far:
17 April 2012 Wednesday 1:00pm
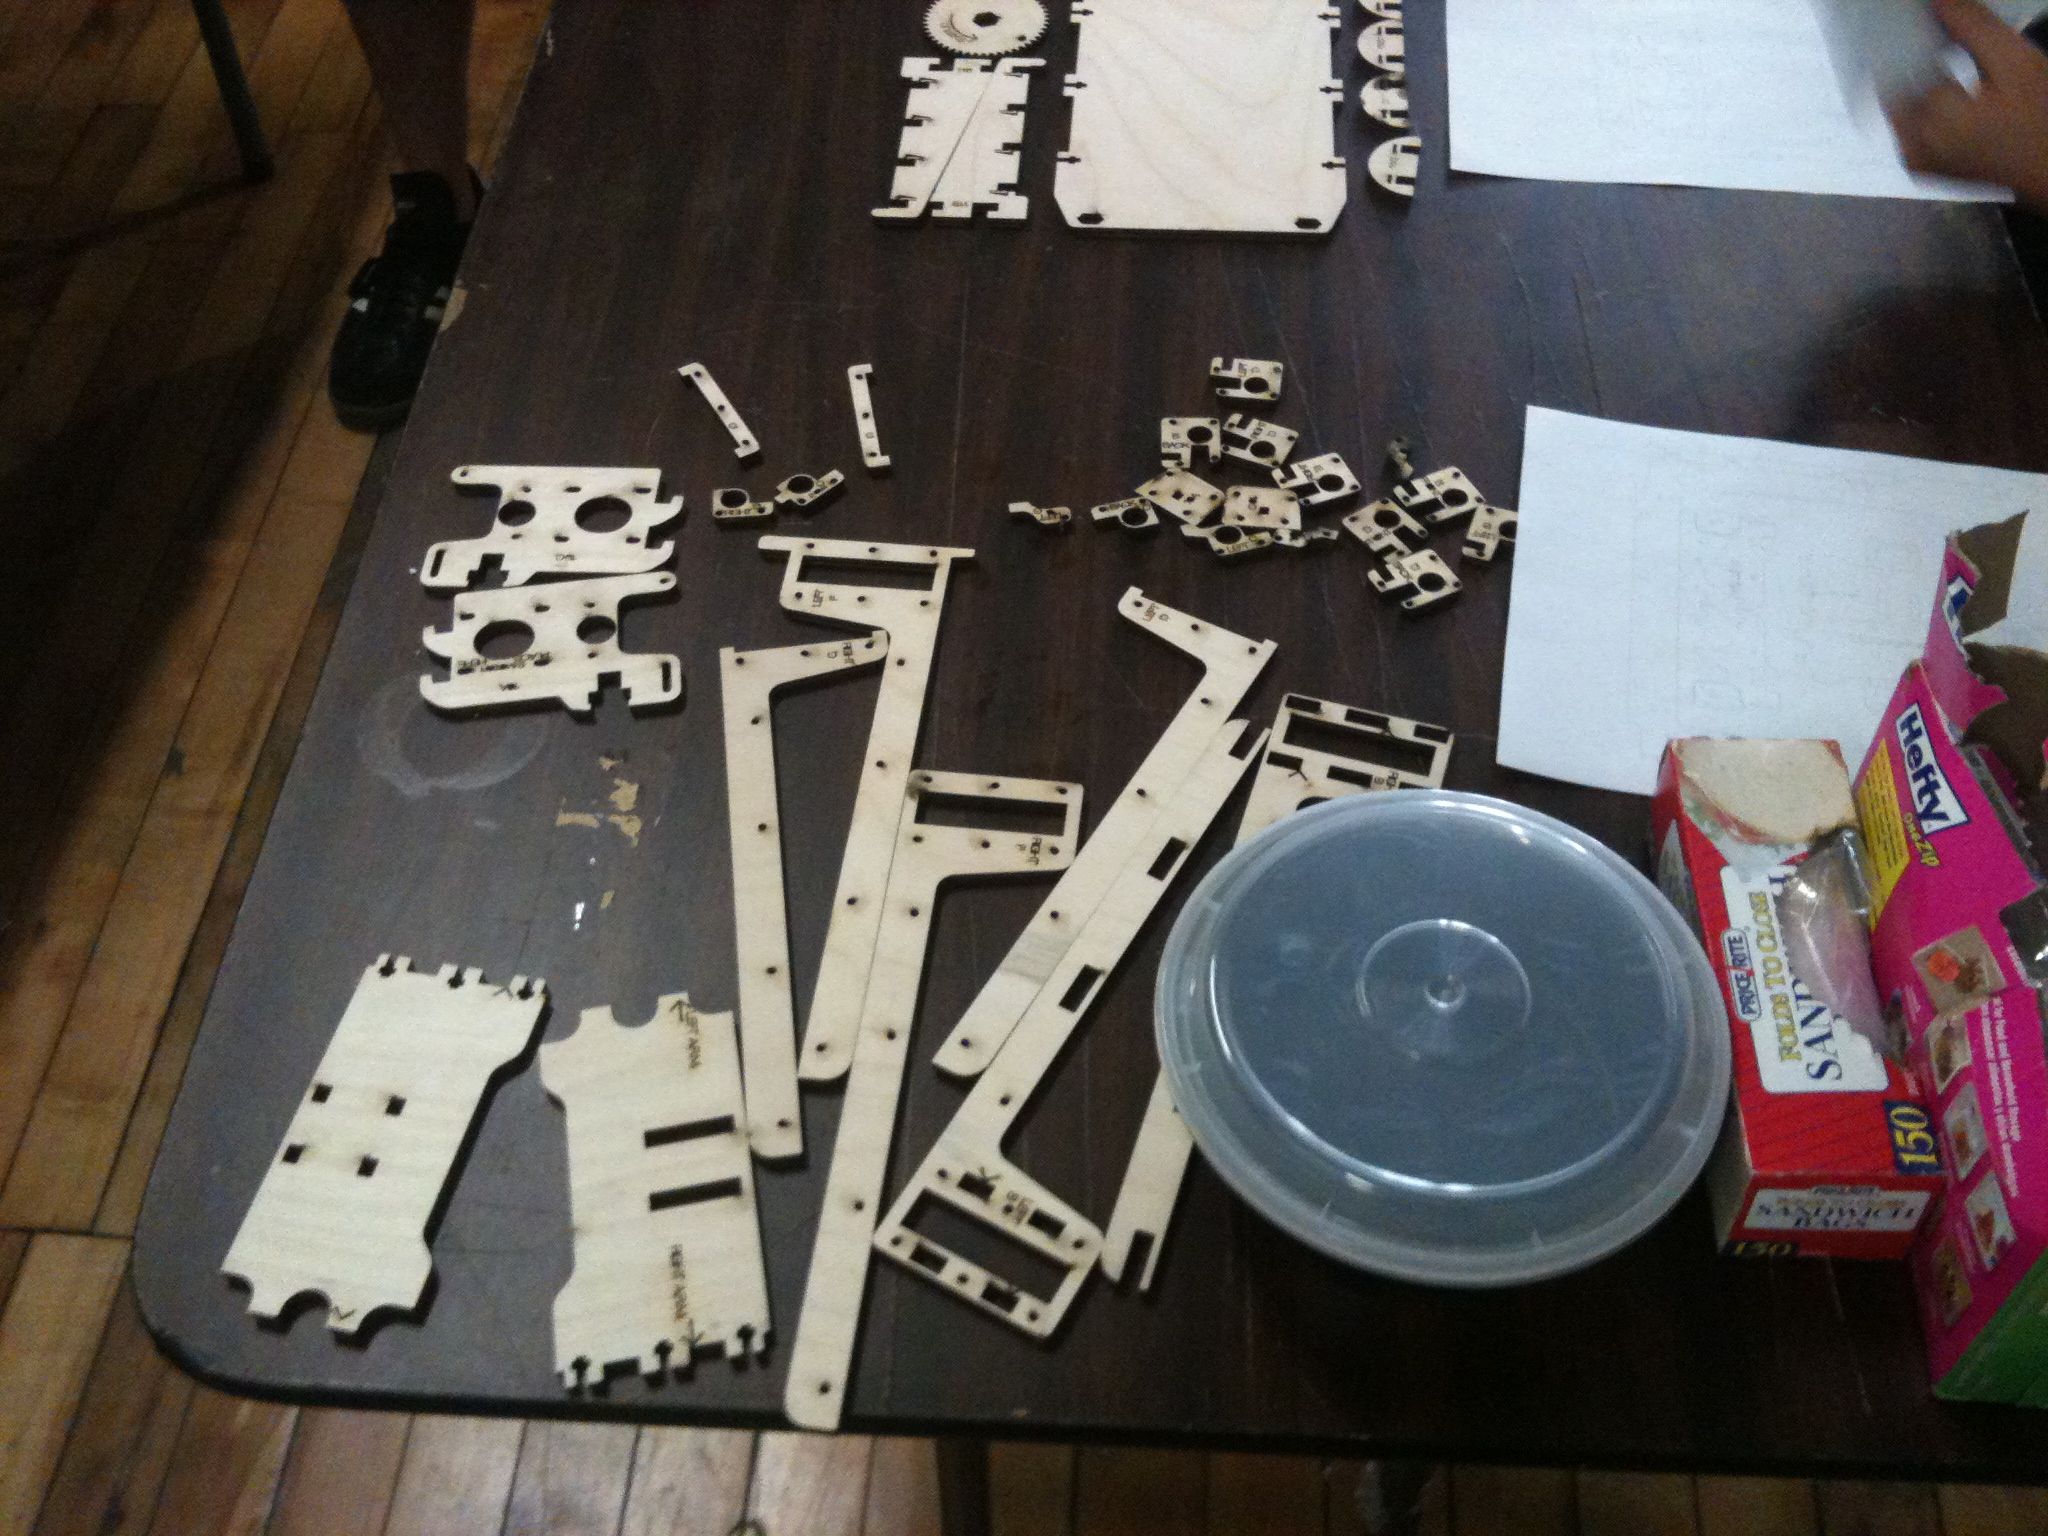
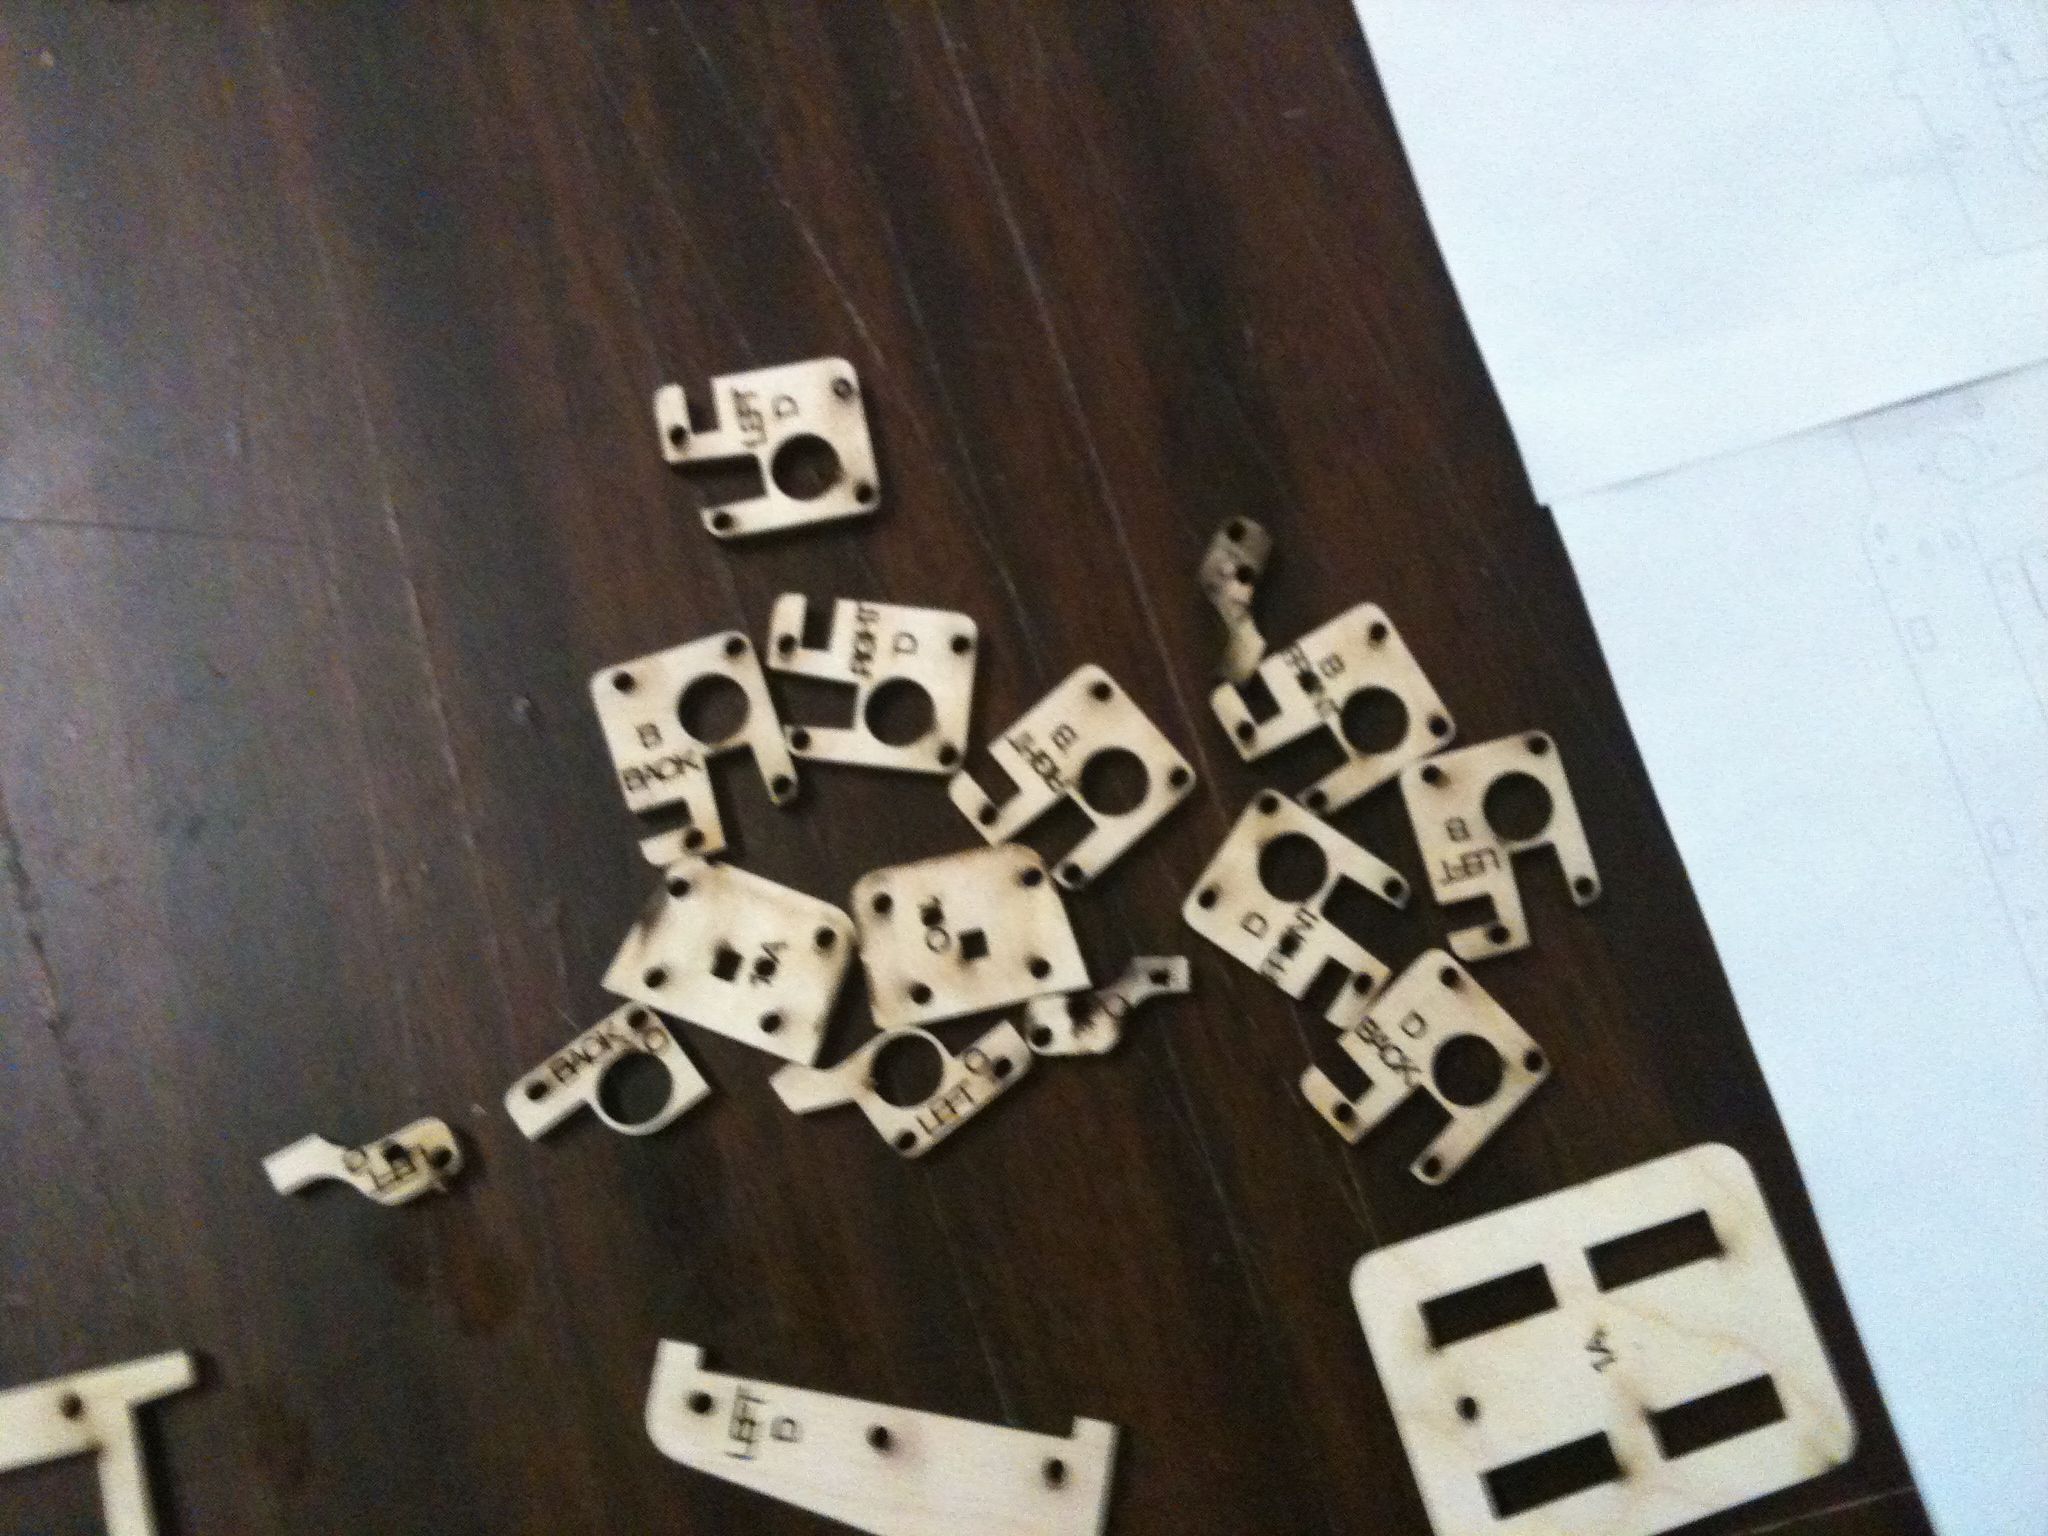
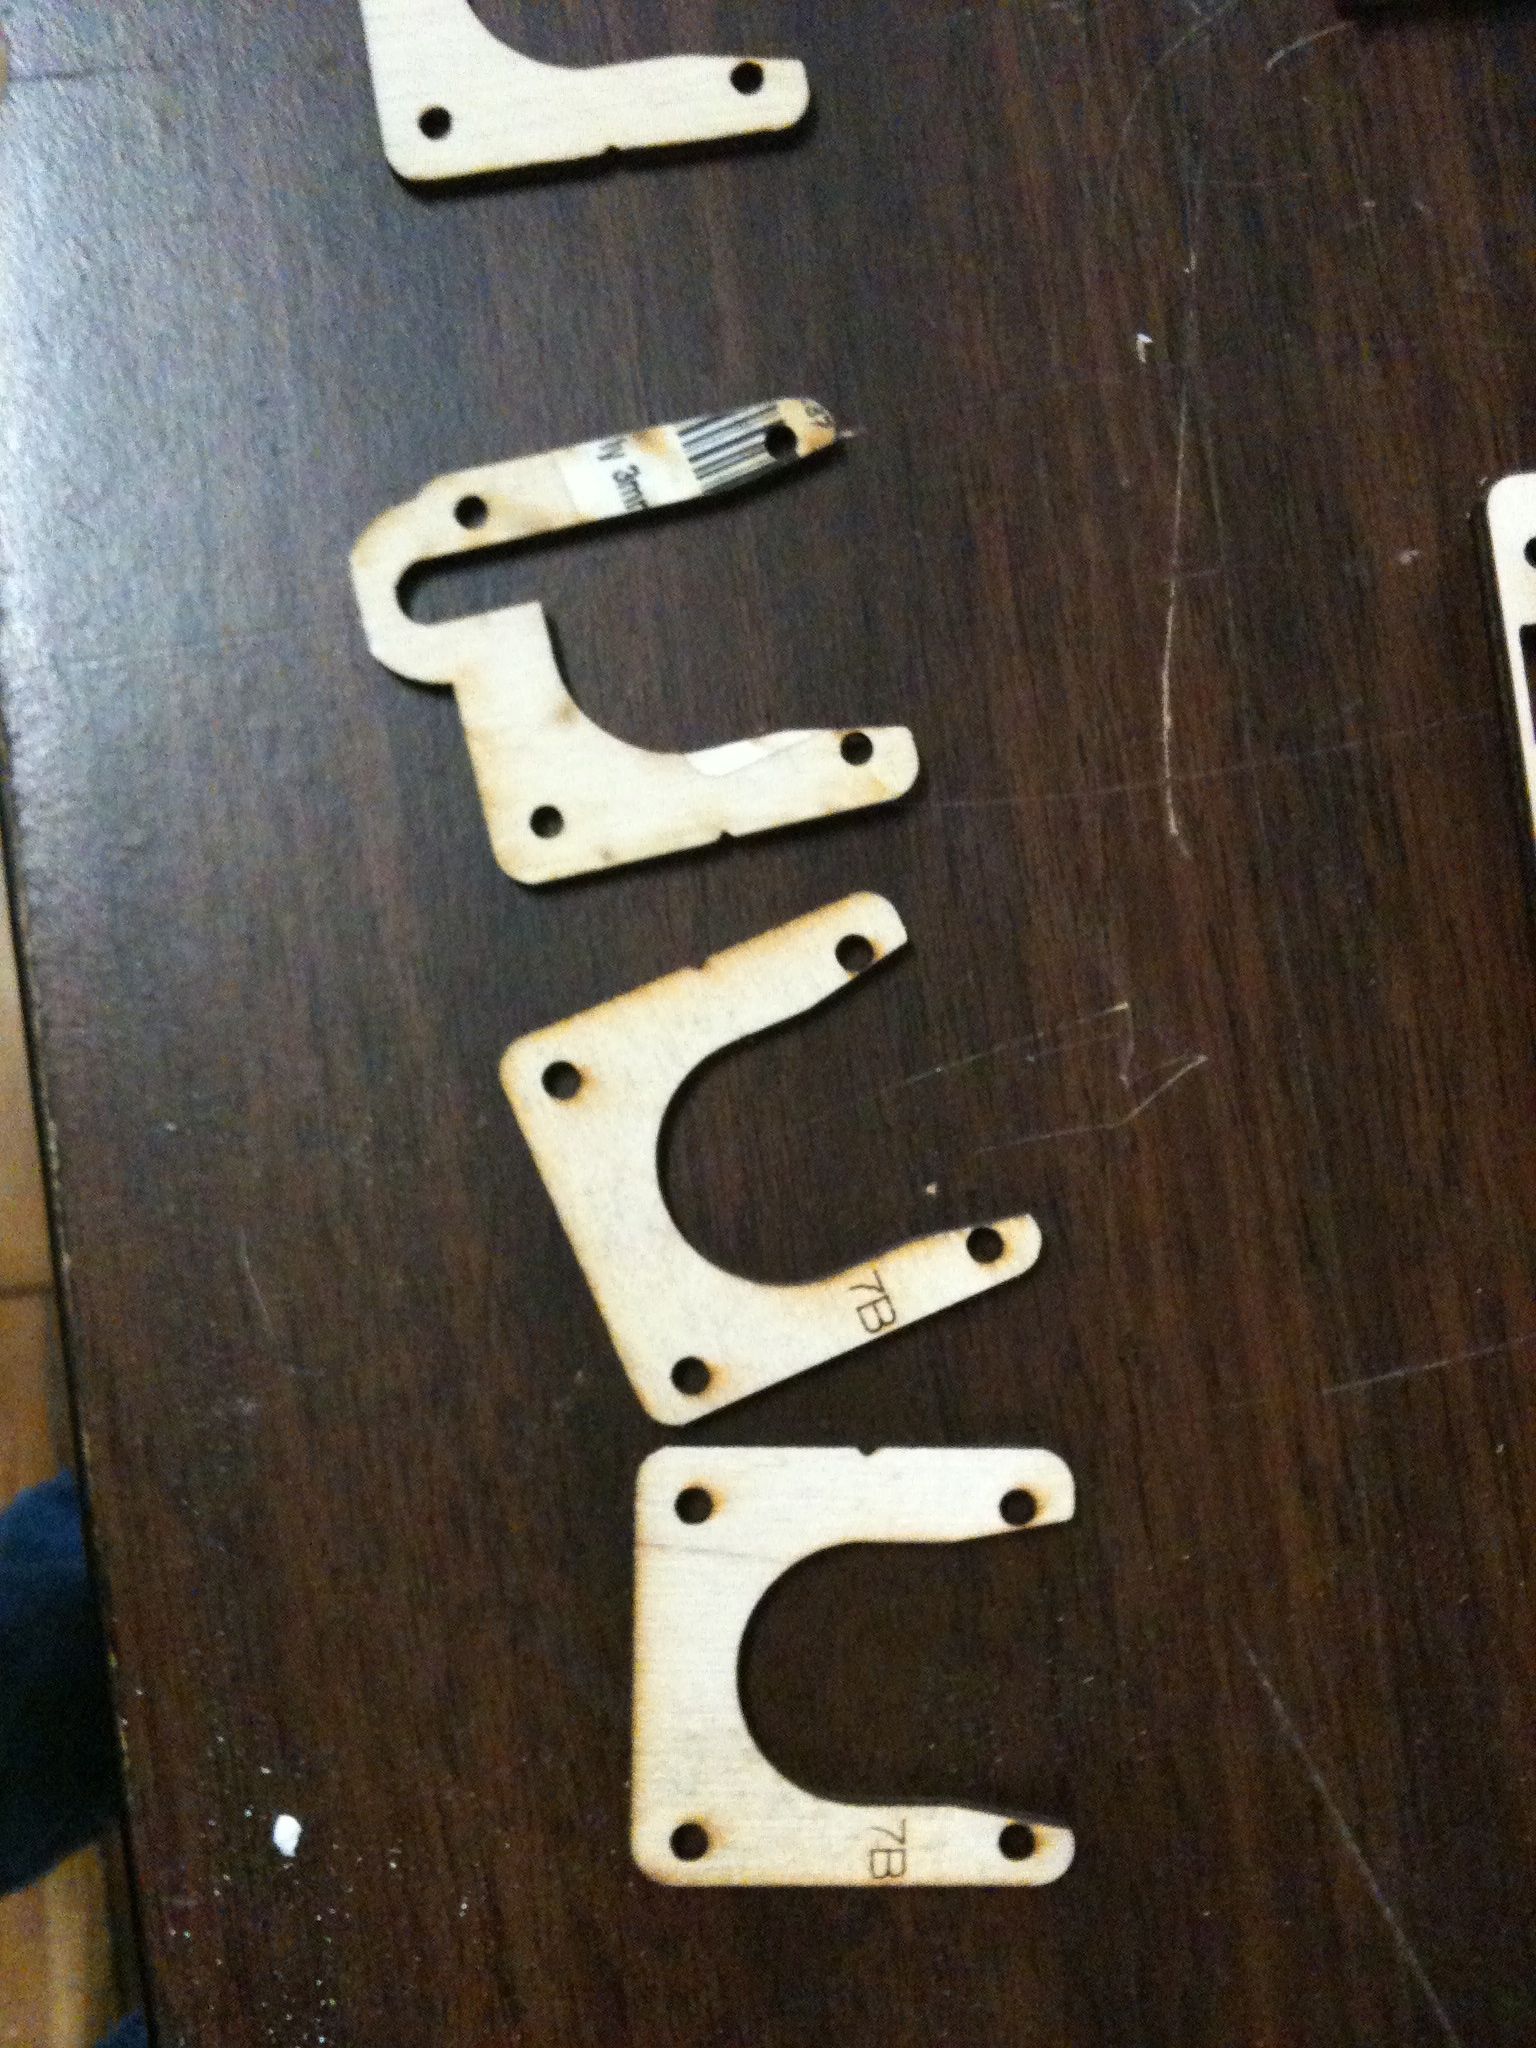
• We hired a laser-cutting company to cut out all of our flat components. The reason we did this instead of using our own laser cutter is for two reasons:
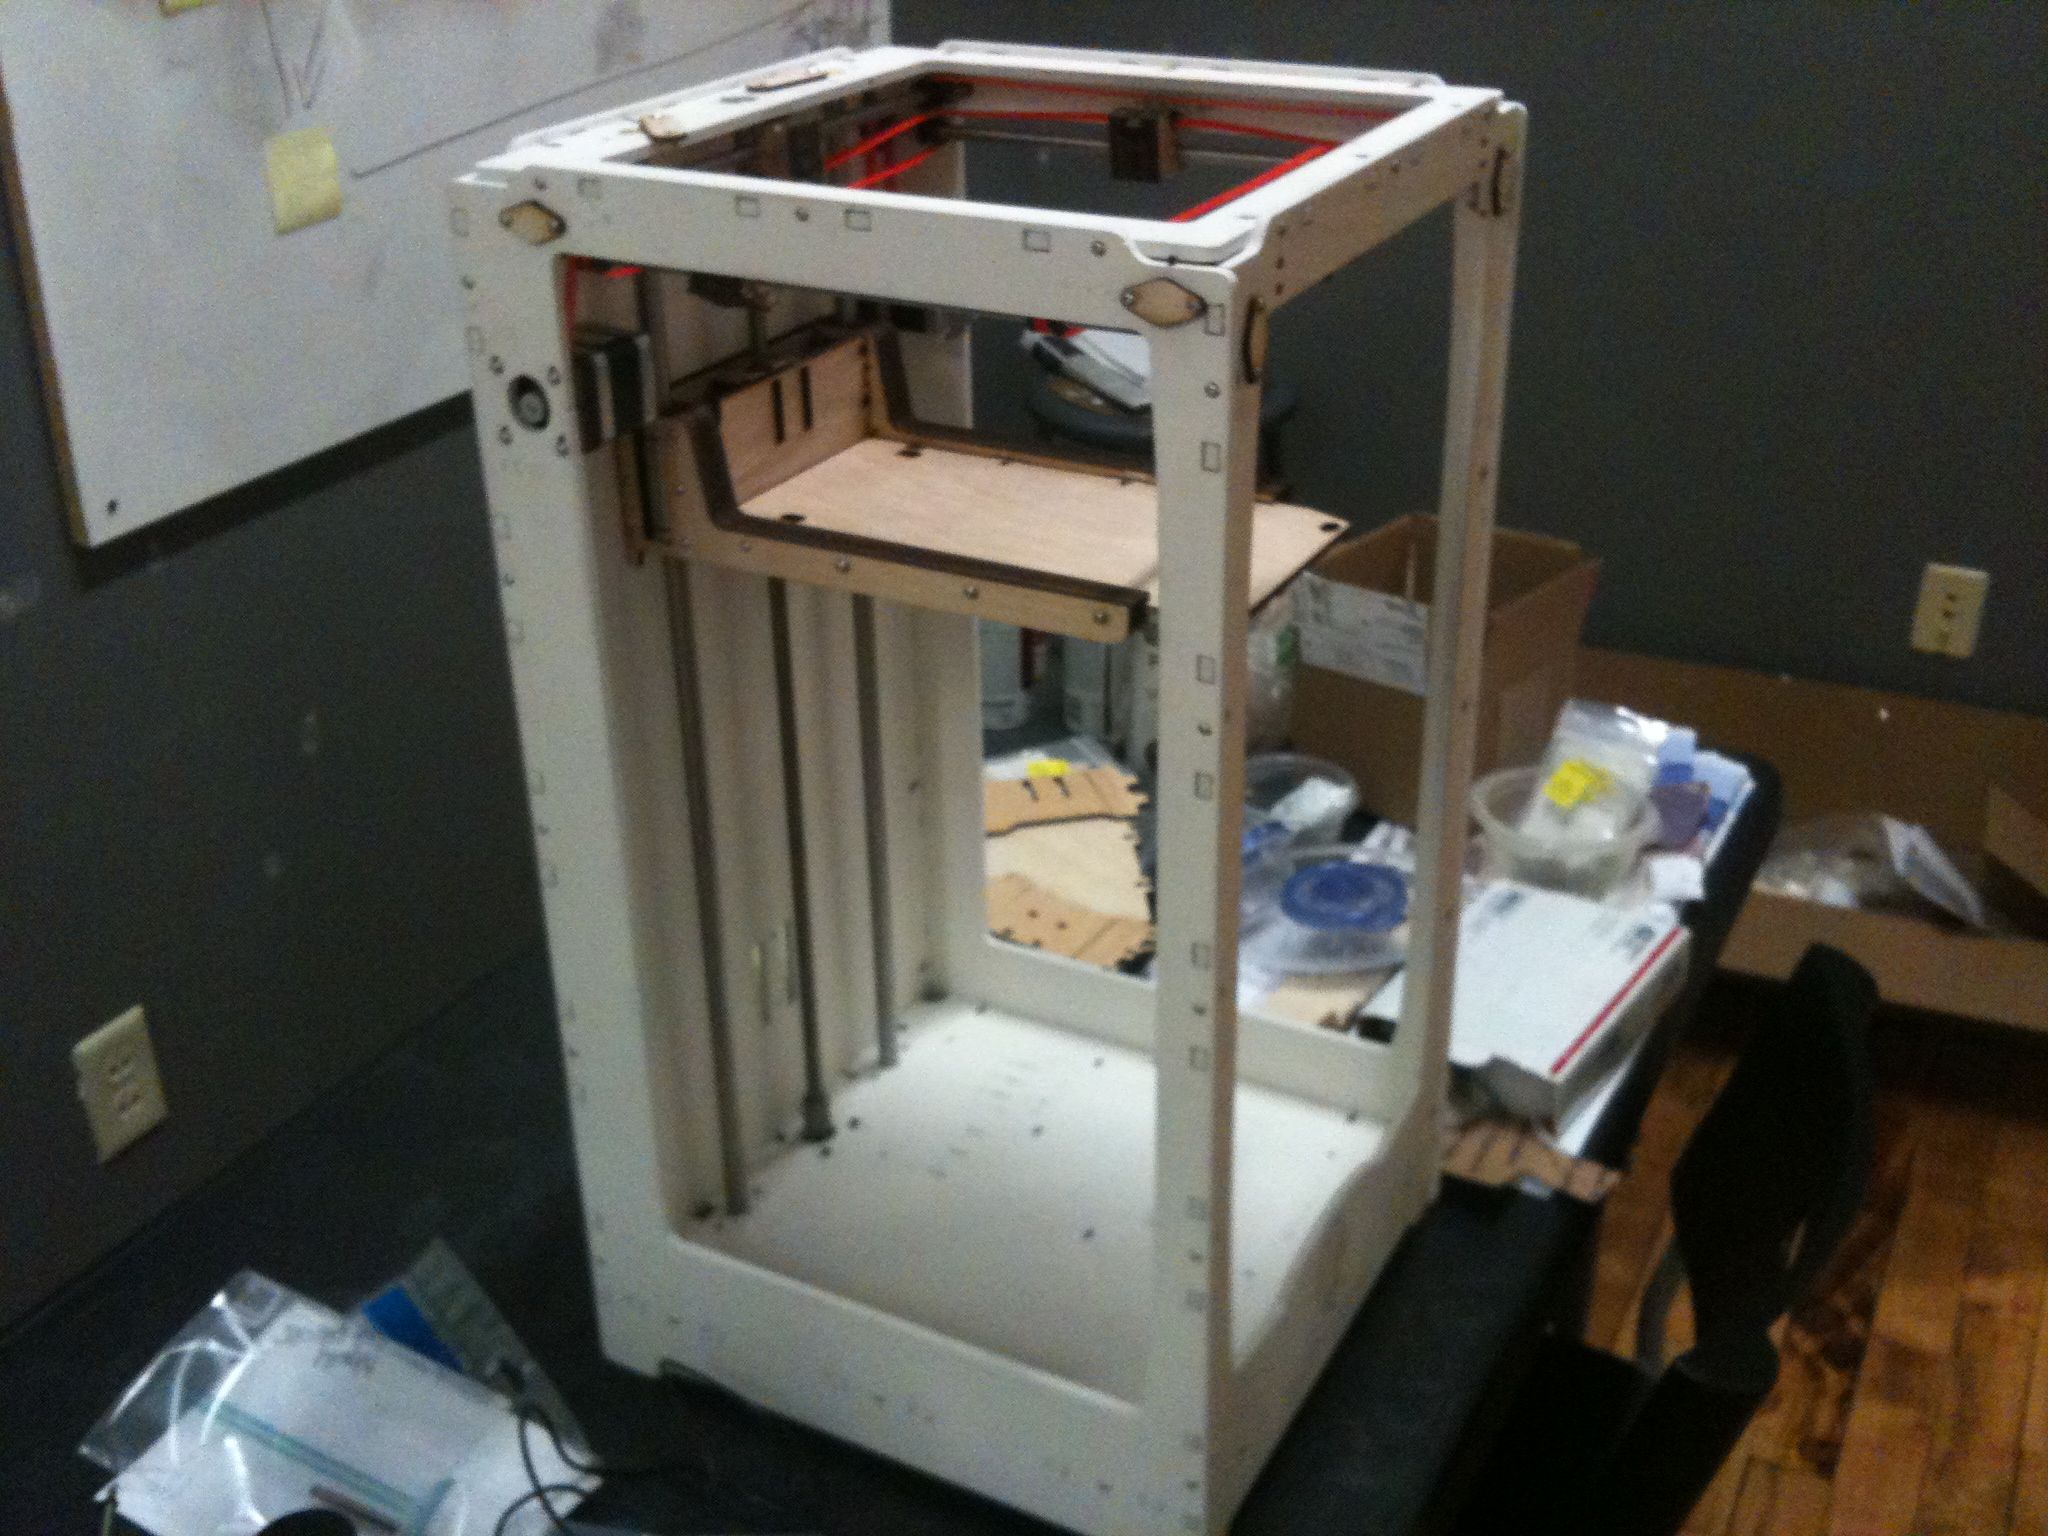
- We redesigned the housing of the Ultimaker to be much taller than the standard model, which would allow us to print much larger objects. As a result, the components making up the housing are too large to fit inside the bed of our 3d printer.
- All of the small parts needed to be cut by a professional company as well. The reason is because when it comes down to it, our laser cutter is in pretty bad shape, with focus issues and a warped bed. Consequently we do not have the ability to cut large numbers of precision parts without a tremendous amount of trial and error, which wastes time and raw materials.
• For the parts not cut out by laser cutter, we ordered them from various vendors online, including ebay. One unfortunate issue with this project is that in the Ultimaker source material, many of the specifications of the parts we need are left vague or are in fact incorrect. Consequenlty, without things like specific lengths, widths, thread counts, or part numbers, it's quite difficult to purchase the correct parts for this project since there's so much guesswork invovled. If we had ordered a kit then this would not be an issue of course, because the company would have sent us all of our parts. I personally suspect that the parts list is deliberately left vague to discourage people from building their own Ultimaker clones, and to encourage the purchase of more kits. Or maybe the creators are just sloppy. In any case, the result of this is that many of the parts we ordered don't fit together properly.
1:10 pm
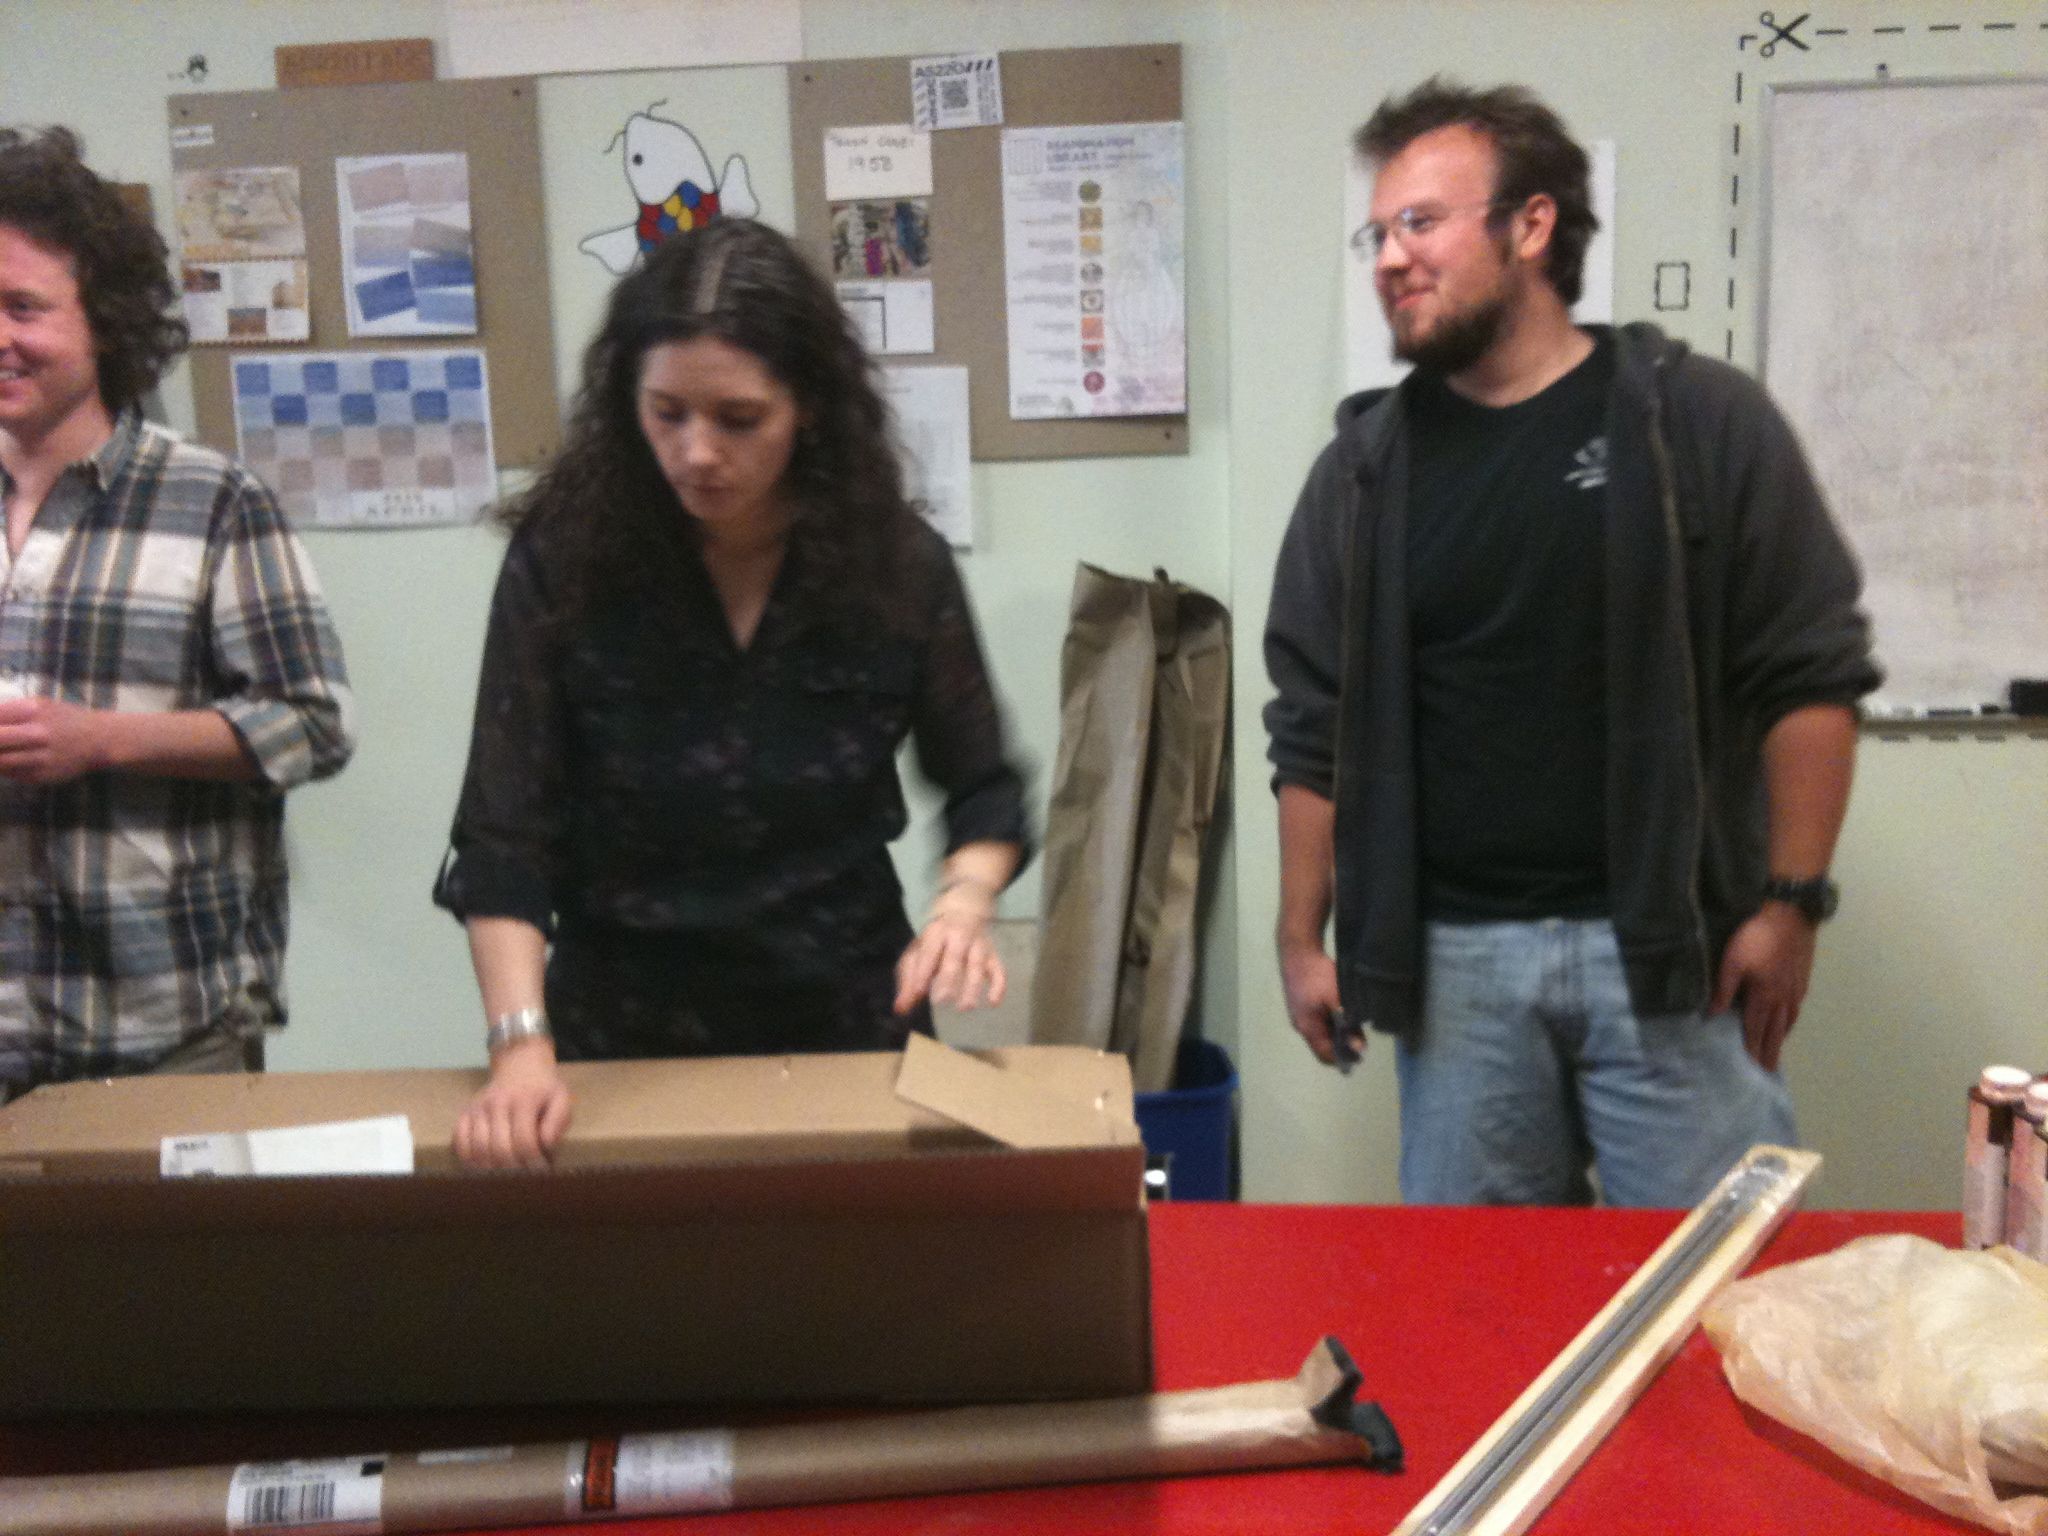
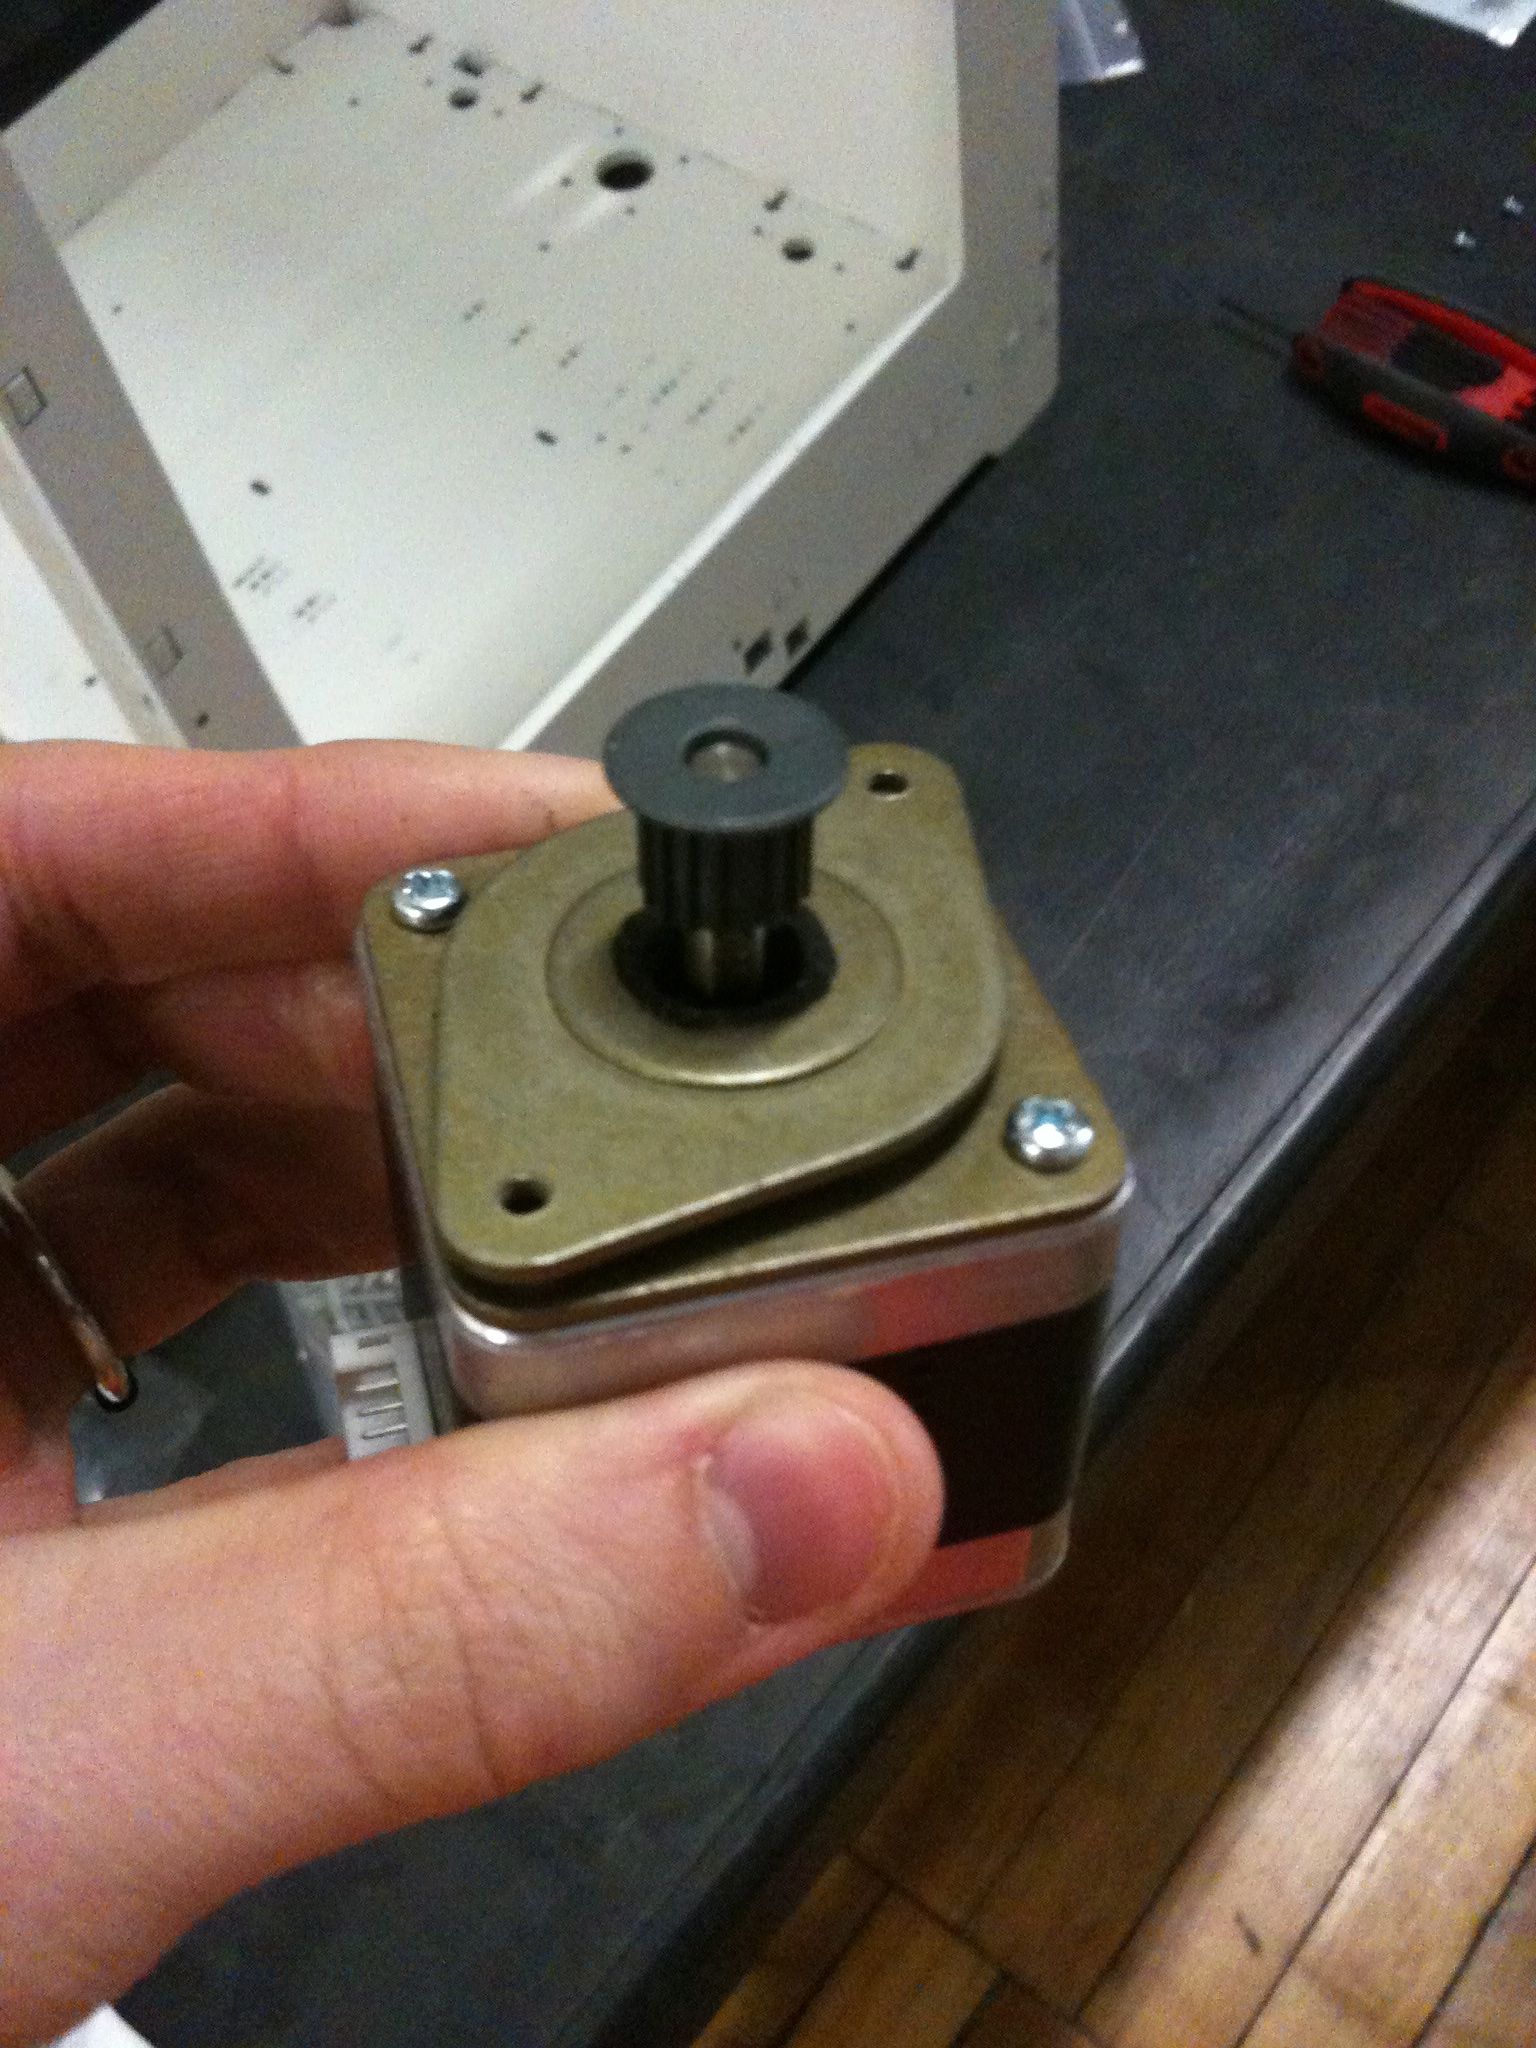
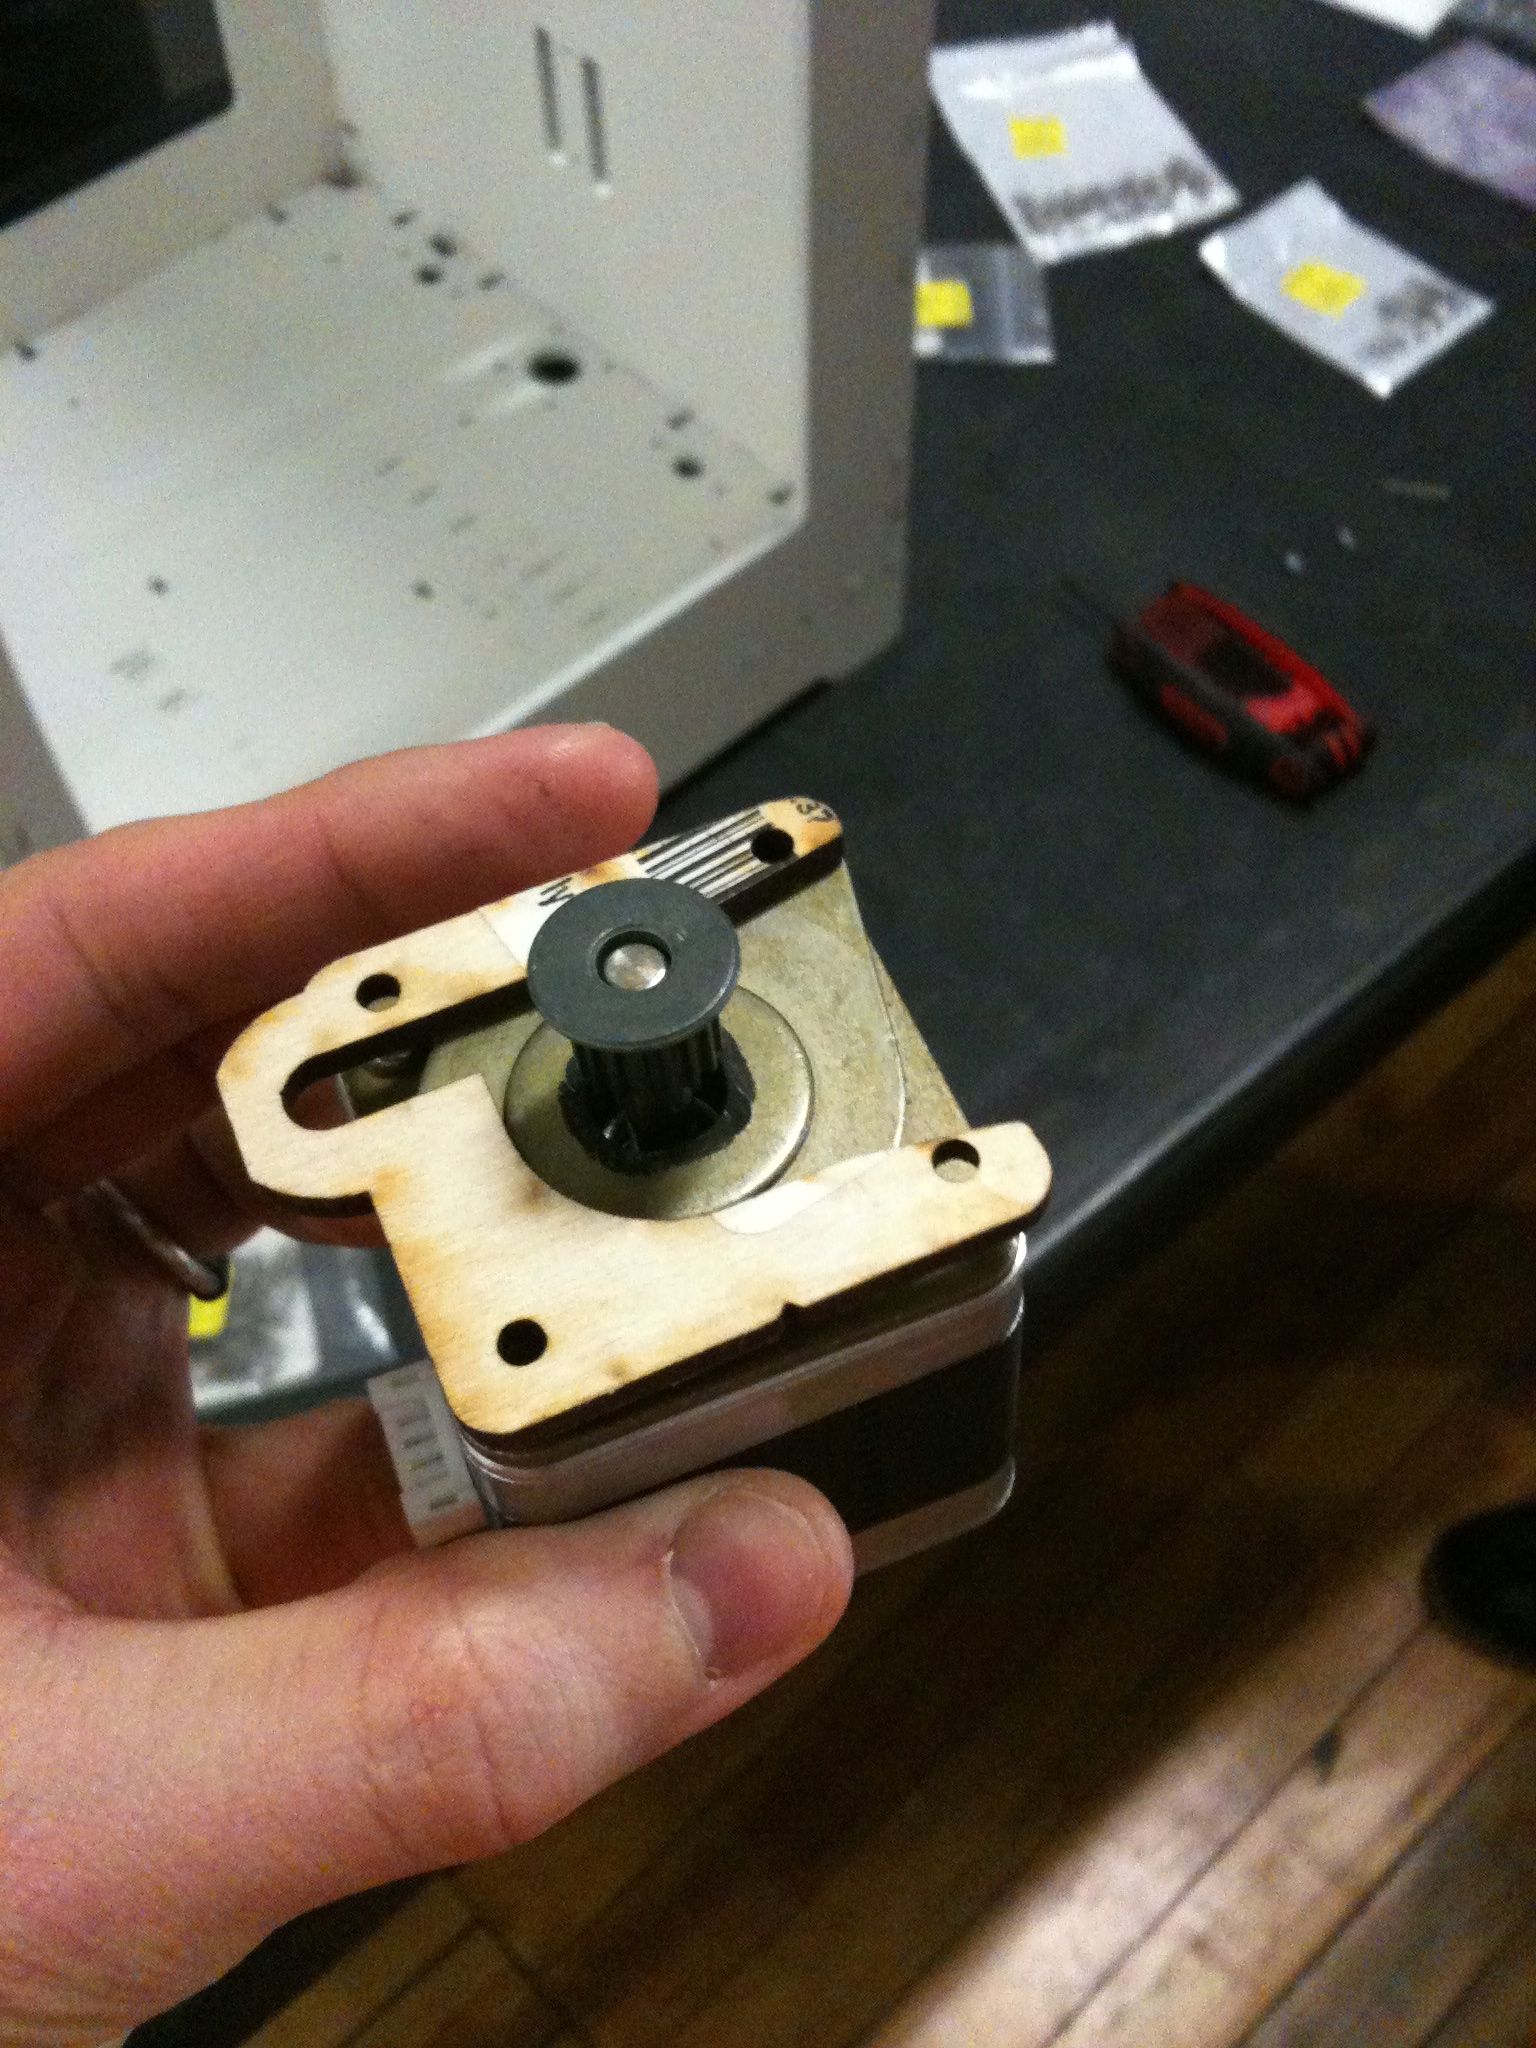
The stepper Motors, which we purchased through ebay, came with friction-fit plastic gears on them, as well as brass spacers. After a few moments of fumbling around trying to force the motors to fit into their designated places on the housing, it became apparent that these extra pieces would have to be removed. There is a tool called a "gear-puller", which none of us had on hand, but resolved to take care of at a later time.
1:15 pm
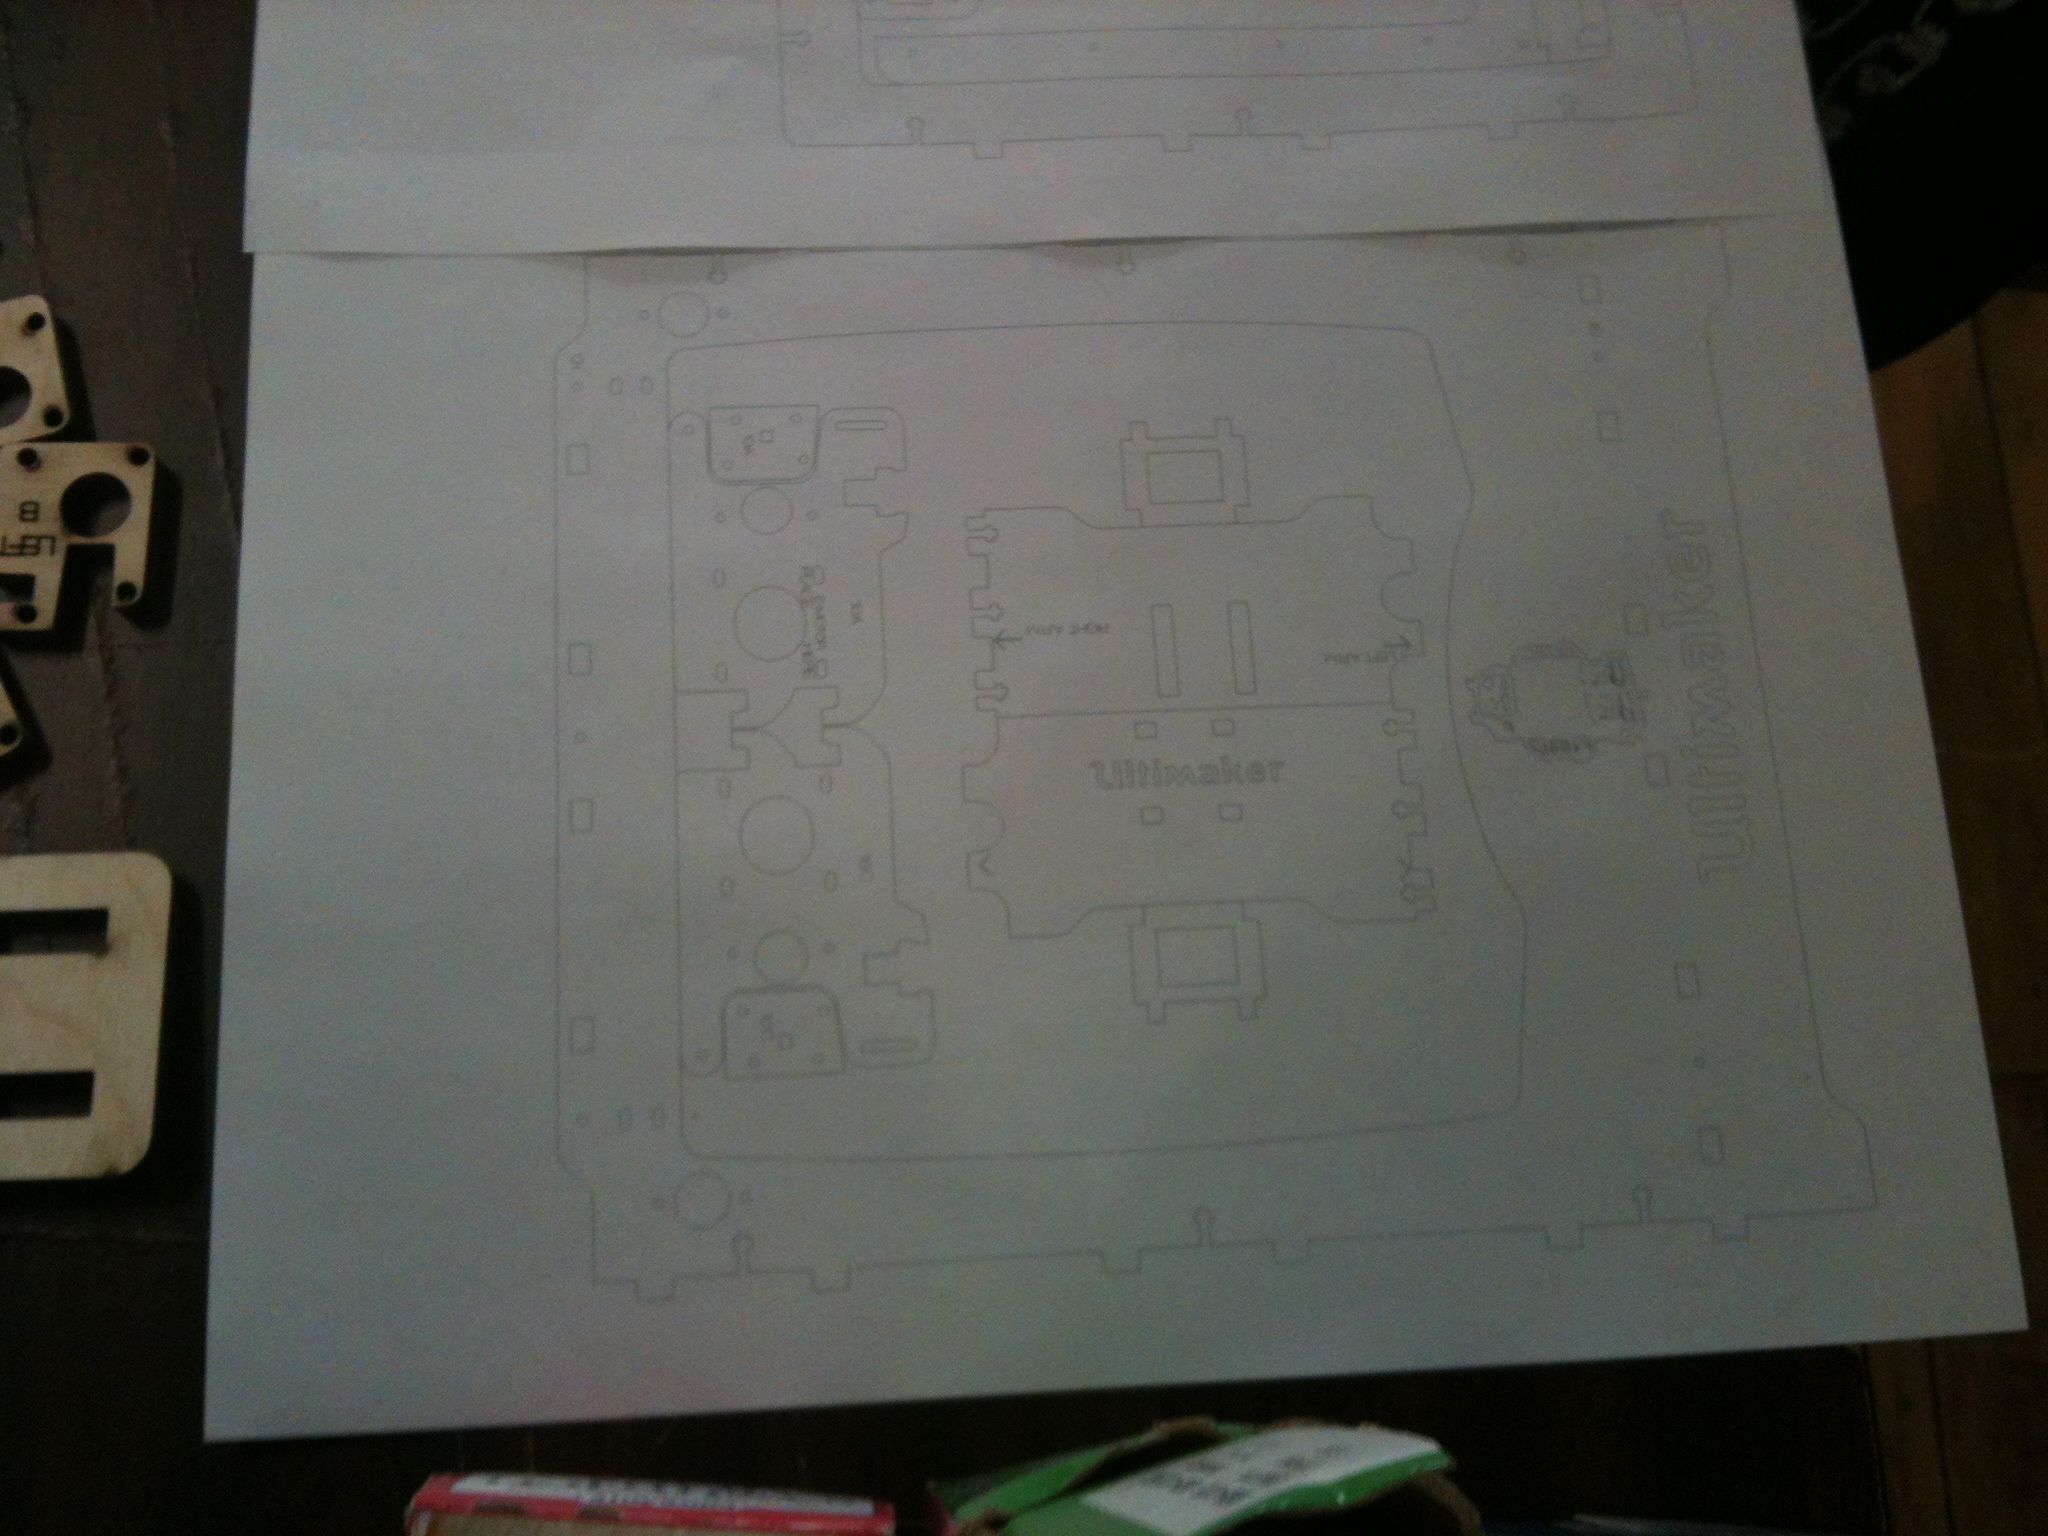
Some of the plywood components were broken or lost last week, so we attempted to laser-cut replacement pieces using our own laser cutter. One of our members spent the better part of a few days trying to re-cut the parts in need of replacement, because we didn't have the right thickness of material, and later because we couldn't get the parts to cut cleanly and consistently so that they would fit together properly.
1:50 pm
We decided to skip mounting of motors and carriage asseblies because:
- The parts as ordered weren't quite right
- we have duplicates of things we don't need
- we need to recut missing parts
1:54 pm
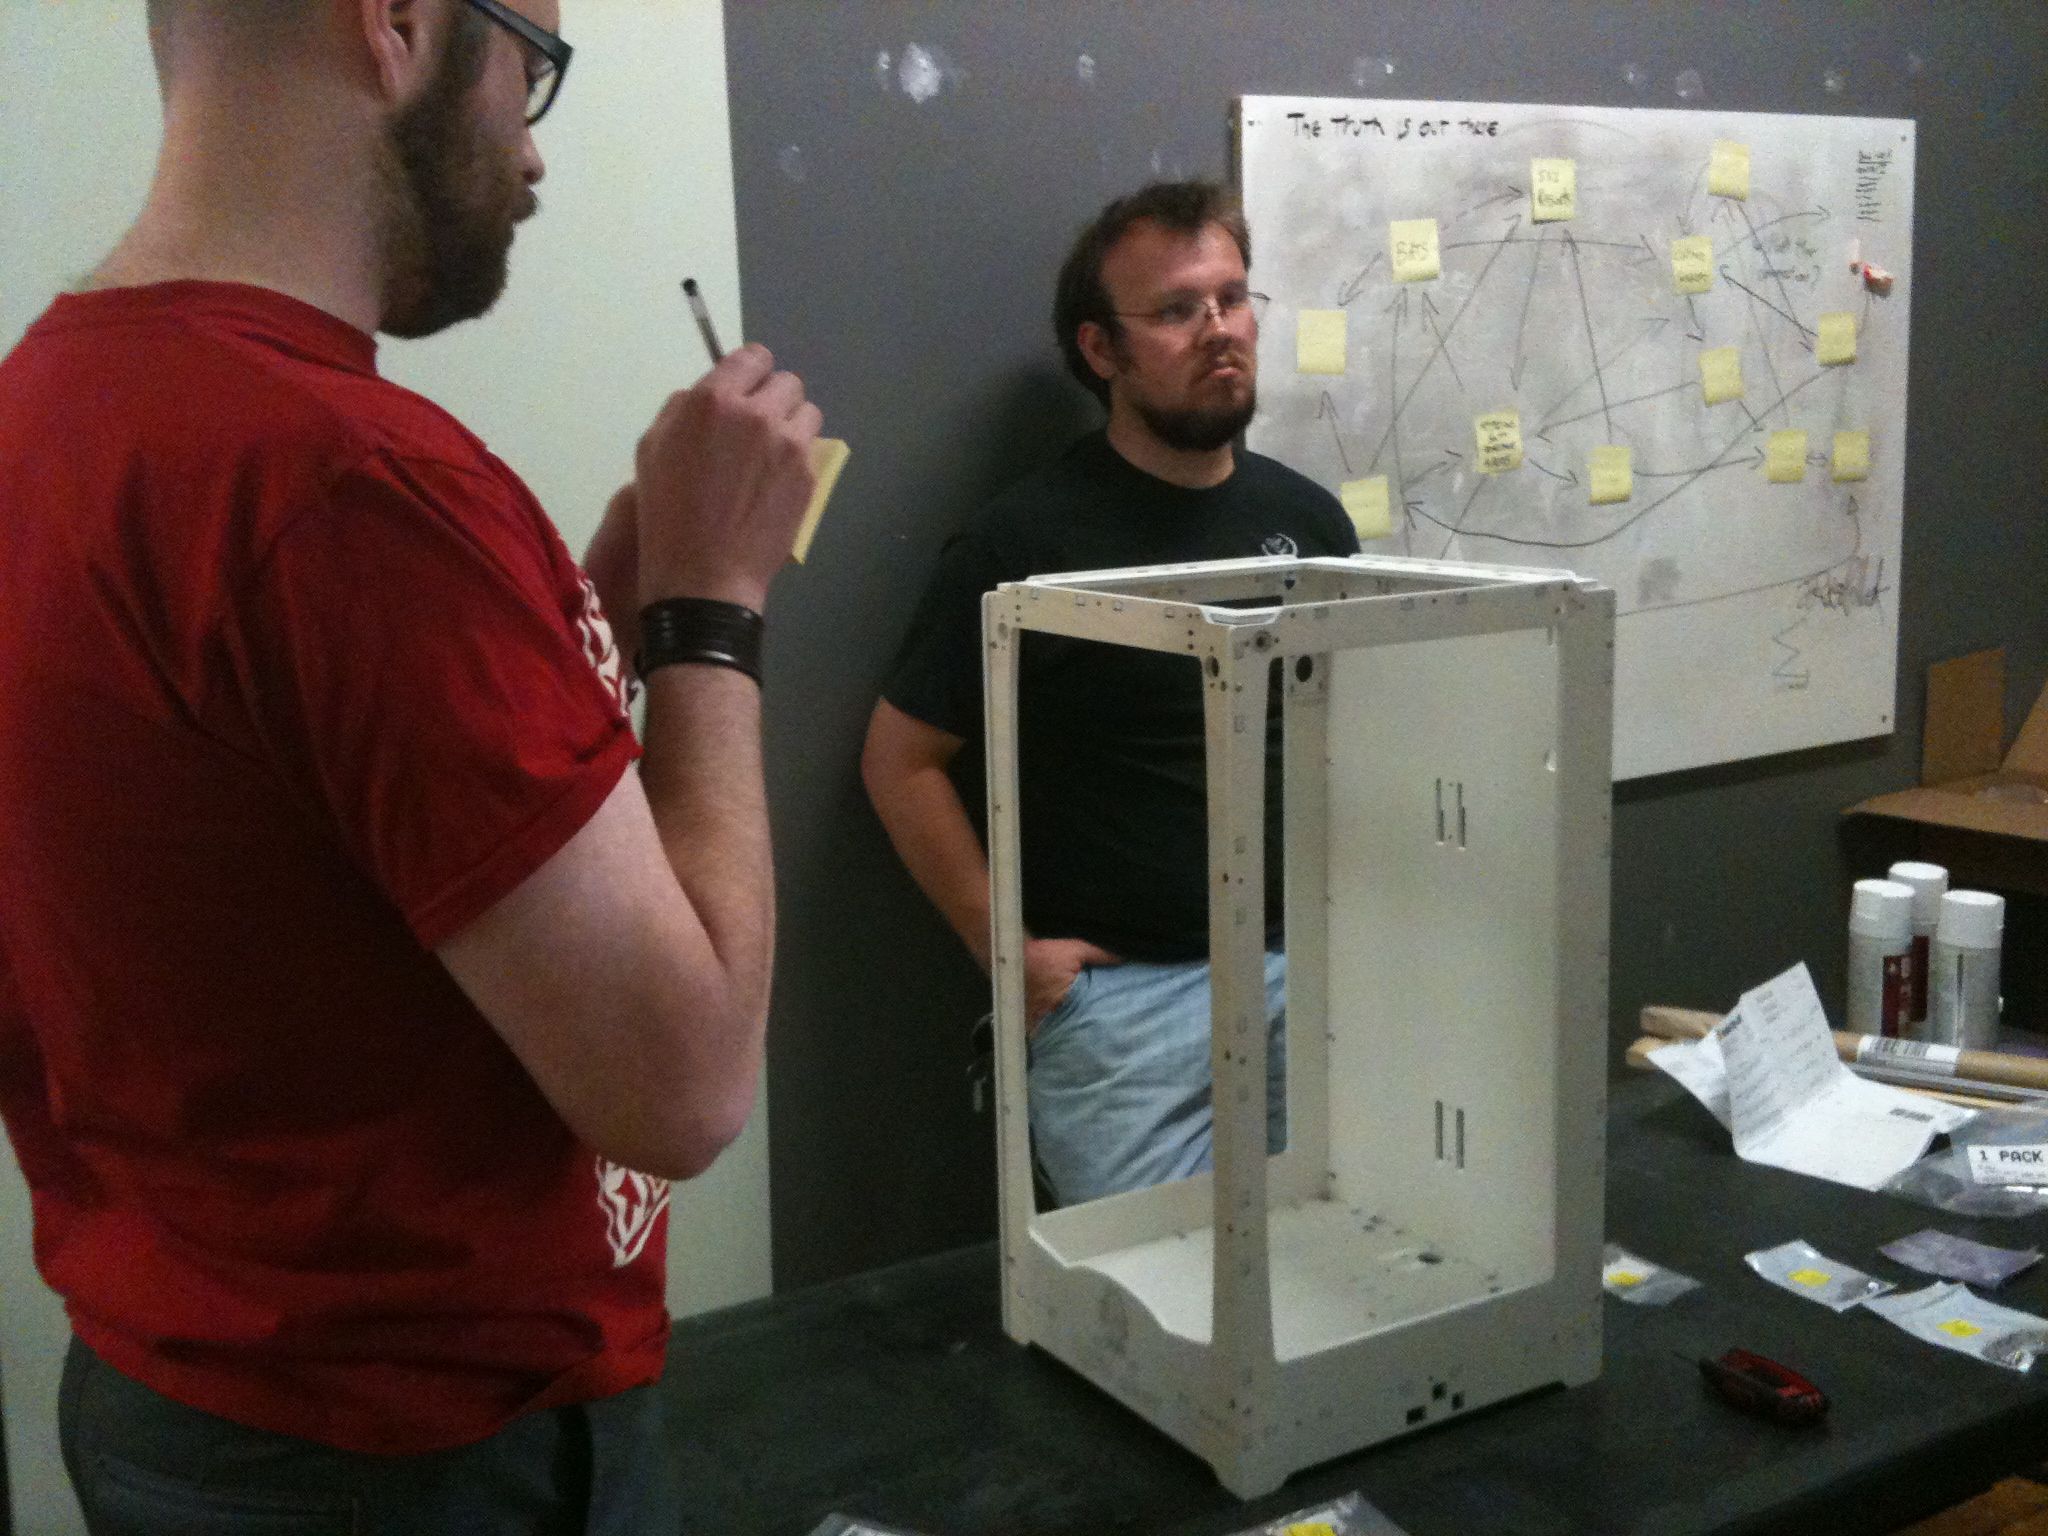
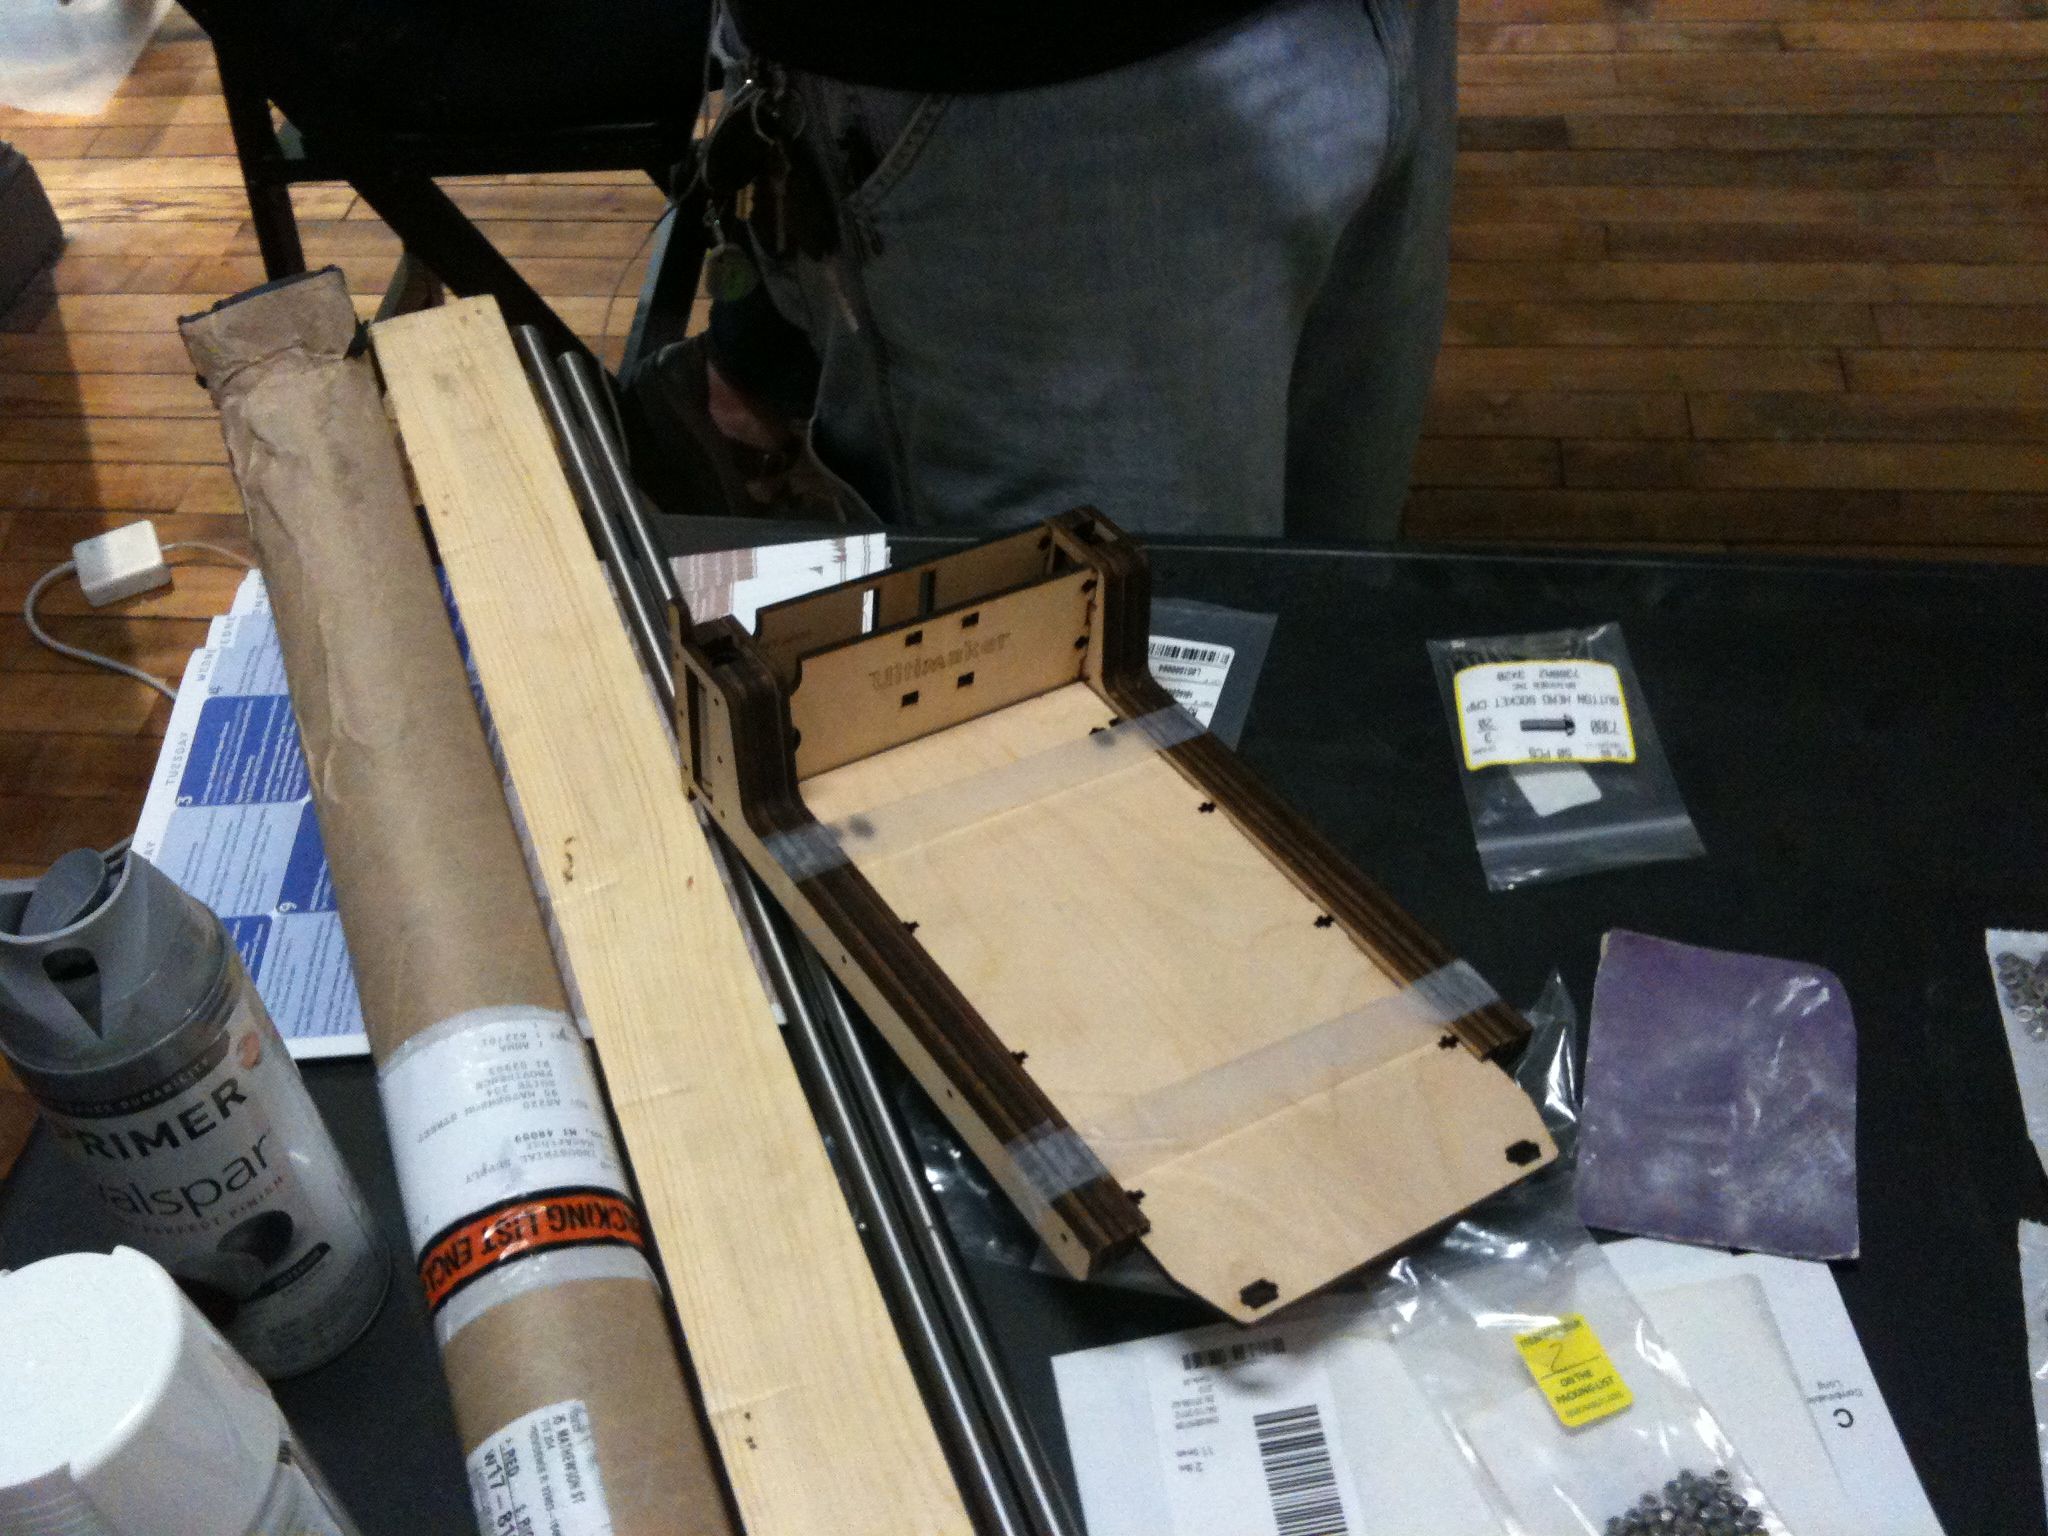
We taped together the components for the 2-axis platform to test fit. Once we were satisfied with the fit, we screwed all the components together.
2:19 pm
We still need to order a power supply and some additional electronics components. Also:
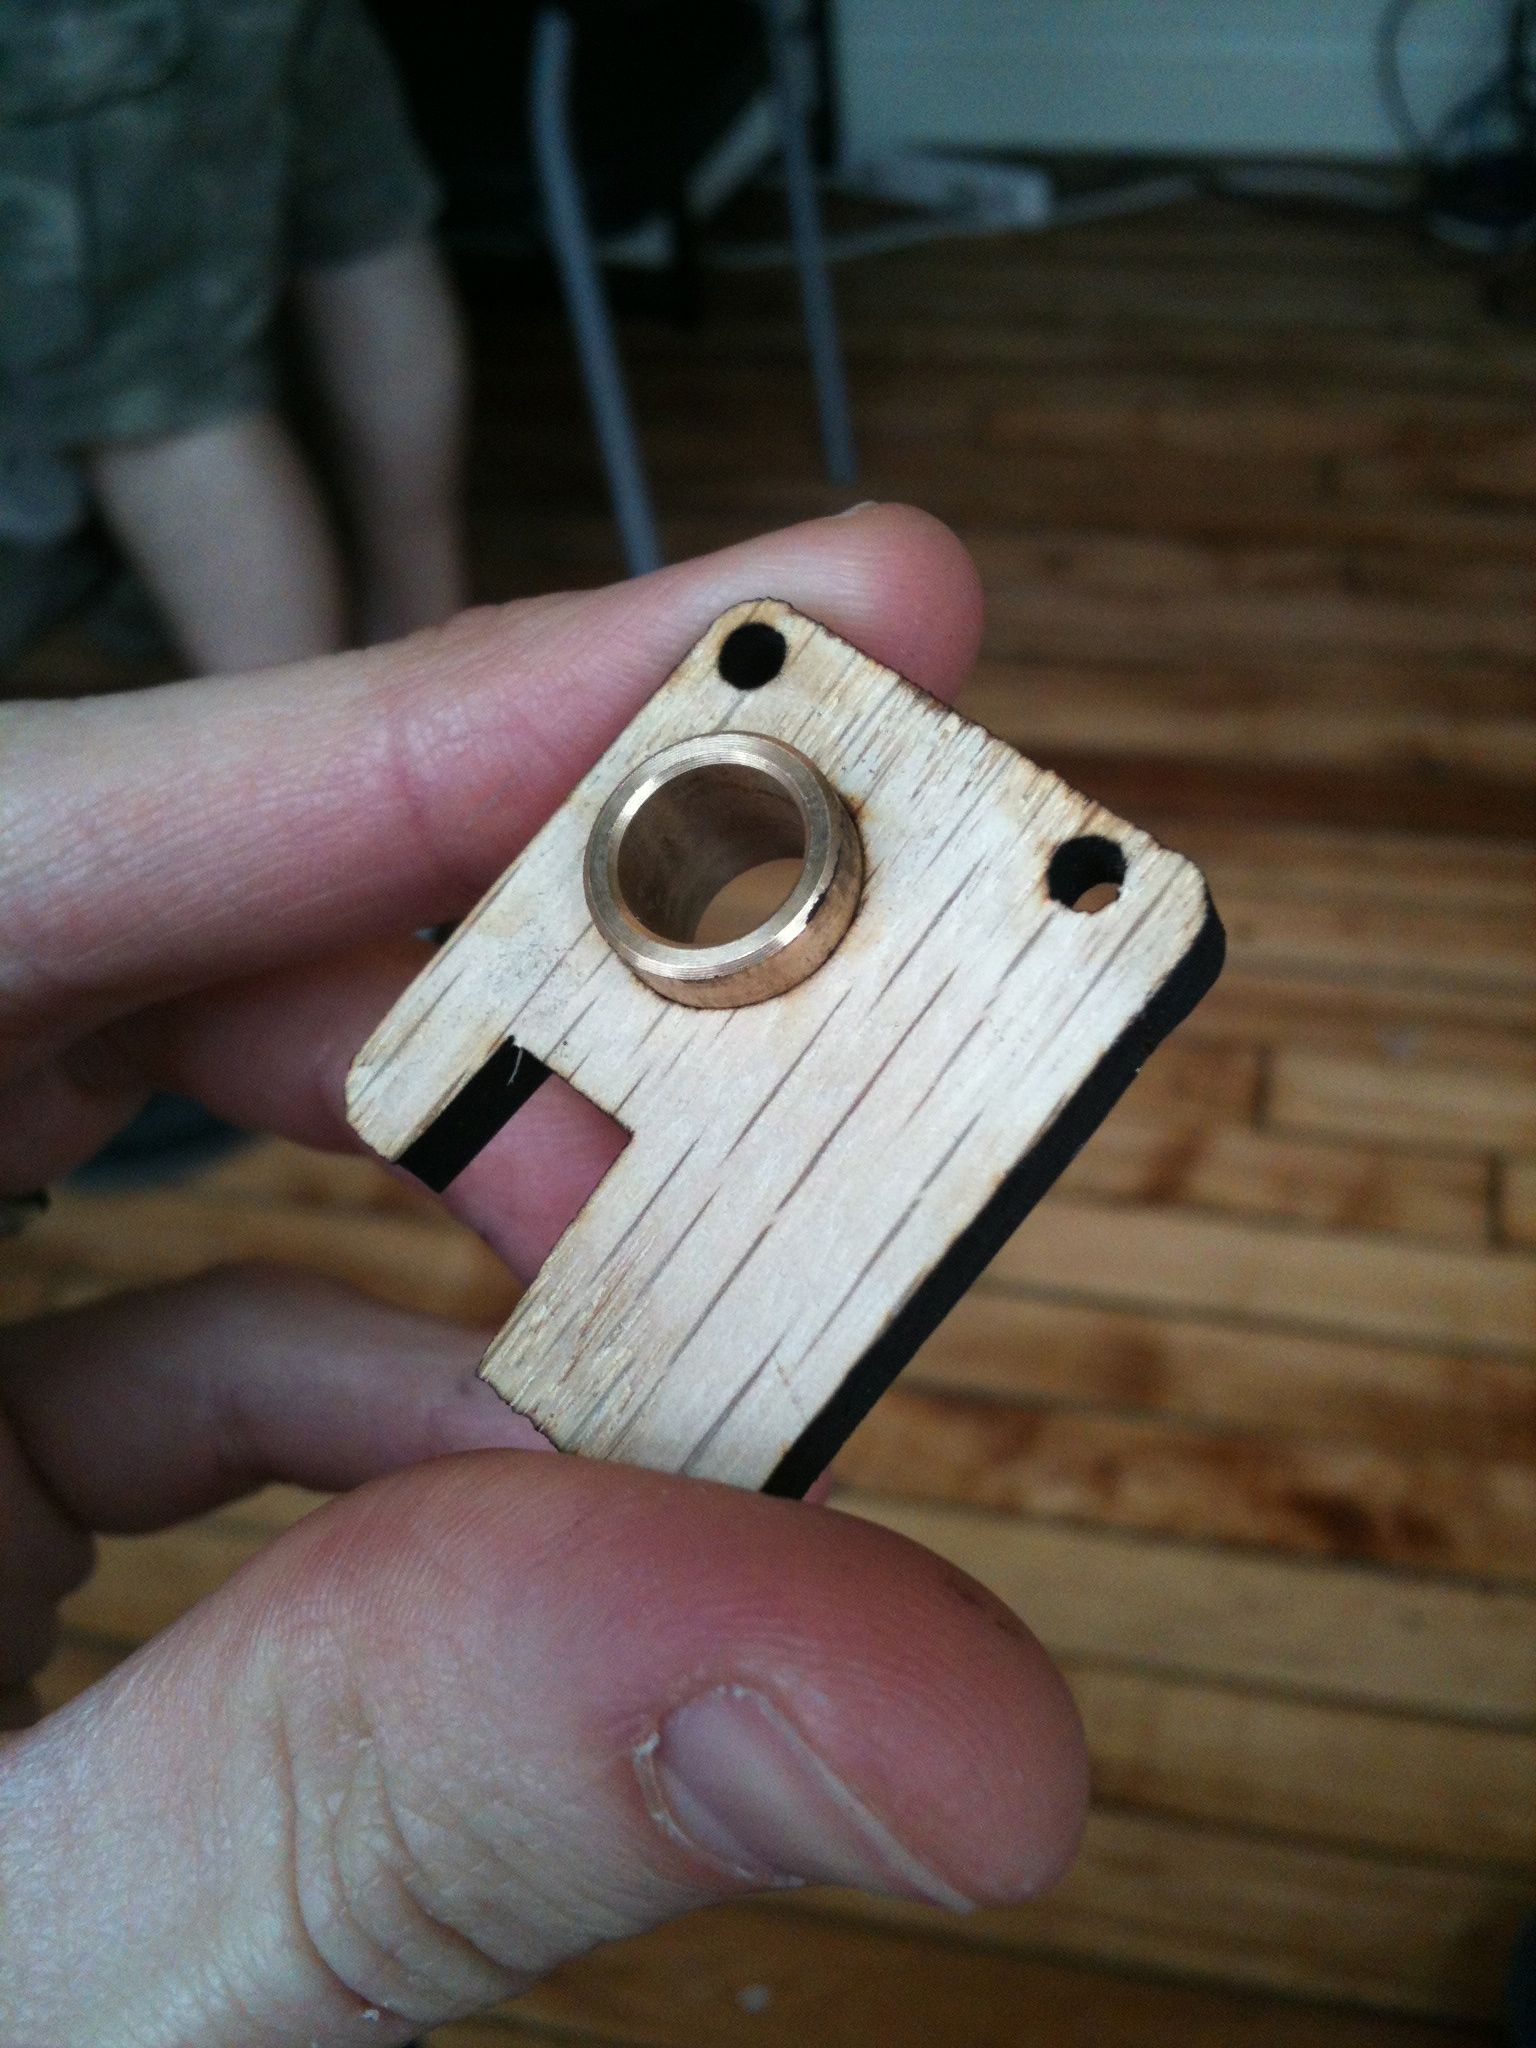
- Some parts do not fit together and have holes that need to be reamed out.
- The metal rods for the x and y axis are too thick and don't fit the bearings.
19 April 2012 7:37 pm Wednesday
• We have installed the drive belts
• We lathed the oversized rods down so they would fit the brass gaskets.
• We cut down the overlong rod so it would fit in the verical housing.
• We need to find a solution for the fan duct, which in the kit is an origami-like component made of scored and folded polypropylene.
- I found a 3d printable version of it on Thingiverse.com
• We removed the plastic gears from the stepper motors with a gear-puller. We also removed the brass dampers.