The main problem I've been encountering with sketchup is that there doesn't seem to be a reliable way to rotate or move objects along a chosen axis. The program is supposed to "snap" to certain axi when you click and drag something near it, and there are nice visual indicators to show you when this is happening, but if you can't get it to snap in the way you want it to then you are out of luck as best I can tell. In other 3d programs which I have used in the past, such as FormZ and Rhinoceros, there are either modifier keys you can hold down to lock your input to an axis, or menu options you can select which perform the same function. As near as I could tell there is no way to lock along an axis without successfully getting the application to register a click or mouse cursor movement in the correct direction. A cursory search online seems to confirm this.
Anyway, I'm glad that Anna told our class that it would be OK to model a test object for the 3d printer rather than an animated 3d model of our final project performing all its functions, because it turns out that 3d modeling is really hard if you don't already know how to use the software beforehand and in my case, at least, there wasn't enough time for me to figure it all out on my own.
I actually had a very simple project in mind for the 3d printer. I noticed how the striated texture and the often irregular surface of the 3d printouts made on the machine so far, and so I decided I would like to print a simple shape multiple times but with it oriented in space at different angles with each printout. This way I would get several different looking objects. It's getting close to Valentine's Day, so I wanted to make a heart shaped object.
The original plan was to make a kind of puffy, domed heart. Sort of like what a heart-shaped balloon would look like. I knew from doing the tutorials that Sketchup was not well suited to this, but I felt that I could make a good approximation of the shape that I wanted by either using a series of offsets combined with the push/pull tool and then selective deletion of vertices, or else by revolving, unioning, and then deforming a series of shapes.
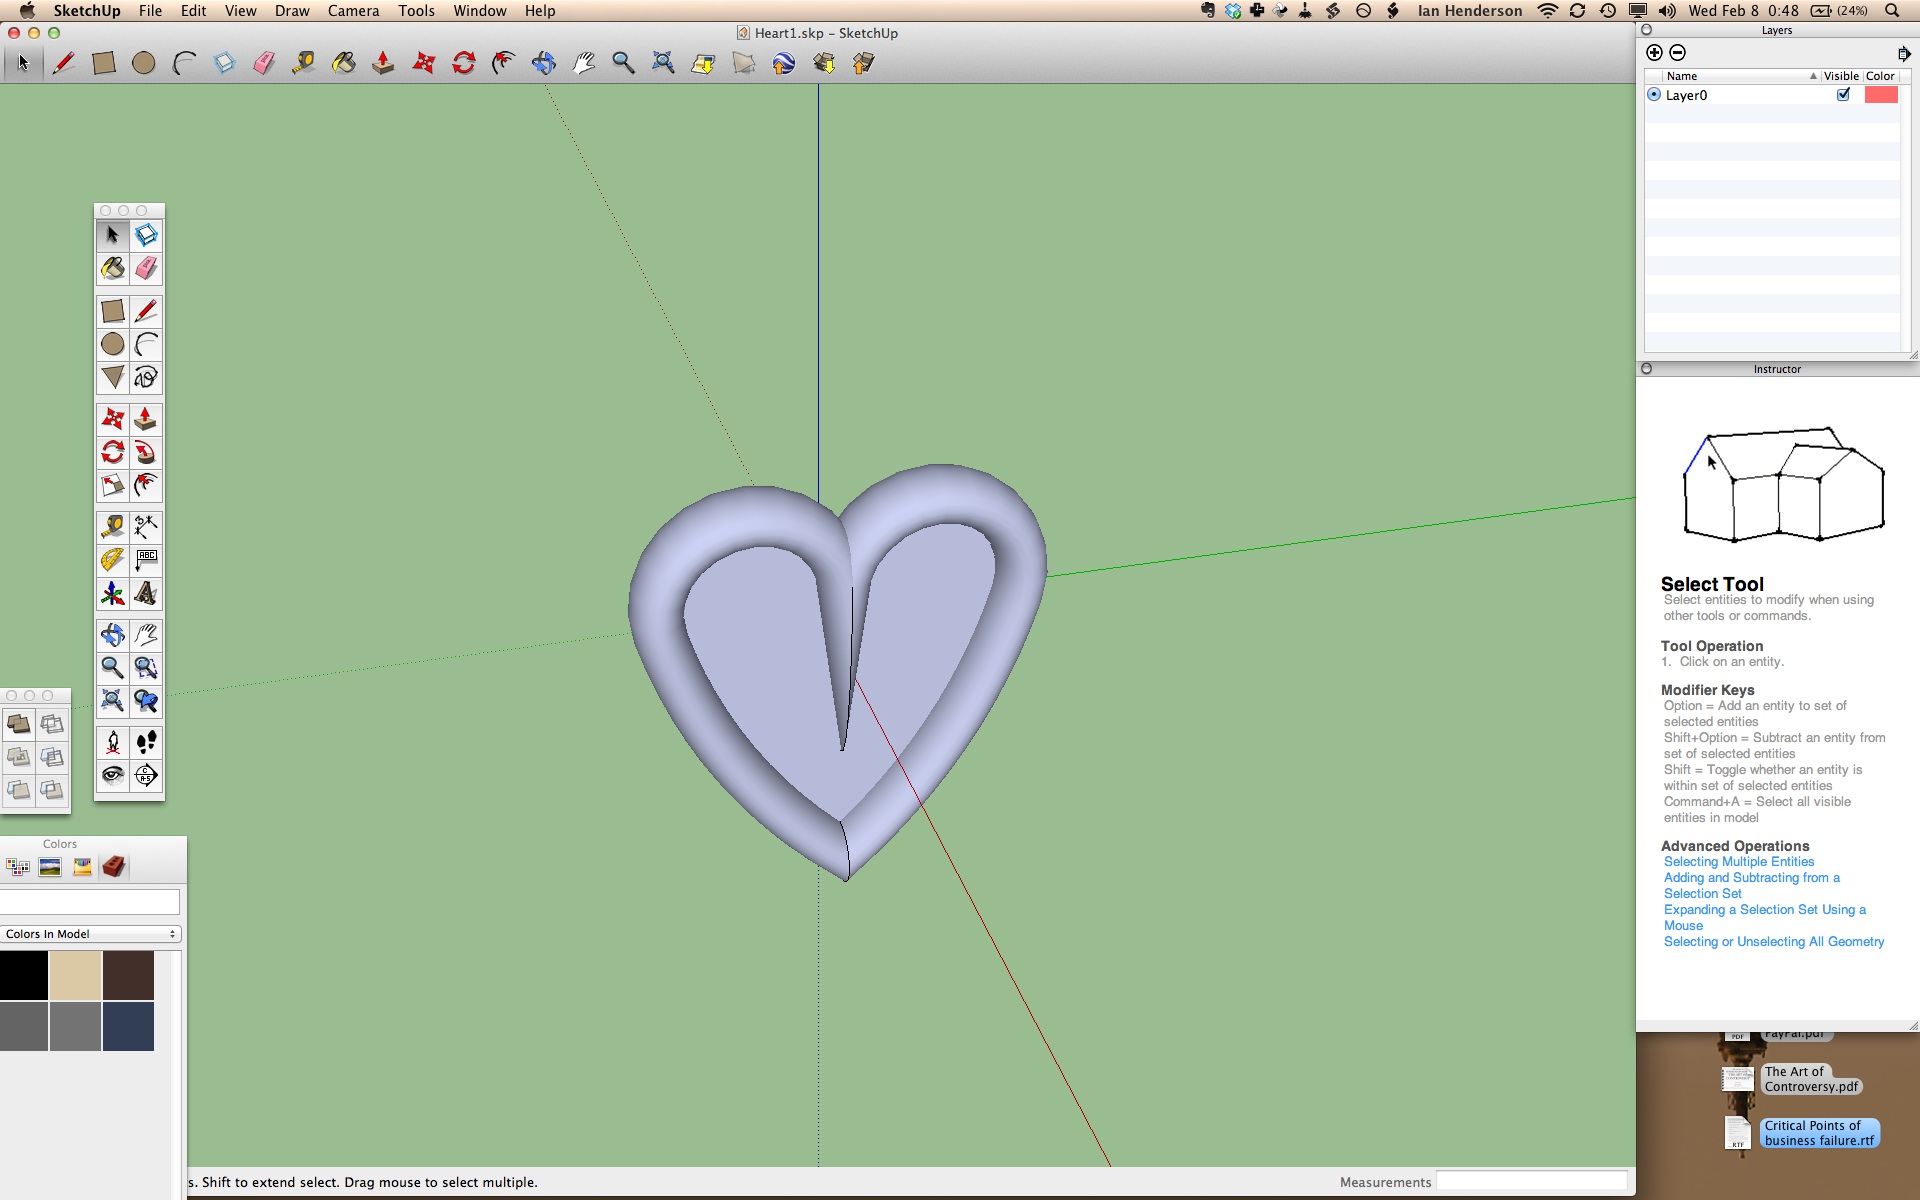
Because of the previously described issues with rotation and movement along specified axes, though, I finally threw up my hands in frustration after some hours of being unable to perform even the most basic preliminary actions. However, the "follow me" tool was working quite well, so I made a heart-shaped cookie instead of a heart-shaped balloon. I think for purposes of 3d printing on the Thing-O-Matic, this will take advantage of the texture just as well.
Here's a screenshot!