
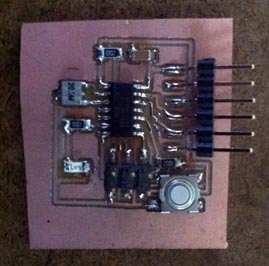
I initially added and "net" the components while working in the schematic.
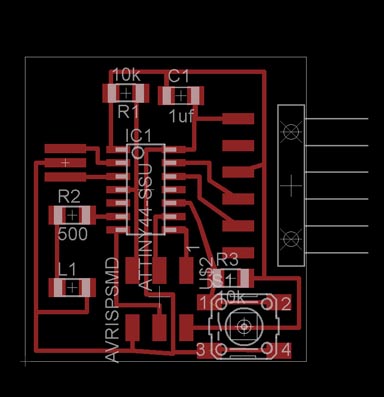
After all the components where connected, i switched to board view and made some adjustments to accomodate the new LED and Button.
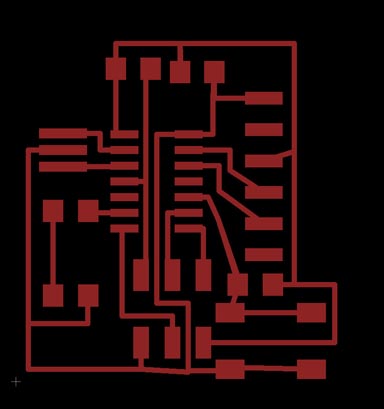
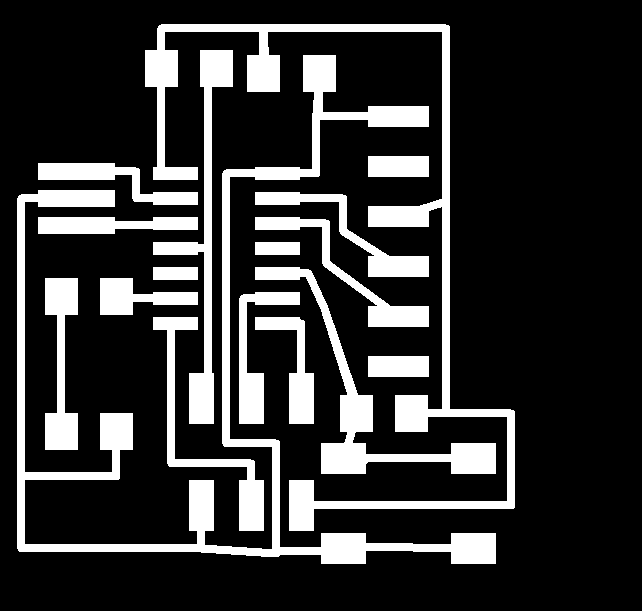
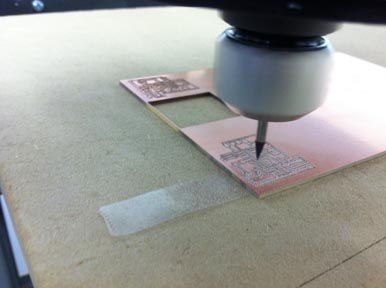
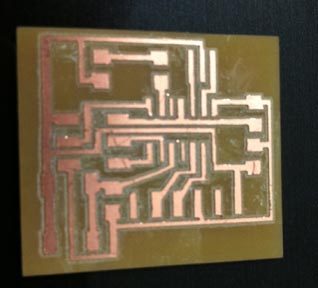
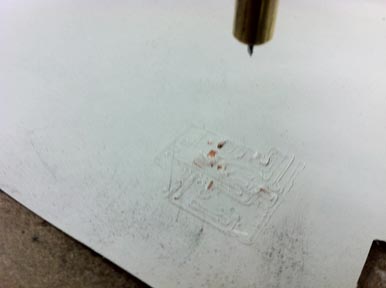
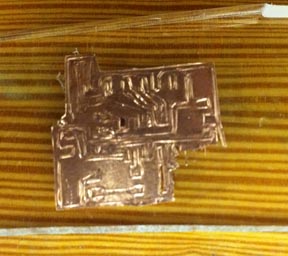
Once i Exported my monochrome image from Eagle, I had an image to transfer to the machine. I milled the board on a 5' x 10' CNC machine. I used an adapter to hold the 1/8" shank to a 1/4" router collet for both the 1/64" bit used to mill the traces and a 1/32" bit used to cut out the final product. The copper board was held in place with double stick tape. I was then able to solder on the components.
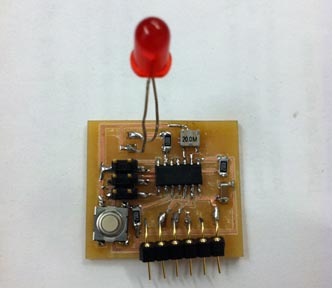
I had toruble programming the board, and i recieved the proper LED and FTDI hookup, so i milled a new board and stuffed it properly.
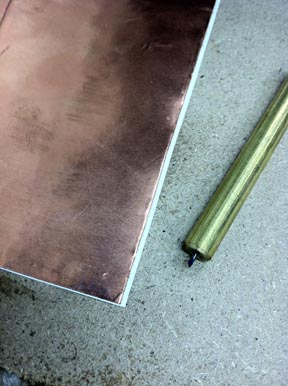
I initially tried to use a CNC drag knife to cut copper vinyl for the board. Although the machine could draw the lines accurately, the knife could not turn the corners light enough. I also made an attemtp to cut the copper from the back side to see if it would cut through and not tear. I had no luck.
hino