assignment
make
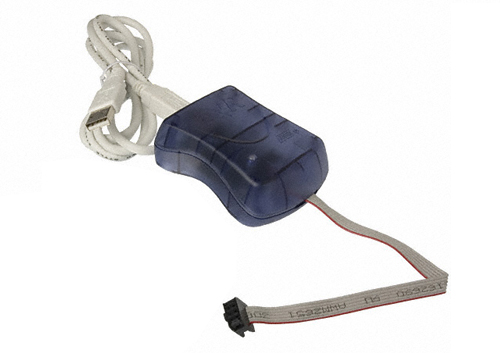
the FabISP in-circuit programmer David Andy Valentin
1.
Milling the board
I milled the board with Modela machine. I used a png file to mill the
traces of the circuit (1/64 mill) and I cut out using another png file
(1/34 mill) I had some problems with the depth of the milling either in
the traces and the cut.
2.
Soldering the components
In my first attempt I had some problems soldering the tiniest components
but in my second attempt it was better. I started with the processor and
from the most inside components going to the limits.
I welded two jumpers witch I have removed after program the ATtiny44 procesor.
3.
Programming the ATtiny44
After re-soldering some parts because the USB it was not working I have
checked the different connections using a multimeter and the scheme of
the board. I founded two errors and I resoldered.
Download
firmware (firmware.zip) from here
http://academy.cba.mit.edu/classes/electronics_production/index.html
You'll
also need to install the development tools for AVR microcontrollers. Crosspack
- on Mac OS X WinAVR - on Windows
After that I programmed the processor using the USB and the ISP connectors
and a comercial ARV Programer (AVRISP2)
I programed using the secuence
make clean
make hex (sudo)
make fuse (check programmer (AVRISP2)
in Makefile, may need to repeat) (sudo)
make program desolder SJ1 and SJ2
make IDC ISP cable, connecting header pin 1 to pin 1
Once the ATtiny44 is programmed, open the SJ1 and SJ2 solder jumper (disconnect the two pads).
This tutuorial from Providence was very useful and its everything very
well documented
http://www.as220.org/fabacademy/tutorials/05.html
4. Using the FabISP
Now I can use the FabISP as a programmer for all the comming assignments.
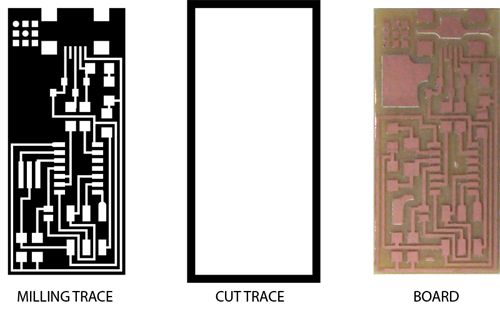
01. The traces and the board
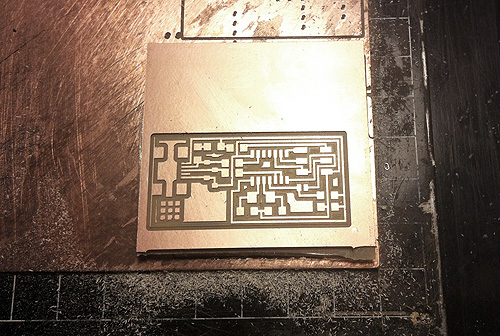
02. Milling the board
with Modela.
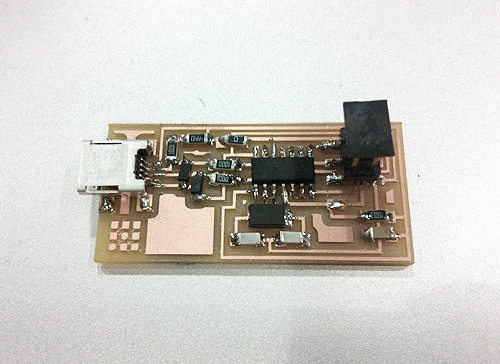
03. First attempt circuit. Assembled.

04. First attempt circuit. Assembled.