FabLab Academy 2012
Manchester Lab
David Forgham-Bailey
This week's task was to interface the sensor boards, from last week,
and use the output.
Programming in different languages was at the core of this task.
I decided to explore Python - since this seems to be a crucial language
to understand. Processing has a more user friendly interface and has a
similar language structure. Finally Scratch has a brilliant and easy
interface and offers an neat connection to multimedia.
The first obstacle was to make the board connect with the programme.
With Python the basic interface has been provided - but I decided to
explore the interfacing subroutines - to understand the program
sequencing. I found a number of examples from past students and worked
through stripping out code to leave the basic communication routines.
I constructed a small routine which justs displays the value coming
from the sensor in a window.
Next steps - to be implemented - use this value to control a sprite.
Next I used Processing. Interfacing with the board required some work.
I used the light, txrx and mic boards - each needed the values tuning.
I decided to focus on the mic board and see if I could record some
audio. I found a 'record routine' which creates a .wav file. But I
could only get this to work by using the laptop's mic. This involved
installing and configuring 'minim'. I have to explore how to interface
this routine with the data coming from the 'sensor mic'.
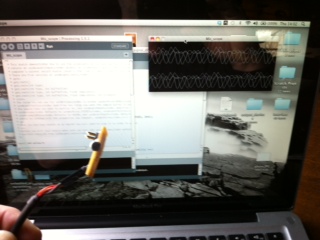
I created a routine which displayed a scope type reading.
Display showing respose to constant whistle:
More work is required to understand the data stored in a wav file - and
the routines which call minim - to allow the data from the board to be
recorded.....
Next I wanted to explore a GUI type programme - and chose Scratch -
which offers interfacing to a wealth of multimedia tools.
Connecting to sensor boards, and reading the data, required a modified
python routine which adds a recogisable port for Scratch to access
sensor data. This is run in a seperate terminal window. Scratch allows
external inputs to be read. Right click on sensor panel to activate
interface...
I created a routine which checks that data is being received:
Photo shows response to light /dark, and txrx Step response:
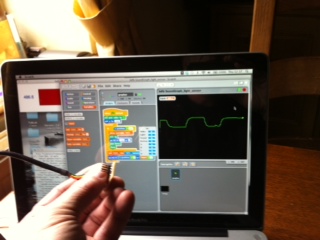
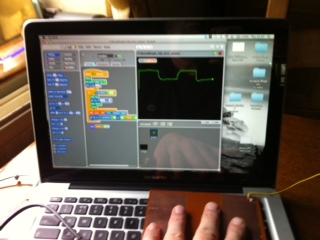
It can be seen how the two sensors respond to changes. The light
sensor responds immediately/ the txrx has a much slower reponse.
For my final project I intend to include a remote control for my
Dummy - so I created a demo routine which uses the light sensor to
control a Dummy's mouth:
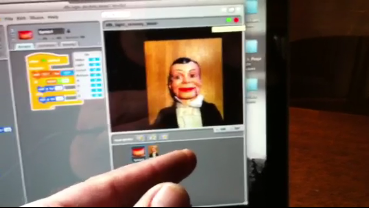
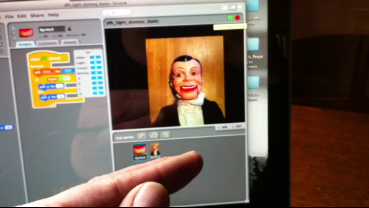
Here's a link to a short video showing a 'Light Controlled Virtual
Ventiloquist Dummy Mk1.
images/light_dummy.MOV
Code examples here:
Comments:
Software:
Hardware:
Weekly Assignment:
Narrative:
Materials:
Machine Settings:
Photos:
Files:
Drawings:
External Links:
