 suspitition
 Weekly Assignment:
* 3D scan an object
- extra credit: make the
scanner
* design and 3D print an object (small,
few cm)
- extra credit: edit
and print an object that you scanned
Narrative:
There are a number of ways to produce a 3D scan but first I
investigated using the iPhone/iPad. There are a number of apps which
claim to produce 3D scans by using the camera on the device.
With 'iFace3D' the subject is scanned for 15 seconds from one side view
to the other - the result is uploaded to a server and the completed
mesh and texture are produced (obj/wrl/jpg). To create a good scan the
motion must be constant, the lighting must be even and the subject must
be in front of a wall.
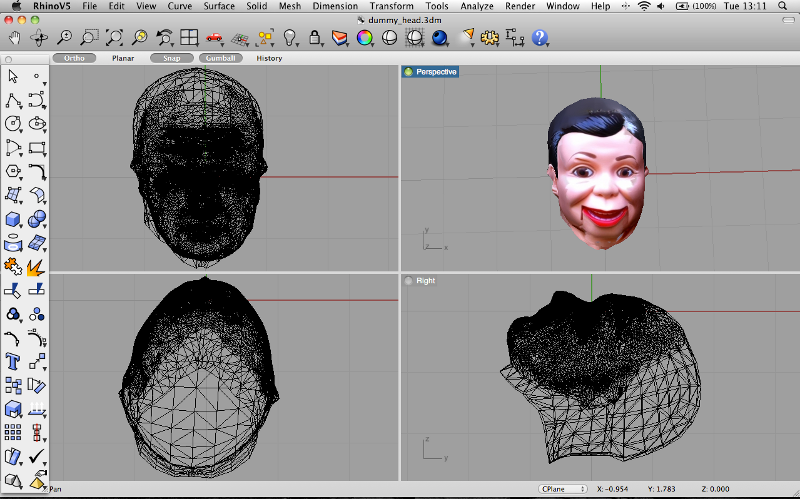
I have a head from a ventriloquist dummy which I want to use as a guide
for my final project. So I used this for a trial. The result was good
and I imported the obj file into Rhino:
suspitition
At first glance this looks like a powerful and cheap little app but
I suspect that the camera creates the texture file which is
wrapped around a standard head mesh.
The next app is 3DSurfScan - this creates an obj file - it works on the basis of colour contrast and with some practice can produce surfaces which can be worked on:
My Hand

My Keyboard
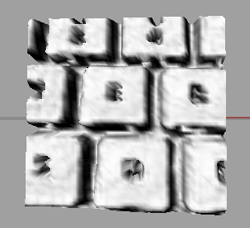 a block
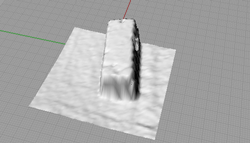
I also tried other apps but none were as good as these two.
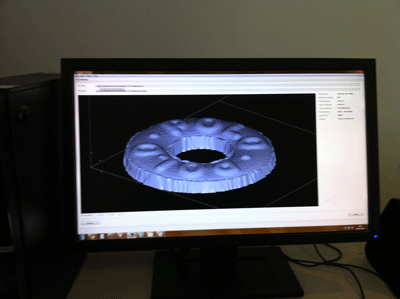
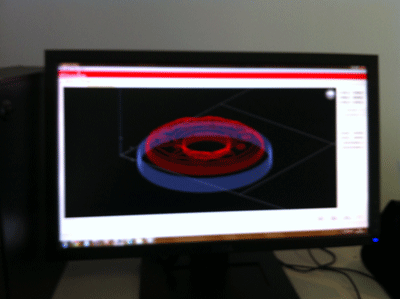
In the Lab, I used the Modela to scan a polo mint. Since this was a rather small object I scanned at .25mm resolution - it took 40 minutes to complete but produced a good result which was imported into Rhino:
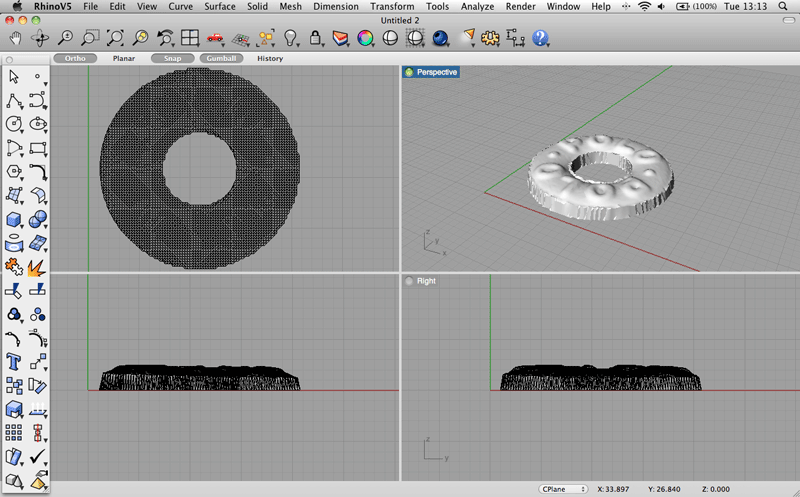
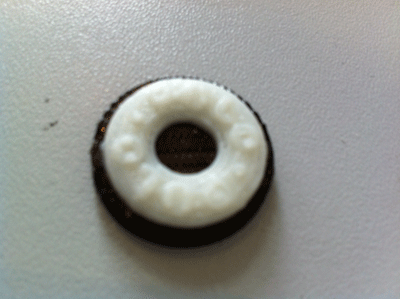
This was used for 3DPrinting -
I also took the opportunity to print a prototype joint for my final
project.
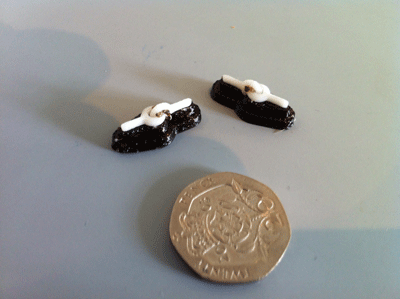
I decided to make a simple universal joint and print this out as
small as I could. This would provide some idea of how small the
mecanism could be if it were to be 3D Printed. This photograph shows 2
universal joints printed out and still fixed to the black support
material. However, when separating the first print the white material
snapped - too small and fragile for my purposes - must scale up. This
has demonstrated how the eye and mouth mechanisms could by manufactured
for my final project.