WEEK_9_fab_academy_embedded_programming_march_14.

1 / Making a Fabduino :
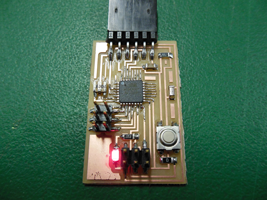
I made the Fabduino. As the name says, this a fablab made Arduino board. The microcontroler is an ATMEL 328 P (3.3 Volts). You also need to add an 8 Mhz resistor to it.
It has very small legs and you can easily solder them together if you don't pay attention. To remove any excess of solder I recommand to put a thin scalpel between the legs, to warm the solder and to move the scalpel from the body of the microcontroler to the exterior.
This version of the Fabduino only has 12 pins, but you can add a lot more. This board can be programmed directly from the free Arduino software with the FabISP programmer.
For my final project, I will use the same board with 26 pins.
2 / Programming the Fabduino :
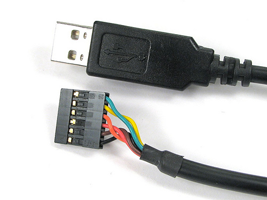
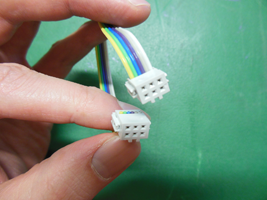
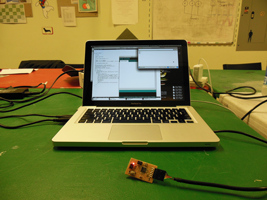
The Fabduino is easy to program with the Arduino freeware. Once you have checked out your Fabduino's connexions, you plug it to an FTDI wire and you connect it to your computer's USB port. You also connect your FabISP to another of your computer's USB port and to your Fabduino via a 6 plug ribbon cable, because you are going to "Burn the Bootloader" (only once) on your Fabduino via the FabISP. FabISP is a programmer. You need it to program your Fabduino. Then You open the Arduino software. You go to Tools. You go to Boards. You select the board you are using. In my case, this is the Arduino Pro or Pro Mini (3.3V, 8MHz) w/ ATmega 328. Now you go to tools again. You go to serial port. You select the correct USB serial port. Now you go to Tools again. You hit the line "Burn the Bootloader". And that's it.