Block of Wax
Rubber Gloves to protect hands from chemicals
Wooden Stirer about 1/2 inch by 5 inches
Measuring Cup
2 small plastic cups for measuring
1 large cup to mix in
Cardboard to form mold box
Carpet tape
Packing tape
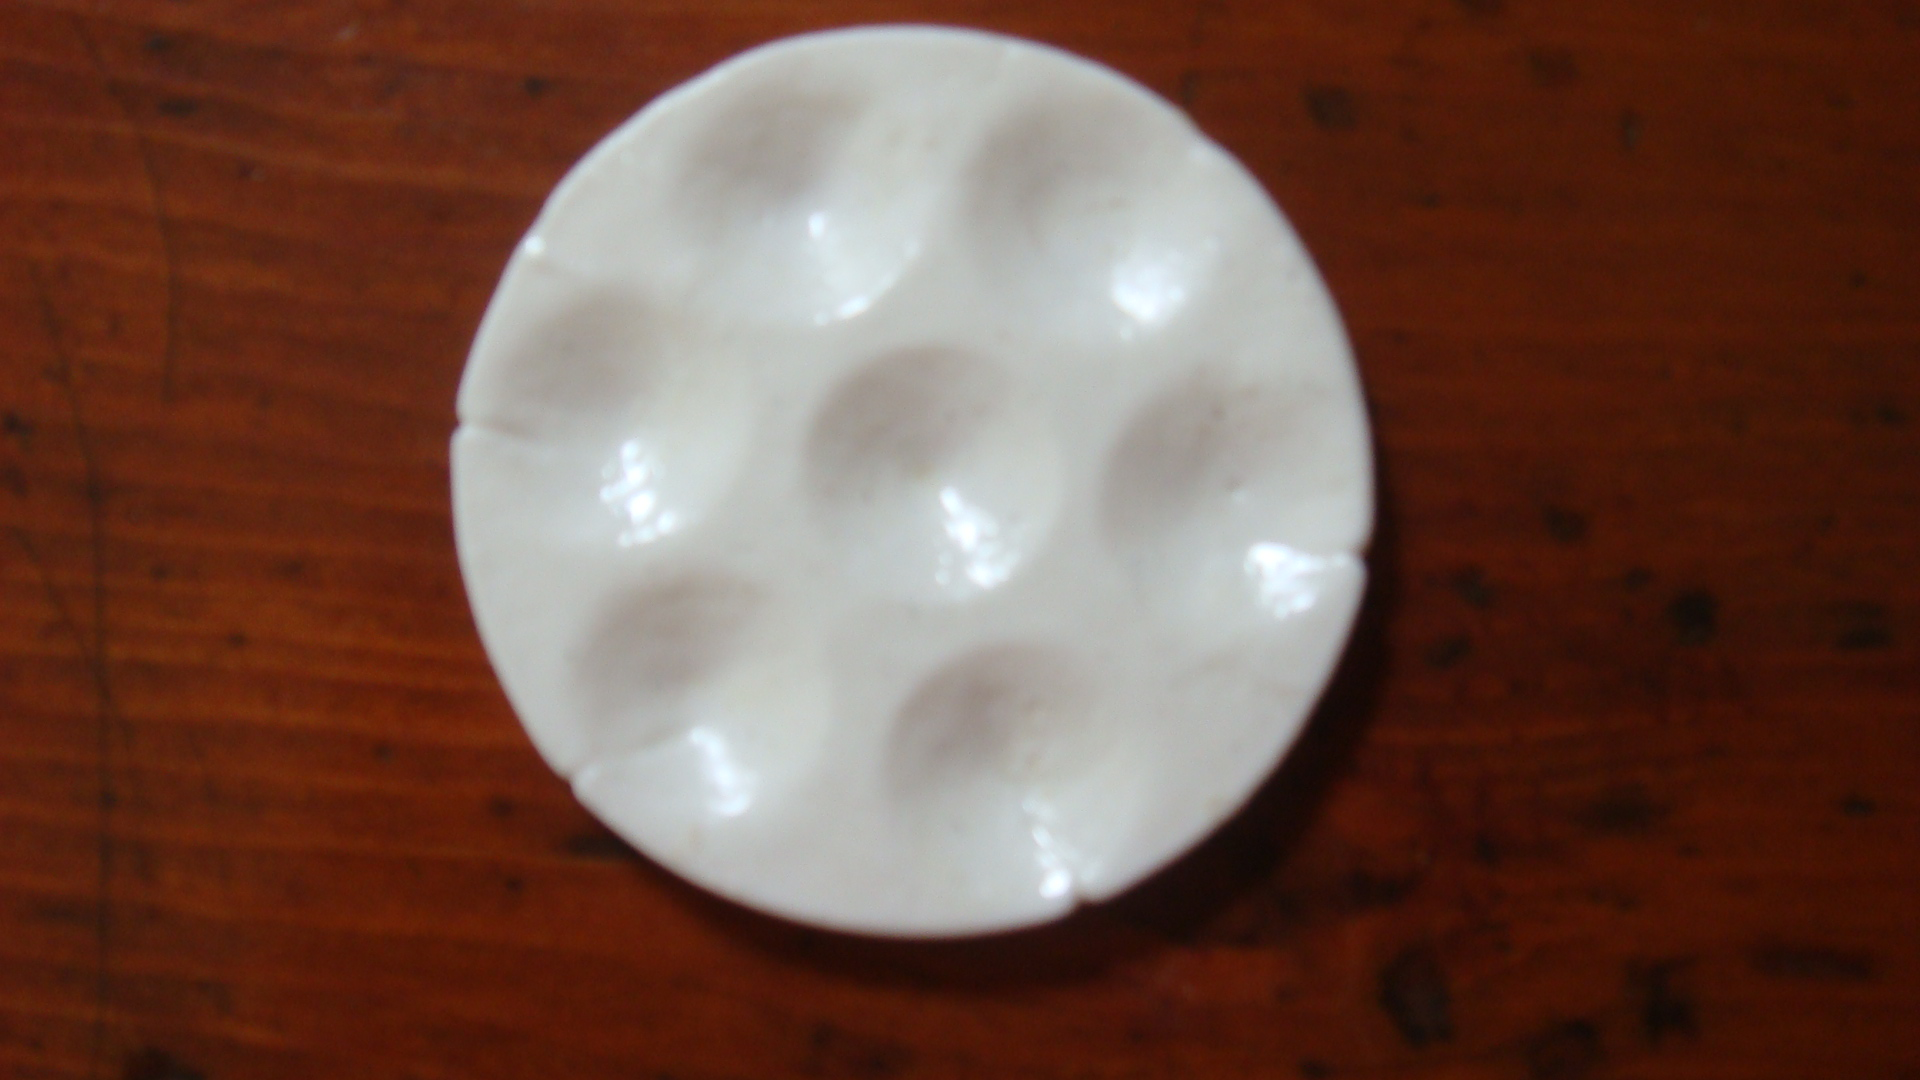
Wax Mold created on Modella
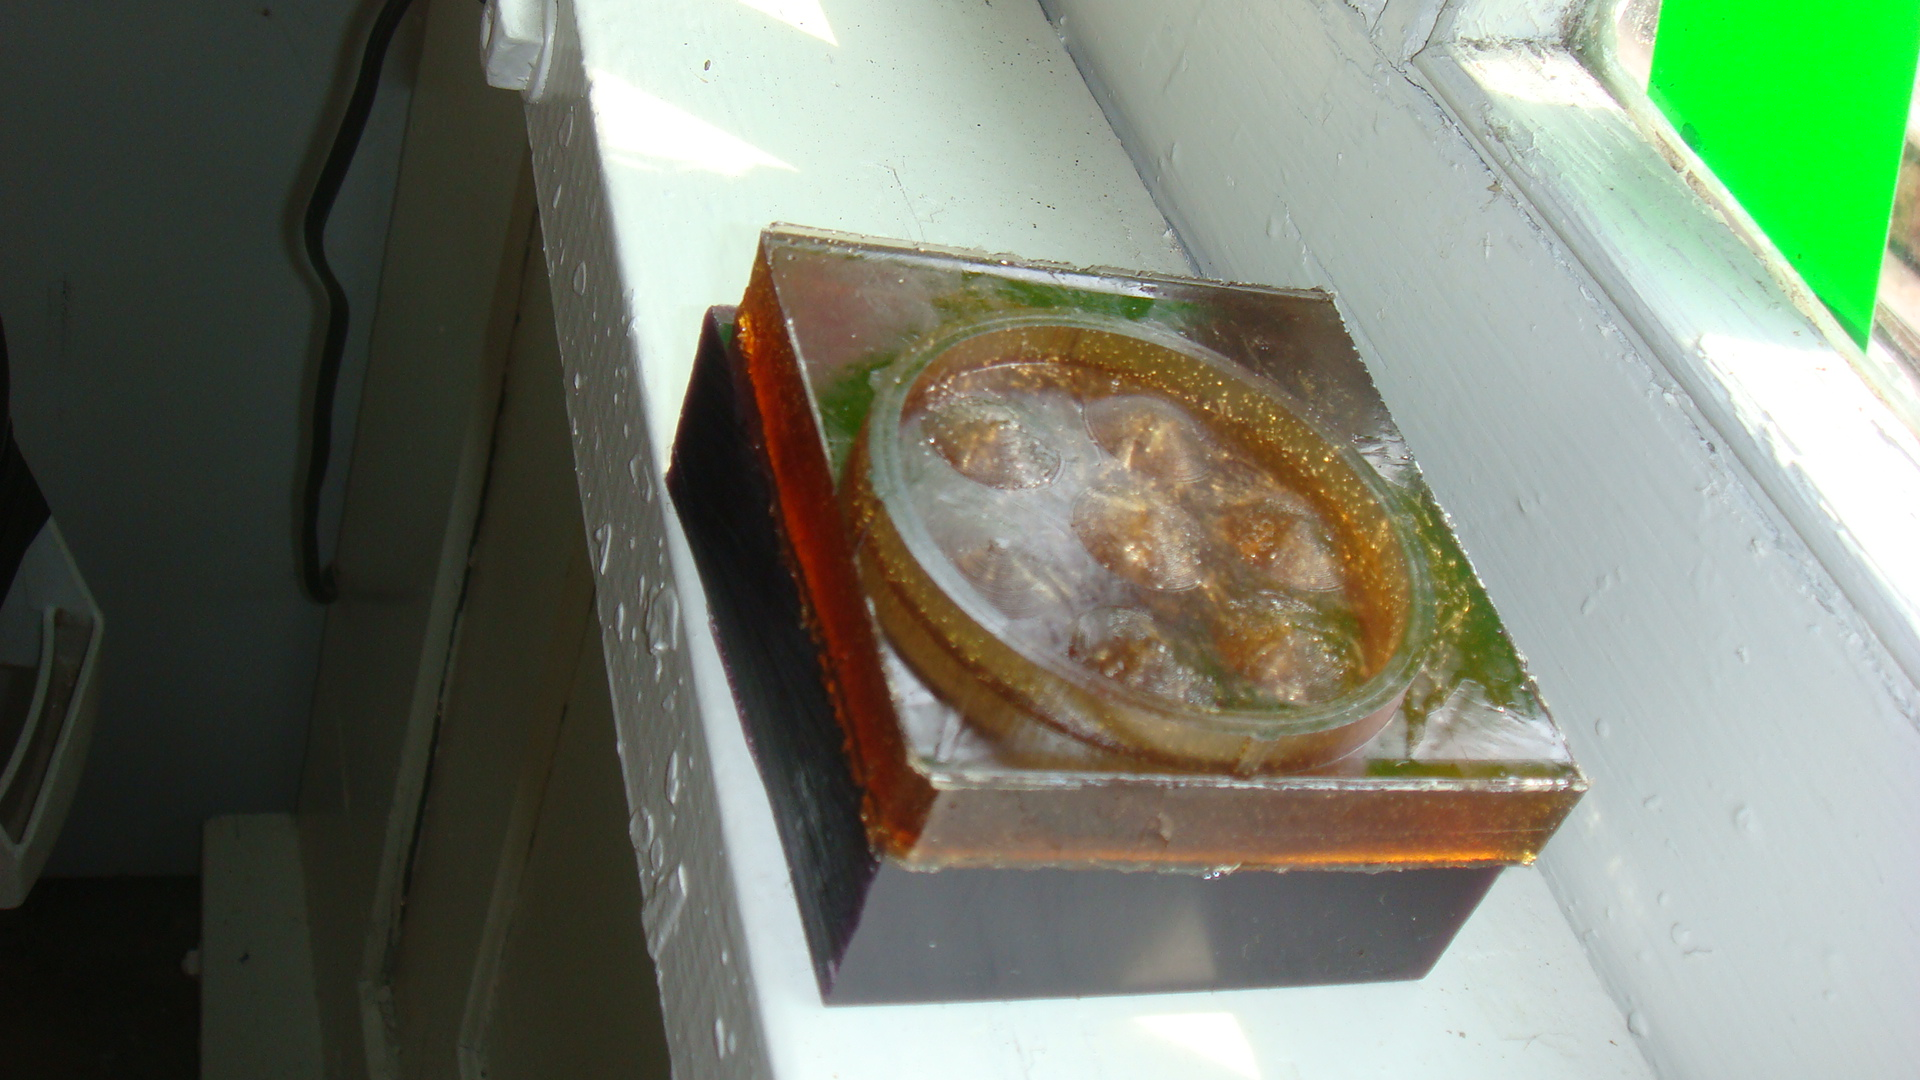
Smooth-On PMC 121/30 Soft and Flexibel Liquid Rubber Compound
I then placed cardboard around the edge of my wax mold with a half inch
section at the top to create a simple mold box. I used Carpet Tape to keep
the cardboard attached. Then I wrapped it around the outside of the wax mold and
cardboard again with packing tape to make sure it was secure.
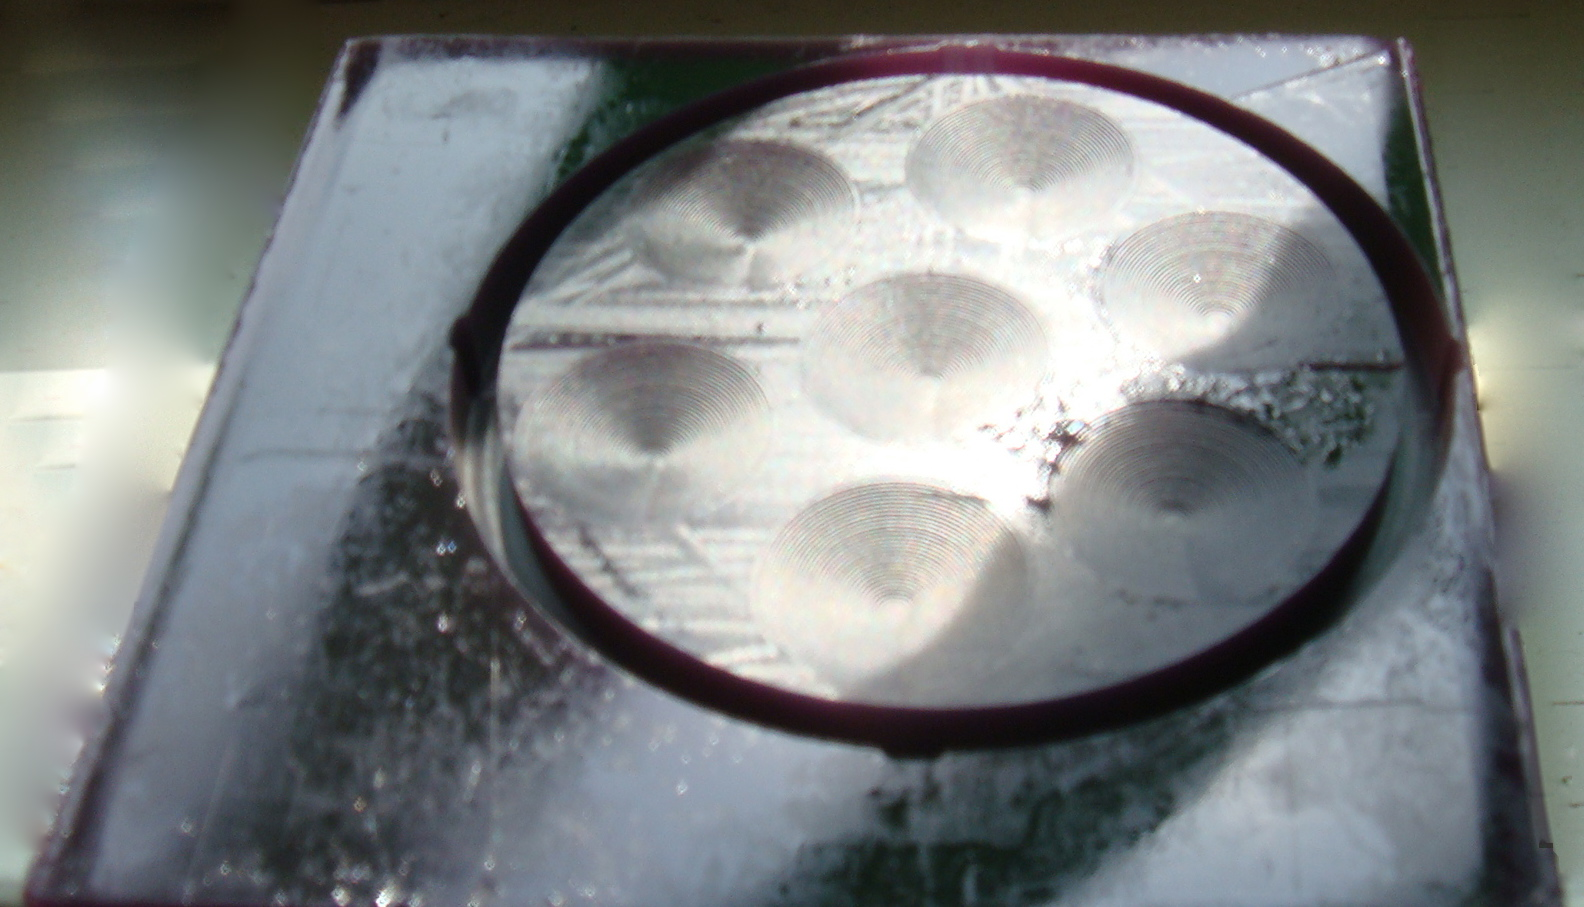
I made the final insert by using a liquid plastic to pour into my new rubber mold
and let it cure. When it was done curing I took the solid plastic out and was
ready to make another.
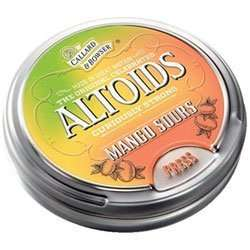
Altoids Container
 I measured and designed an insert to be used to convert a candy container
into a small watercolor box. I used Inkscape to design a 3D image of my paint
box insert, saved it to a .png file and then output it to the Modela to create
a 3D wax mold.
Once this was done I created a negative mold and cast my paint
box insert in a composite. It took around 4 hours to cut out my 3D mold on the
modella, and an hour to create the negative mold.
I measured and designed an insert to be used to convert a candy container
into a small watercolor box. I used Inkscape to design a 3D image of my paint
box insert, saved it to a .png file and then output it to the Modela to create
a 3D wax mold.
Once this was done I created a negative mold and cast my paint
box insert in a composite. It took around 4 hours to cut out my 3D mold on the
modella, and an hour to create the negative mold.
 Modella design