 2011 FabAcademy!
Plan and document a final project that integrates the range of units covered:
What will it do?
Who's done what beforehand?
What materials and components will be required?
Where will they come from?
How much will it cost?
What parts and systems will be made?
What processes will be used?
What tasks need to be completed?
What is the schedule?
How will it be evaluated?
Projects can be separate or joint, but need to show individual mastery of all of the skills where possible, you should make rather than buy the parts of your project
 ~~~~~~~~~~~~~~~~~~~~~~~~~~~~~~~~~~~~~~~~~~~~~~~~~~~~~~~~~~~~~~~~~~~~~~~~~~~~~
What I did:
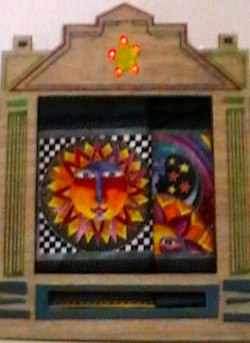
My project was to design a Puppet Theater with LED's, and Finger Puppets with LED eyes to do in the CUCFabLab as an introductory workshop for K-5 students. The class is designed to introduce younger childern to the following:
Inkscape
How to design an object to be cut on our Laser
Basic electrical principles.
Materials needed:
Inkscape/Inkscape Tutorial for K-5Battery Cardboard and 1/4" Balsa Wood 24" by 12" Battery Holder Paints Soft Circuit Thread Thread ( For Hand Sewing) or glue Resistors (Depends on the number of LED's and their size.) Felt ( At least 6 colors) Sewing Scissors and Sewing Needles LED's ( Depends on the number of eyes on the Finger Puppet.)
To design the theater I used Inkscape. Using photos of actual theaters I drew it in Inkscape. Once I was done I realized the design was to elaborate so I re-opened the file and subtracted elements. The design I have now can be cut with or without the embelishments. I wanted to be able to offer a class composed of students from second to fifth grades with the option of cutting the personalized details on the design with the Laser Cutter. Due to class time restrictions the younger students will be limited to cutting the basic design and coloring it with crayons or paint.
Gas prices have limited schools and clubs on the number of field trips they can take. I designed this project so it can be taught in the future from a remote site. The teacher and students would interact with the CUCFabLab and our volunteers via the internet with a computer with a video camera in their classroom.
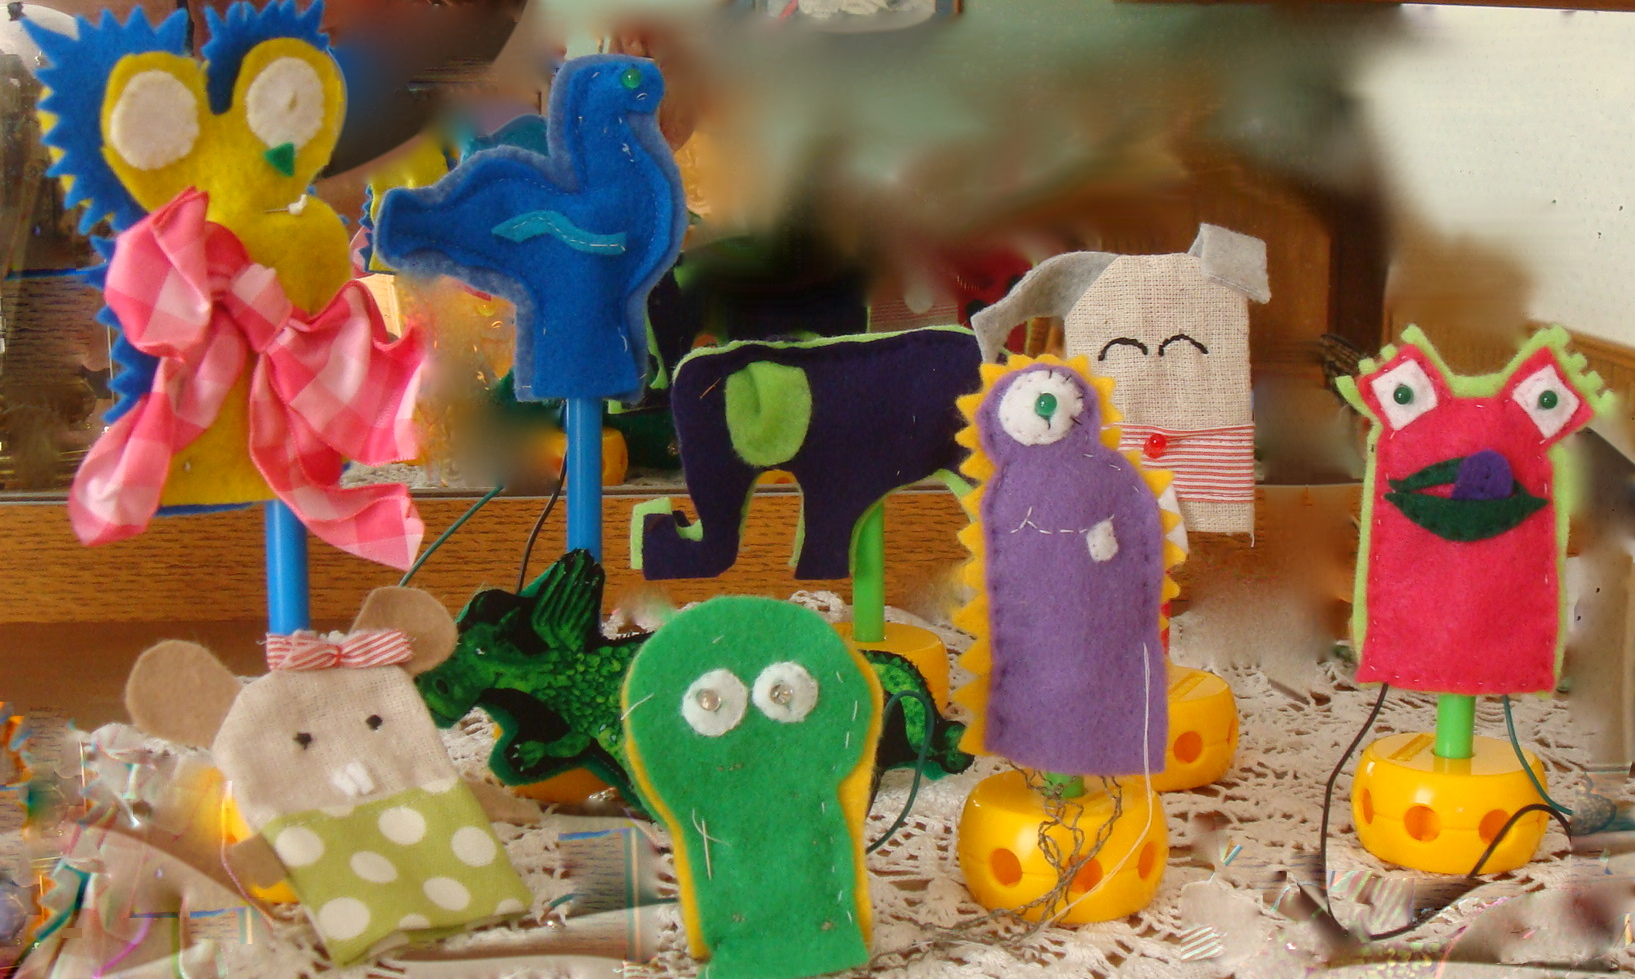
The fingerpuppets are done entirely in the classroom. The theater would be designed on the classroom computers, the files sent over the internet to the CUCFabLab where they would be cut on the Laser. One students design would be cut on the laser while the students watched from on their classroom. When completed the theaters would be returned to the classroom for painting/coloring. A contest would be held to vote on which theater would get LED's placed on it. This could be done by a volunteer in the classroom if the students could not be brought by bus. Fox Valley Techinical College Fab Lab has done this to promote a project they do to encouage student inventors at the grade school level with great success.
Curriculium page:
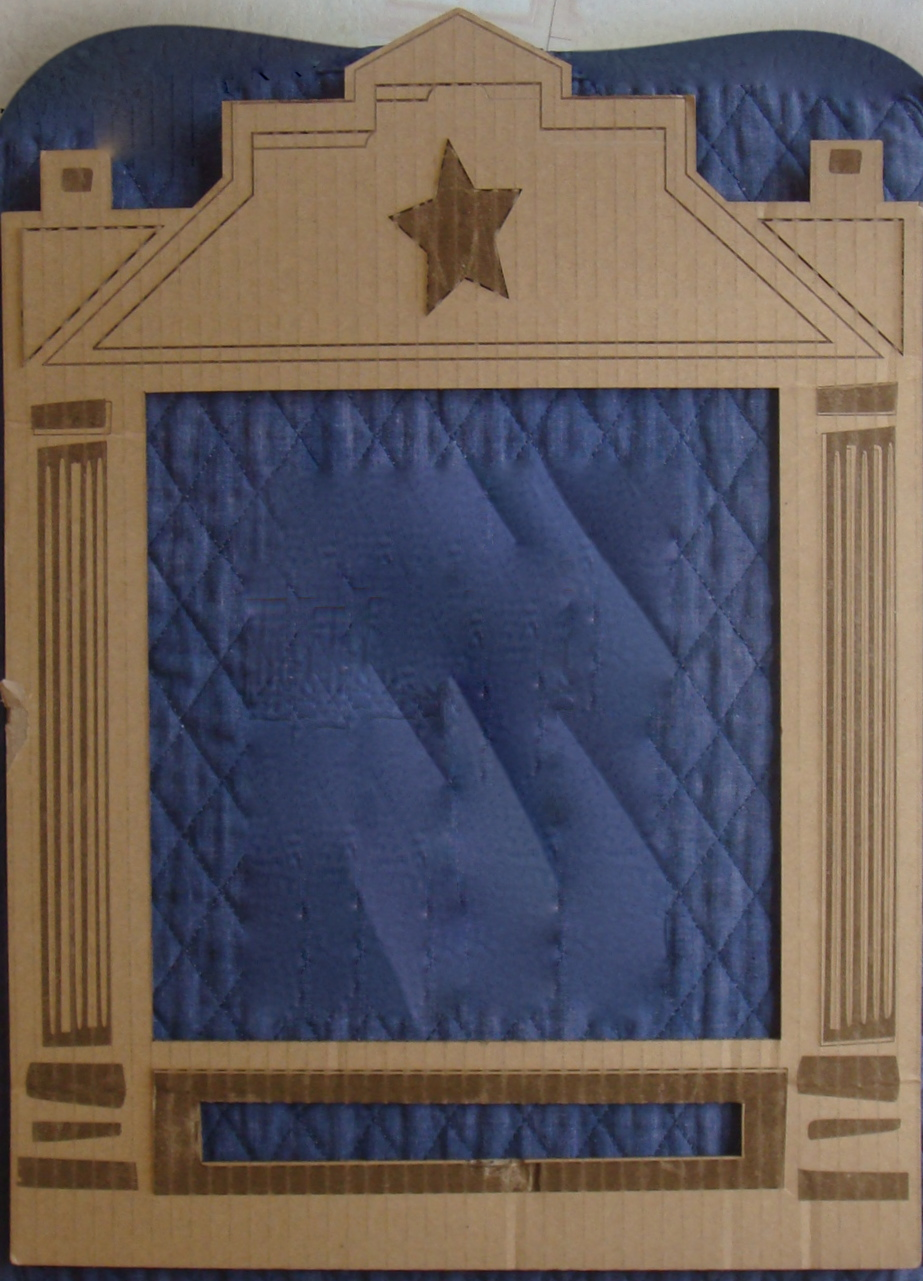
Theater Inkscape drawings:

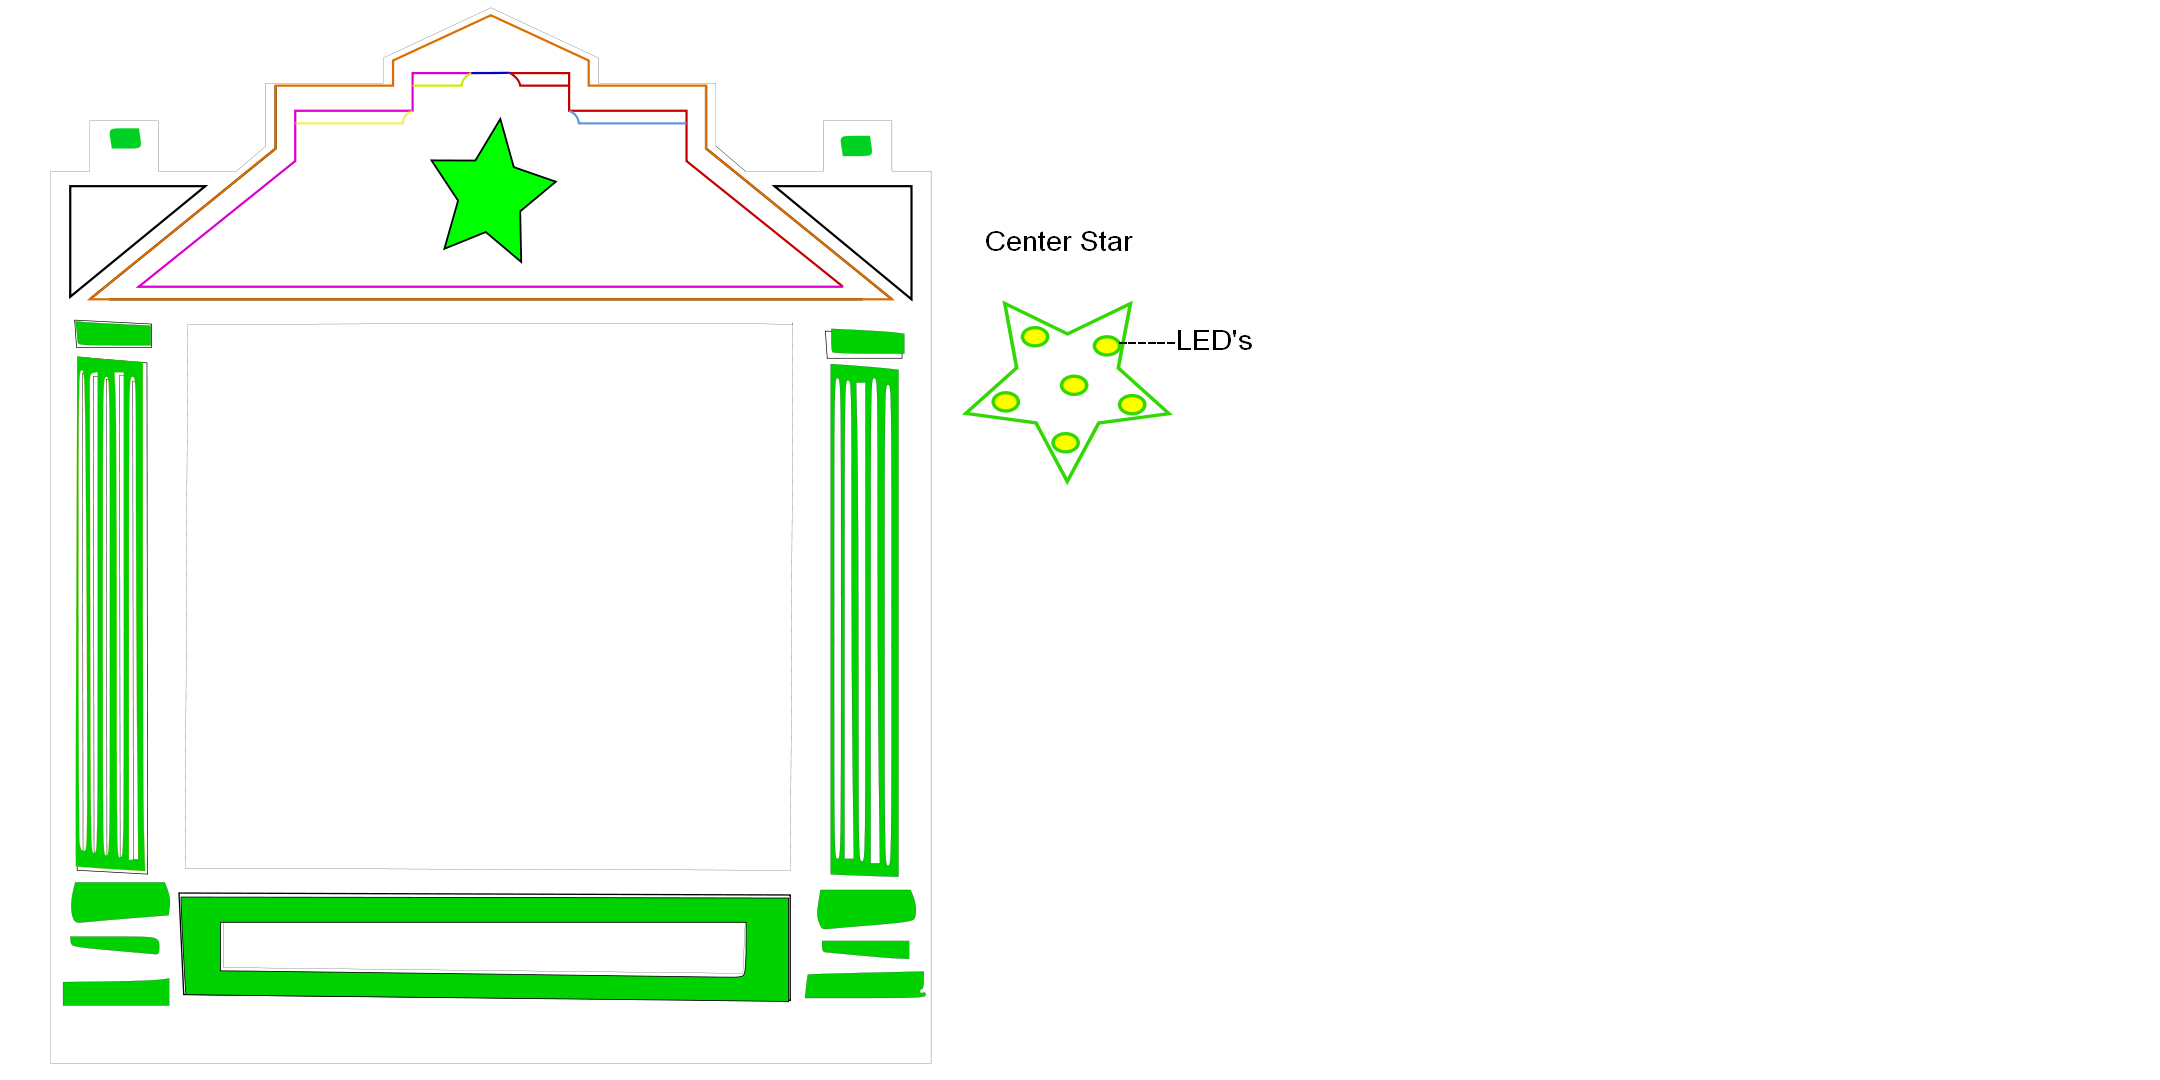
Theater Inkscape drawings with LED placement:
Finger Puppet Circuitry Layout Drawings:
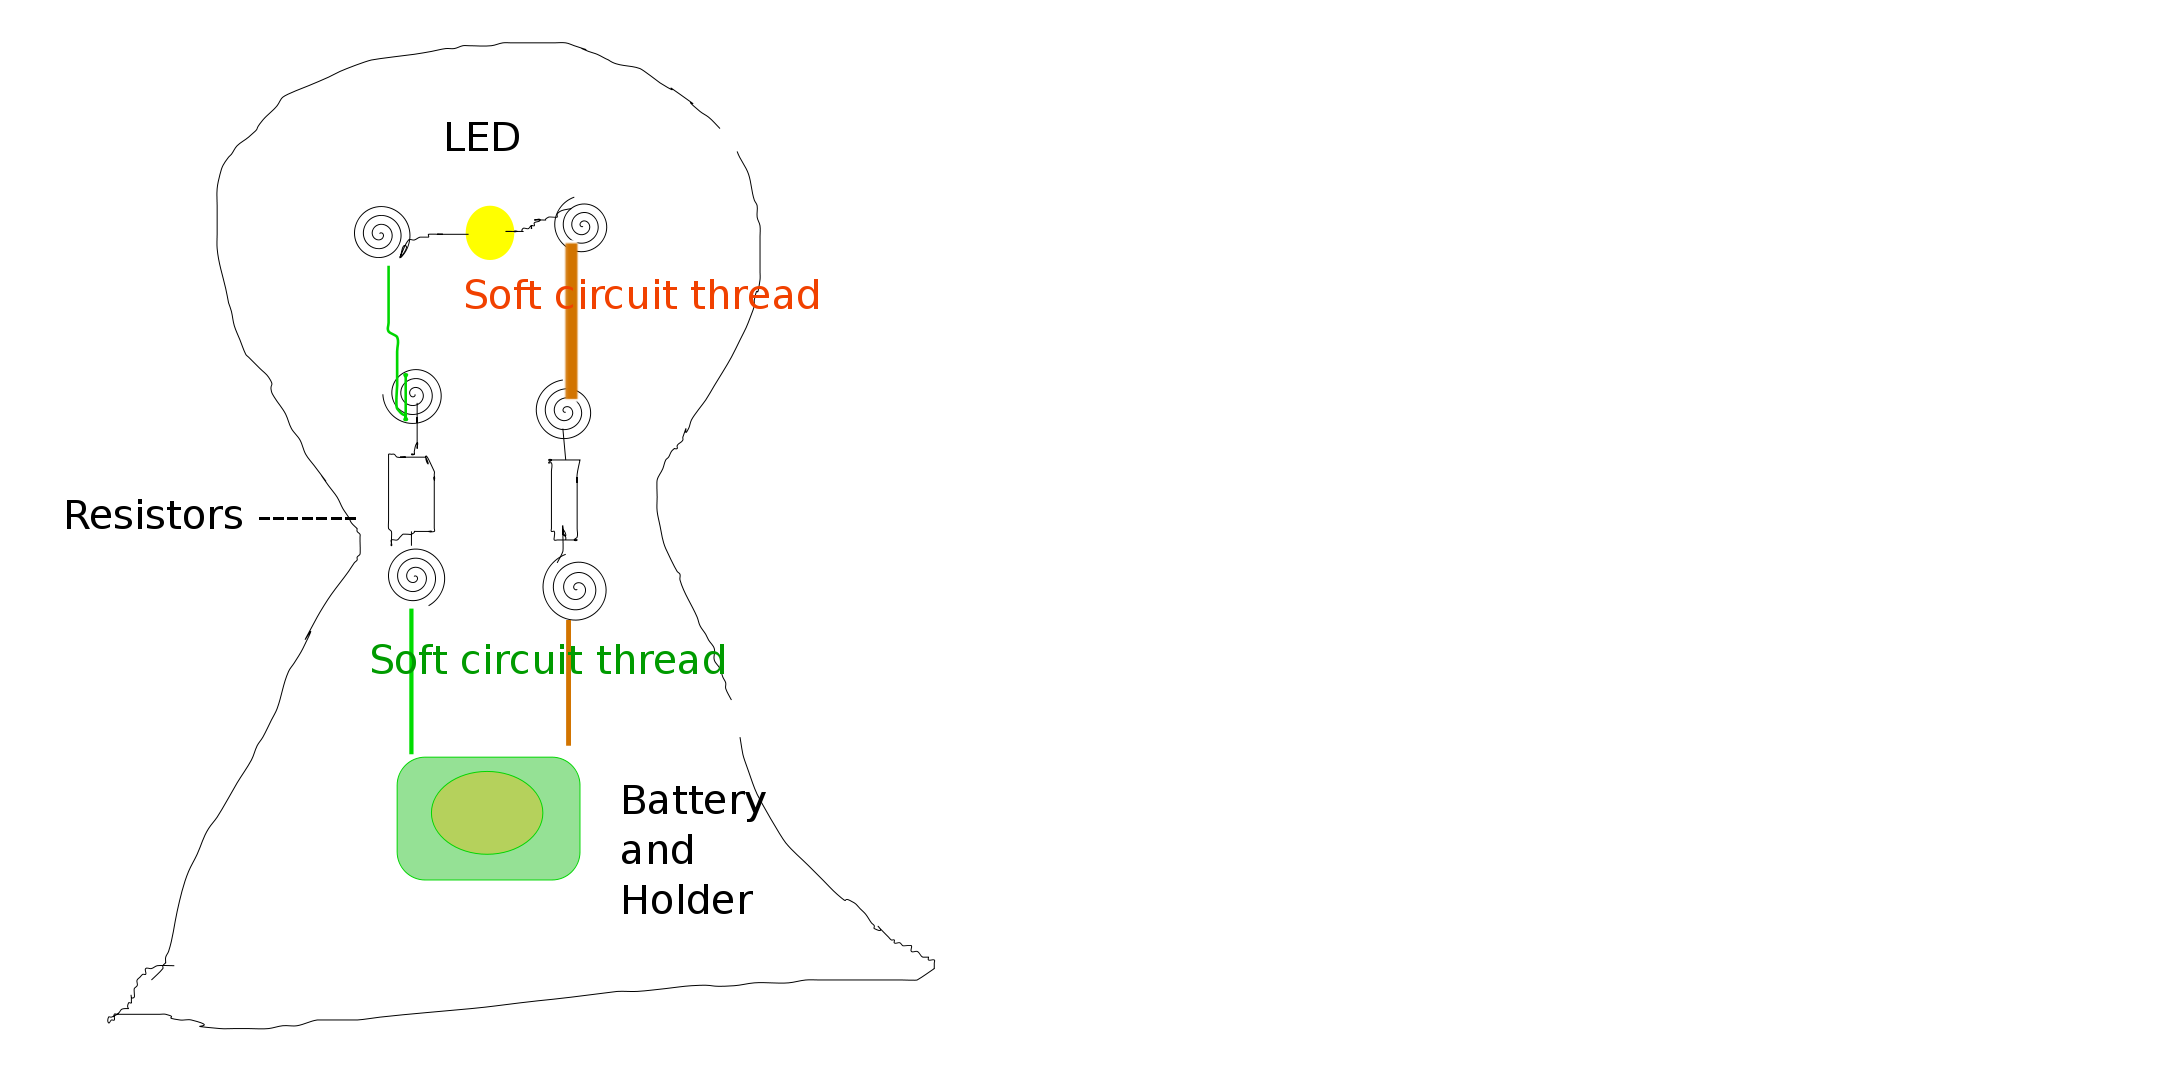
The costs for my puppets were under $5.00. The cardboard was free, and we used scrap wood from the trash. The curtain was made from scap material. I had less than $10.00 in my board, LED lights, and battery. The conductive "soft circuit" thread was donated, but I used less than one foot per puppet.
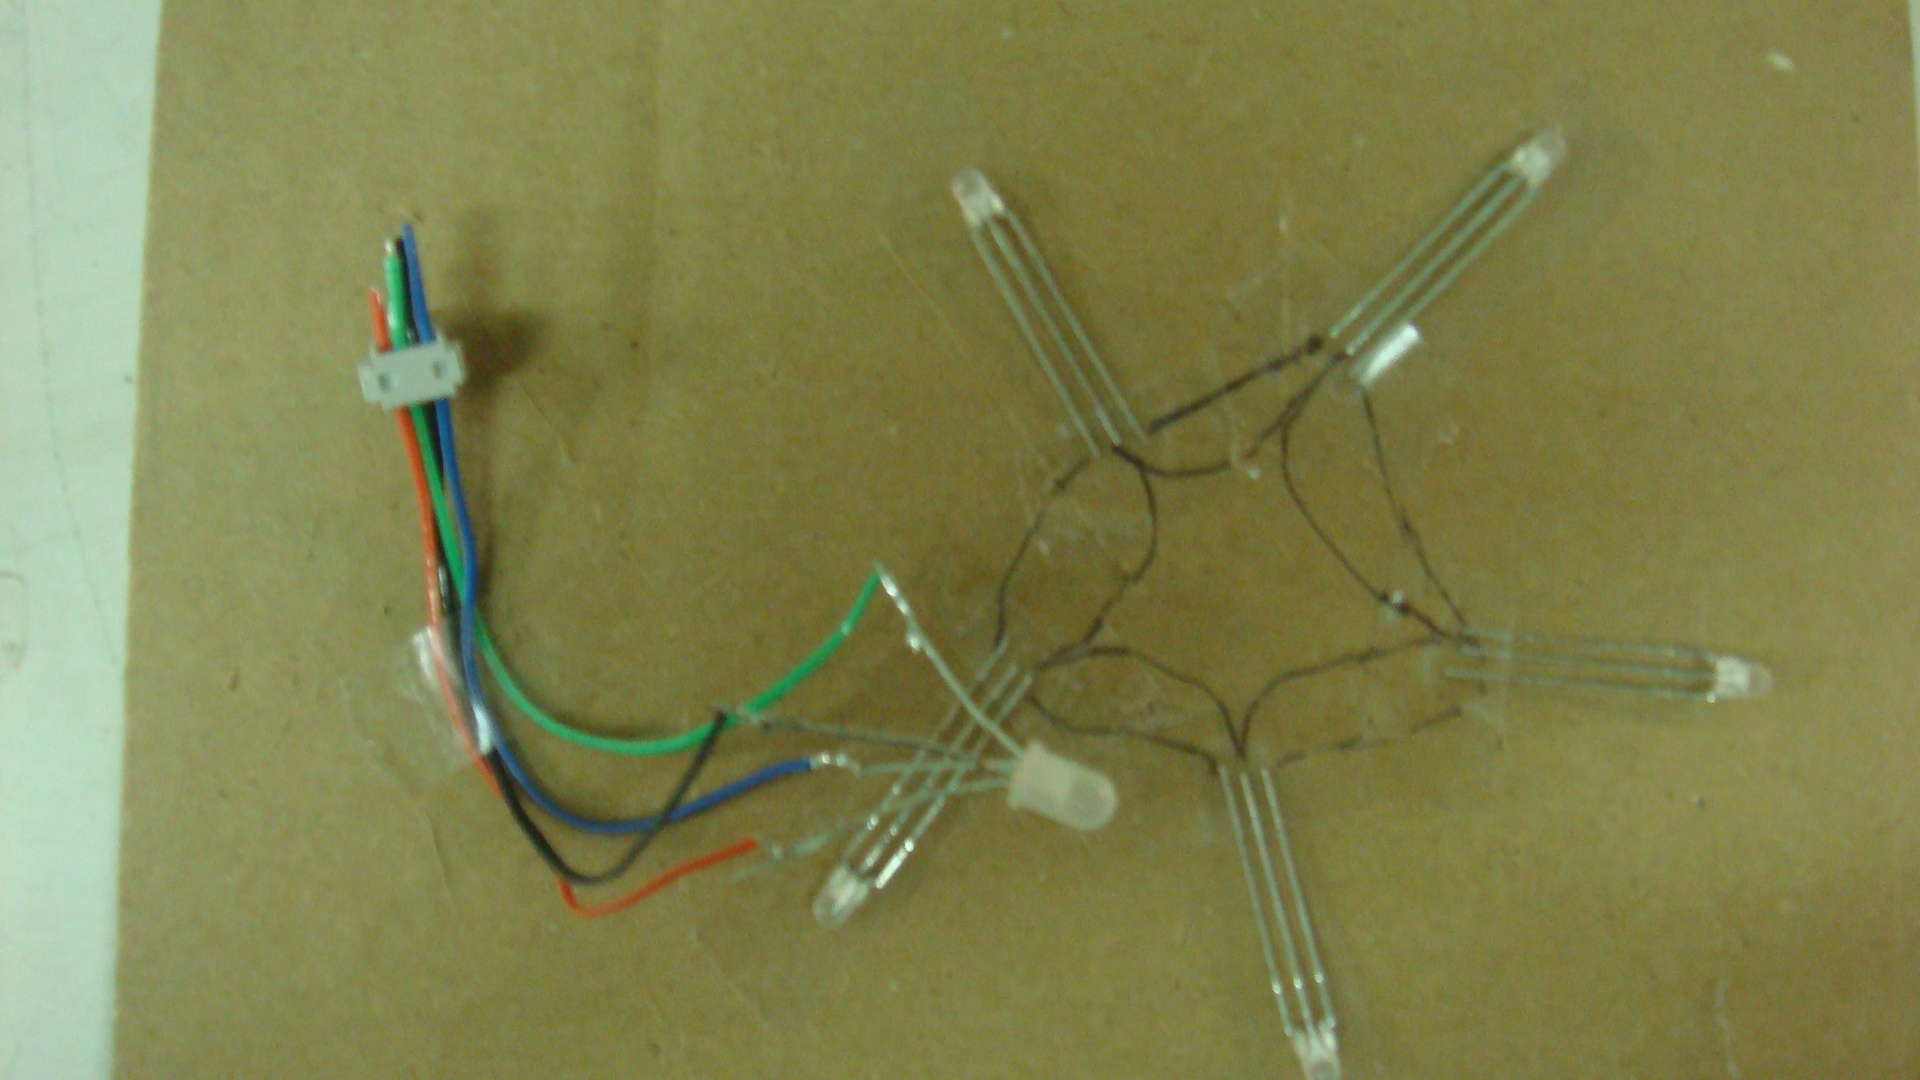
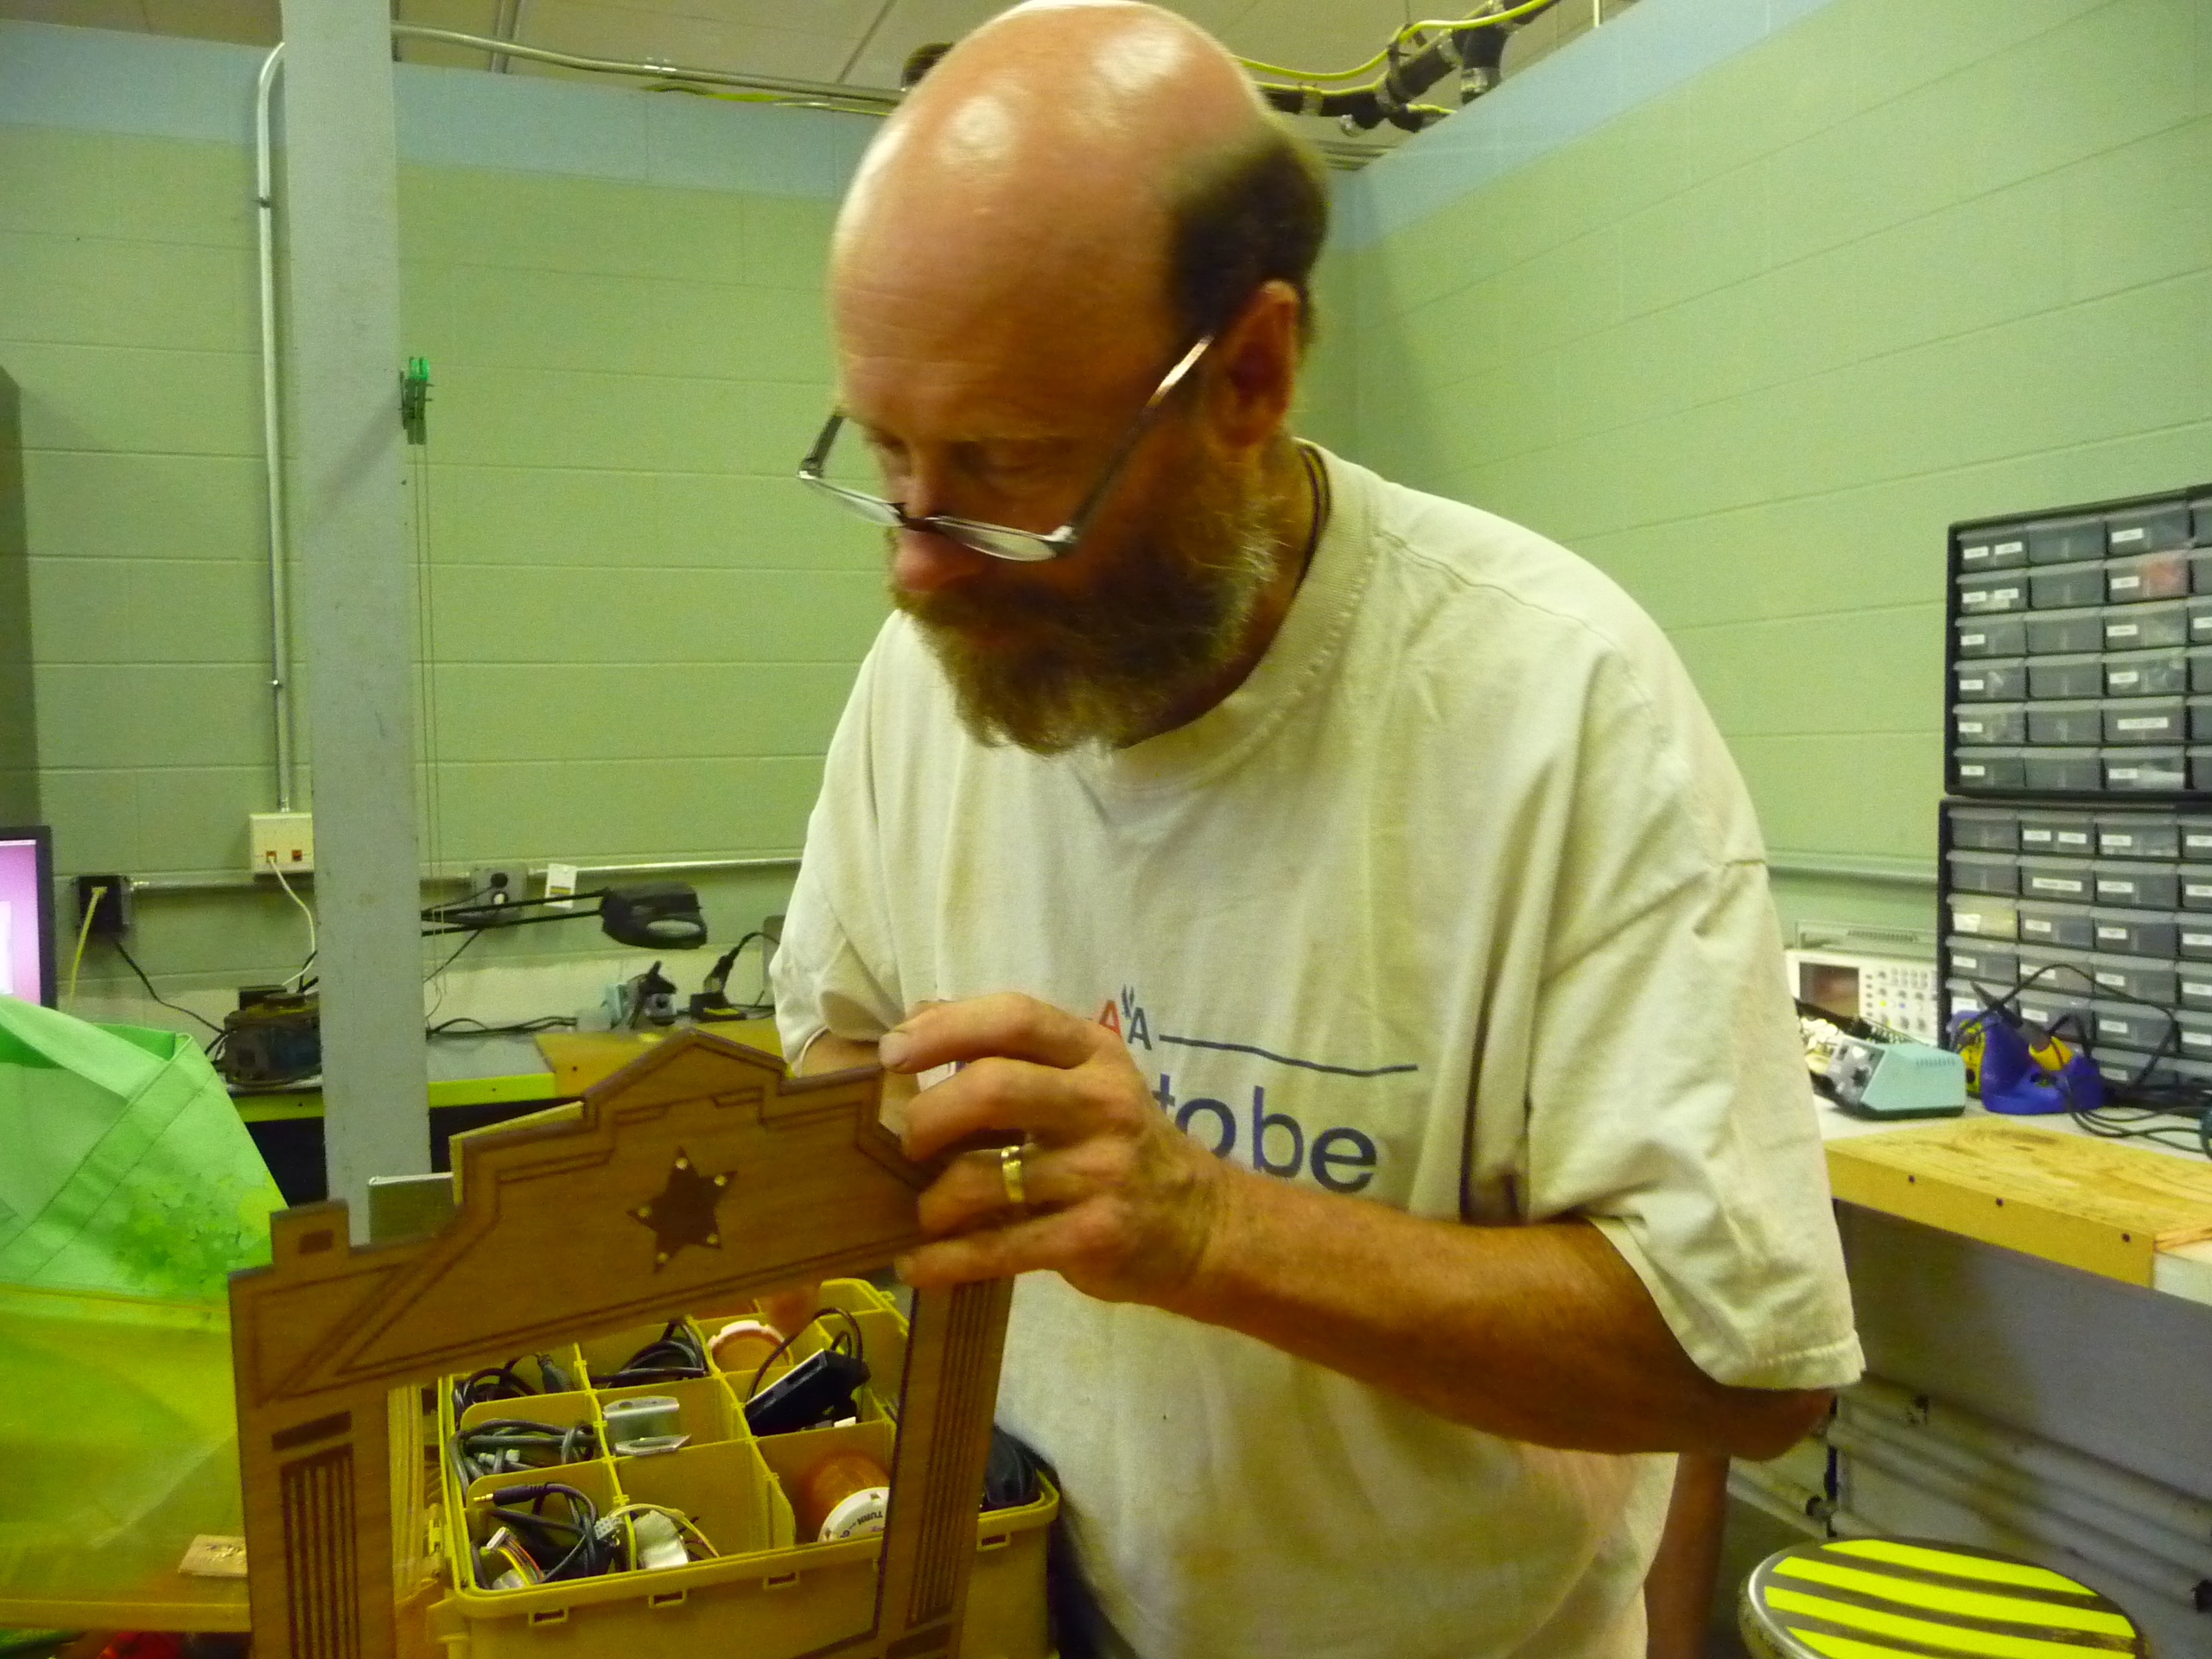
I took my plan for the RGB LED board and made a new board. Instead of using the same leds as before I used the larger ones like the ones used in the puppets since they would be easier for the children to work with. I could have just redesigned my RGB LED board with the original LED's in a star pattern, but they are so small I did not think most of the children would be able to solder them down. I put holes in my star with the laser for the LED's and wired the six LED's in the star together on the back of the Theater and then connected them to the board. I attached the board to the Theater with glue. Hopefully it will hold up. If not I will design a whole to hang it on a small nail on the Theater back the next time I made one on the Modella.
In doing the new RGB LED board I enlisted Dean's help. We did several experiments with individual LED's and our new board.
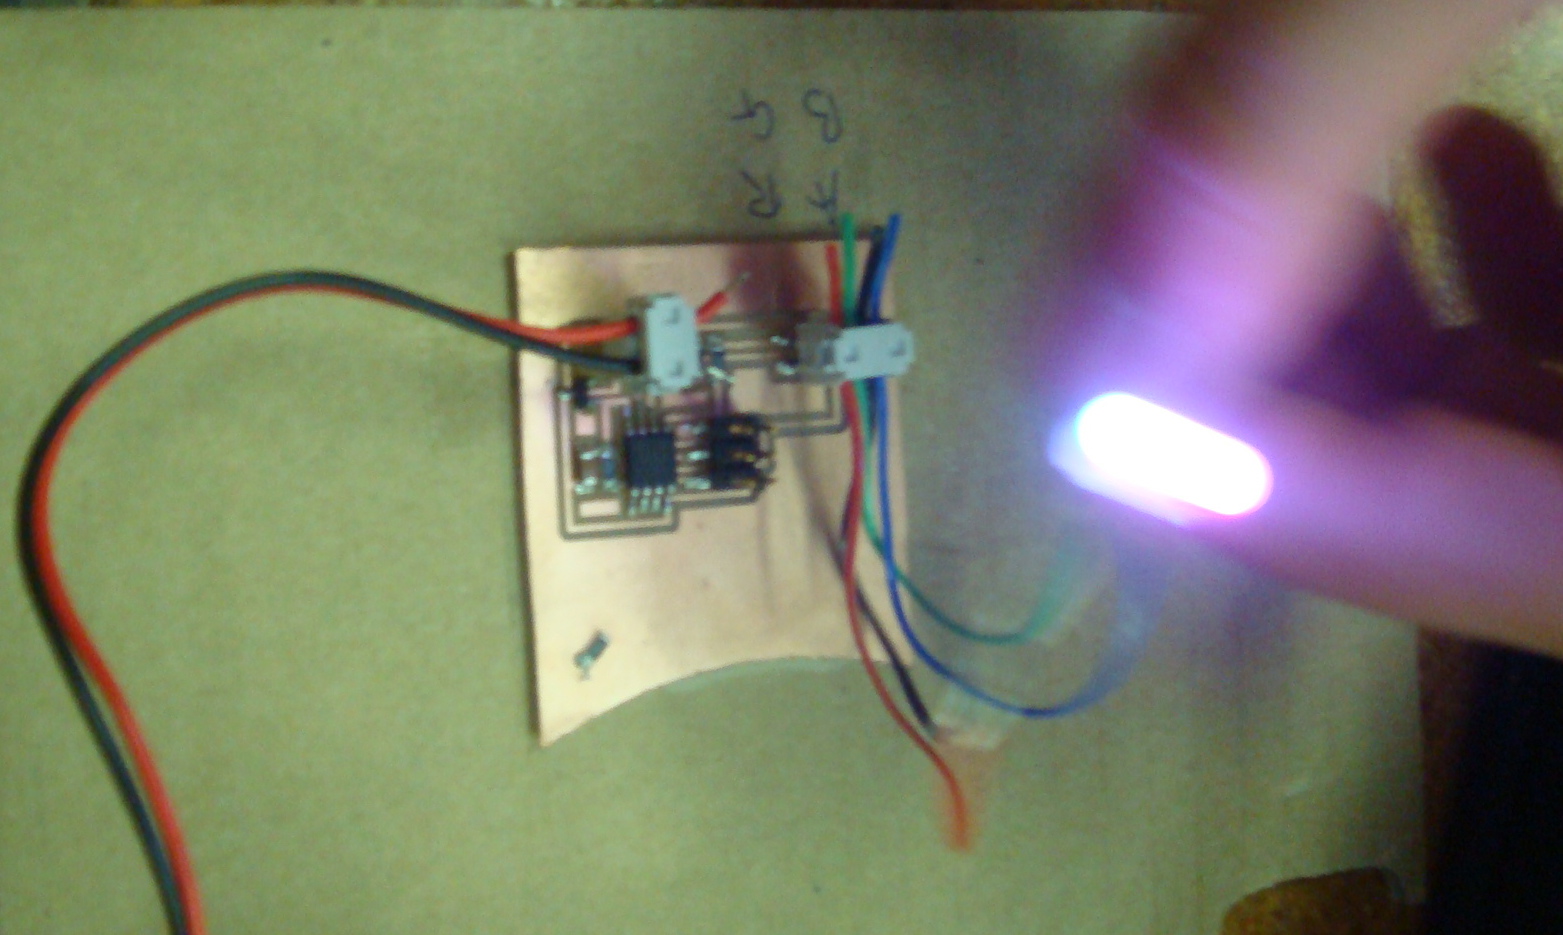
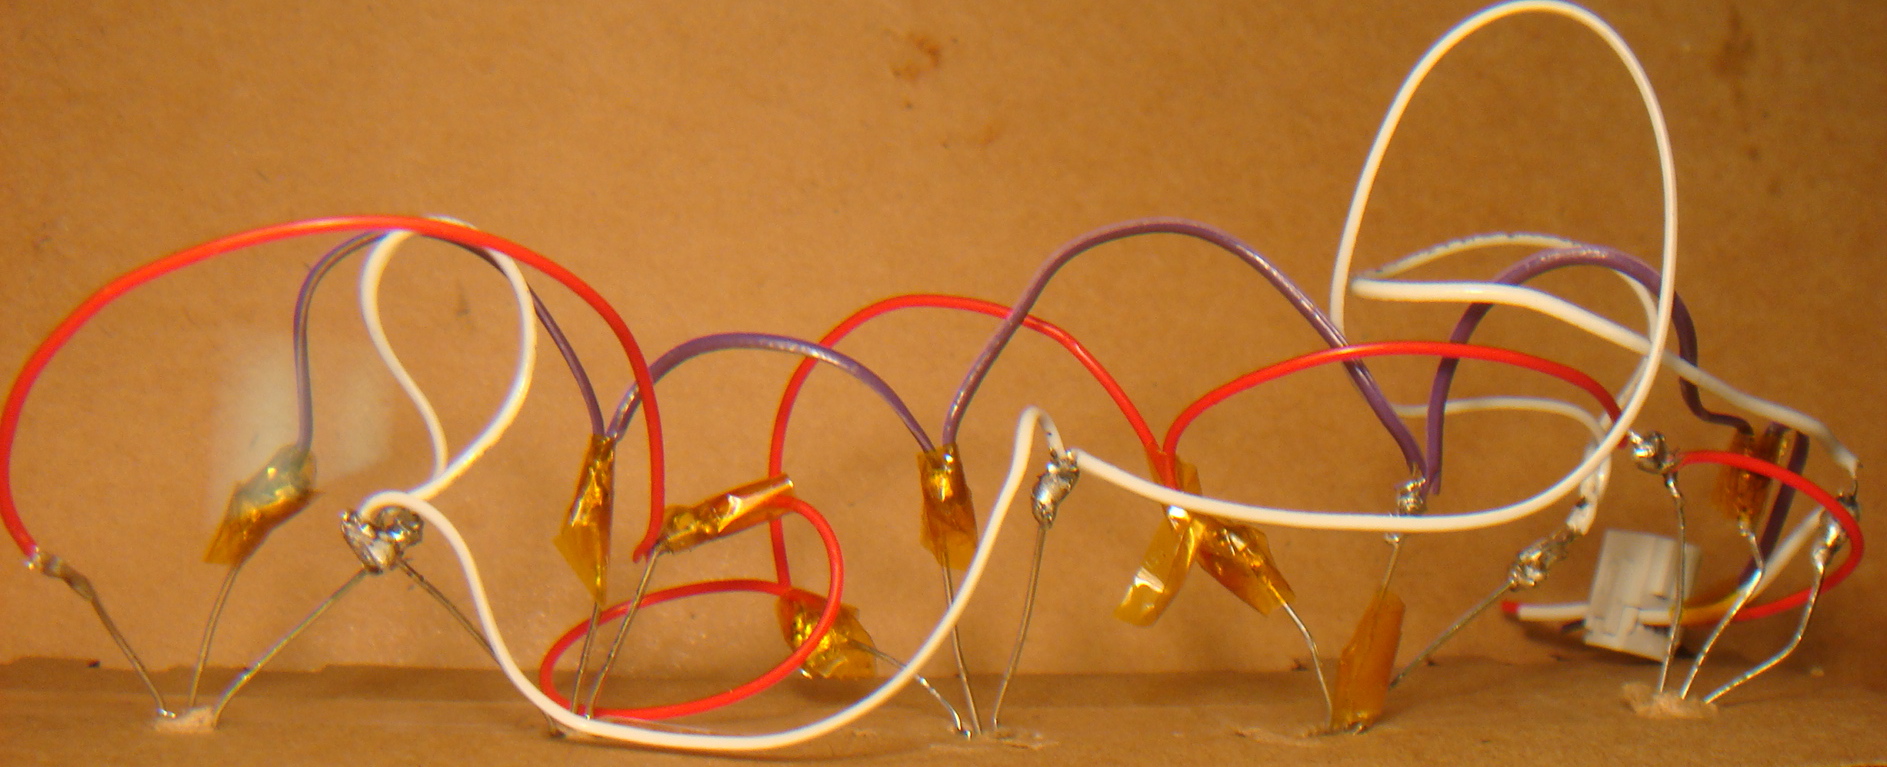
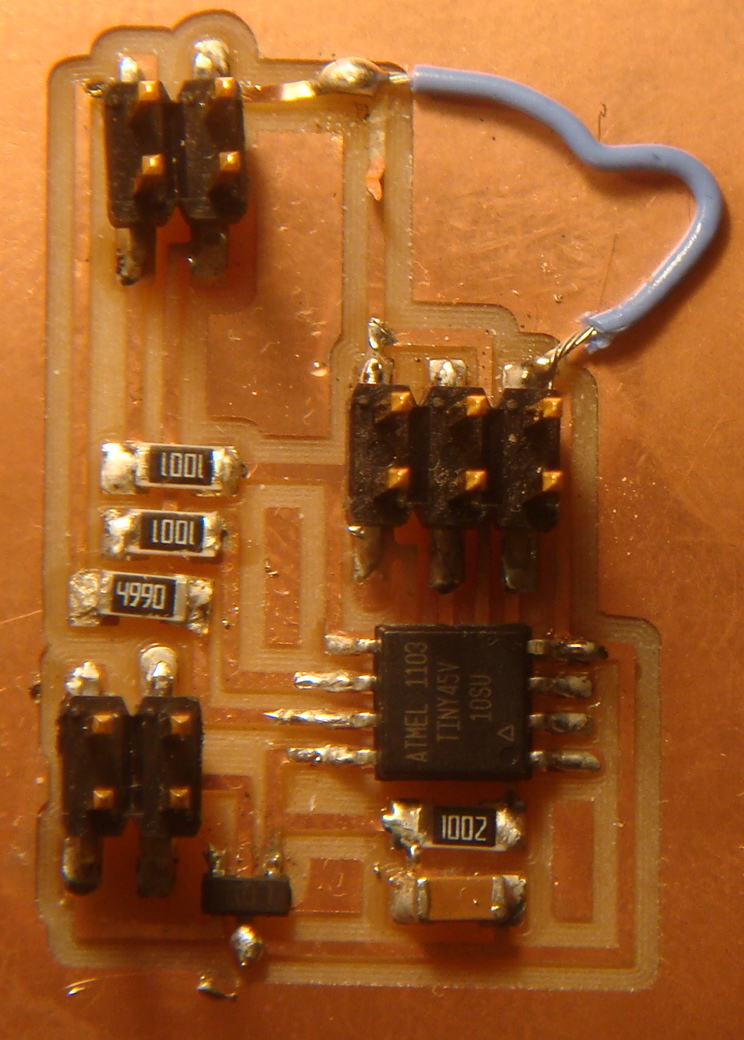
We thought we had it made, but when we tried to program the LED's to blink through the three colors nothing happened. So it was back to the drawing board. Mercedes gave us an assist by explaining the LED's were different than the one we had orginally experiment with. We made some changes in the board, and started testing again.
It's alive!
We cut the power wire to the the LED, and then turned it into a ground. The lights lit.
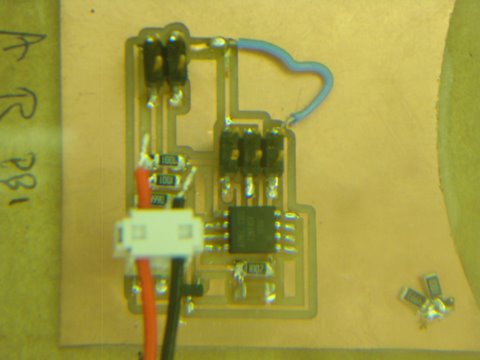

 Mercedes also suggested we replace the resistors with a 100M on our next version.
We have successfully design
and built the proto-type for the theater star. A lot of work needs to be done to refine and simplify
the production so children can make it, but IT WORKS!!!!
Mercedes also suggested we replace the resistors with a 100M on our next version.
We have successfully design
and built the proto-type for the theater star. A lot of work needs to be done to refine and simplify
the production so children can make it, but IT WORKS!!!!

Mercedes also suggested we replace the resistors with a 100M on our next version.
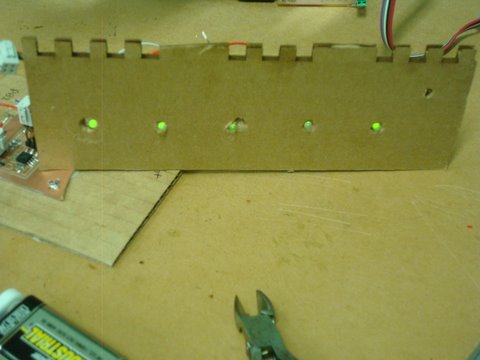
Once we had a successful test, I drilled 5 holes into a test piece out of the same wood as the theater. The holes were to tight on the first test piece, and to loose on the second test piece. I used the smallest drill bit for the first drill from the front, and counter sank from the back for the second drill. This allowed the LED to catch and hold in place. I temporarily attached the board and battery with electrical wire.
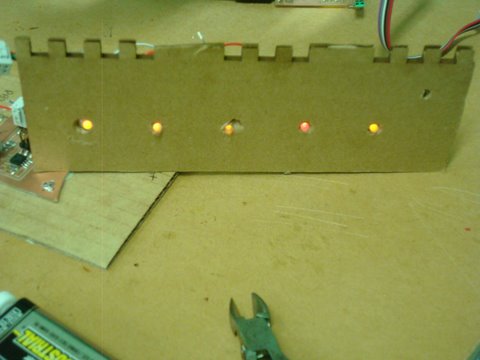
When that was done I put the lights in place to test again. Dean helped me position the board and battery. We hooked the battery up, and it worked long enough for me totake a photo of Dean holding the theater with the lights on in the star. When we put it down to take more photos two of the wires touched and shorted out. At this point I switched out the resistors for the 100M. Then used the glue gun to glue the lights into the star on the theater back, with Mercedes assistance, to hold them rigid. Finally, I tested the lights again.....they worked!!! Dean held it up so we could get a good photograph.

Once I was sure the board was flashing the lights correctly I painted it with watercolors and
photographed it with the lights on.