3D Moulding & Casting
This week's assignment was to design a 3D mould, fabricate the mould and then cast parts in it.
3D Design
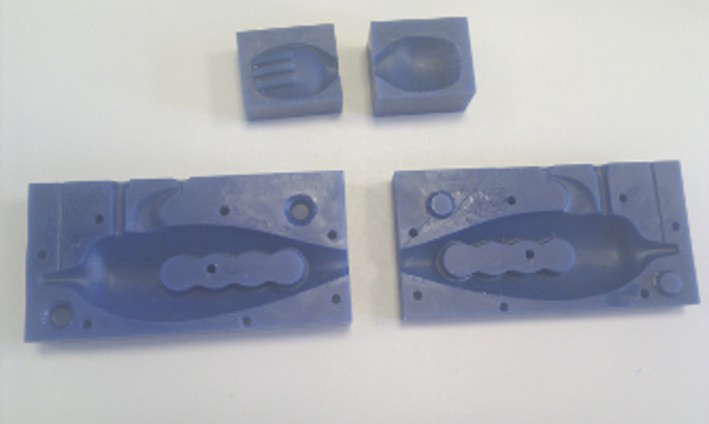
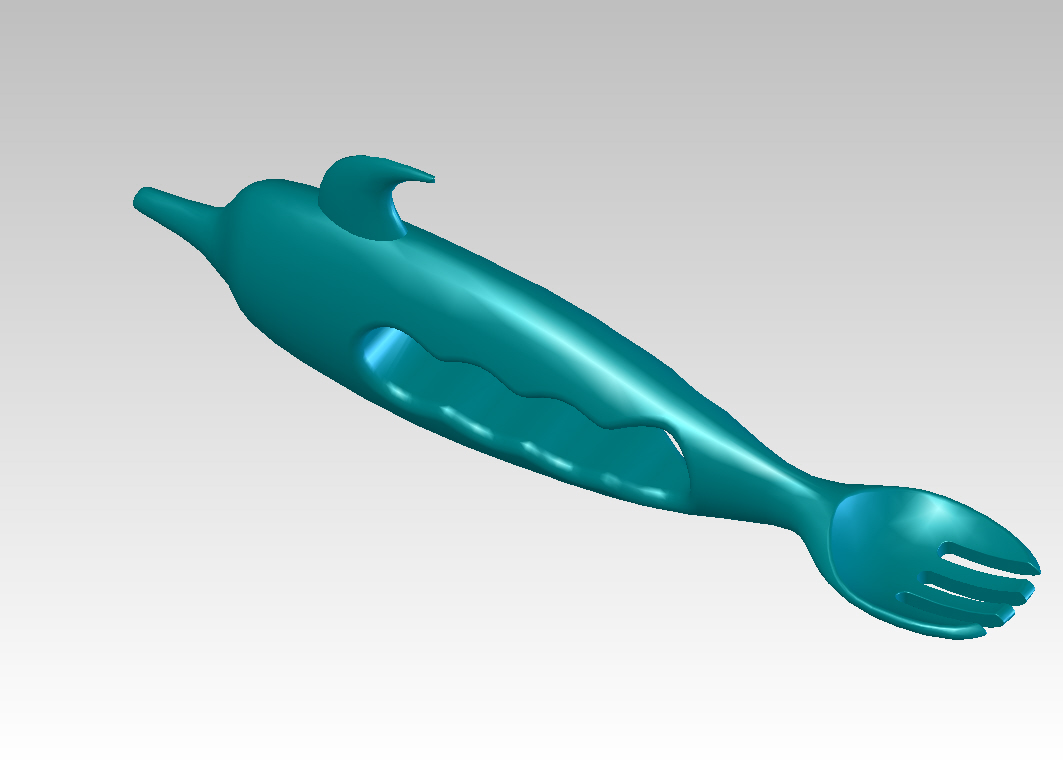
This part & mould were designed using Solidworks 2011 as it was part of a commercial project. One of the main difficulties were that it required a 4-part mould as the fork end needed splitting in the normal direction to the rest of the body. It was also difficult because the parting line areound the fork end wasn't at the same level all the way round so this made creating a parting surface quite tricky but I managed to knit together 4 different surfaces to create it.
Mould Machining
I decided to make the mould from machinable wax so it could be easily machined with small tools and also being a rigid mould it would be easier to clamp together when injecting the part material. I used the Shopbot to machine the wax using 1/8th shopbot bits and 1/32th bits from the Modela. These were run at very low revs (1500 - 8000 RPM) and low feed rates (0.5 - 1.5 ips). This was a very useful site http://www.machinablewax.com/using_machinable_wax.htm
Moulding
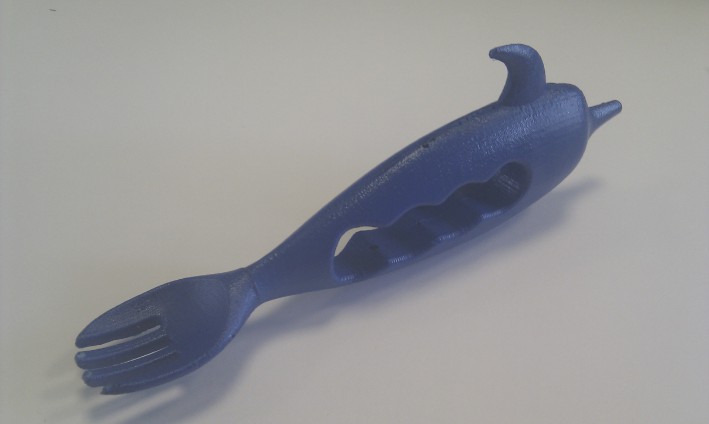
As can be seen in the picture at the top of this page I had to drill in an injection point and also some air escape holes to prevent bubbles forming in the mould when it was injected. There was significant trial and error involved to get this right. I clamped the four moulds together and injected tinted polyeurethane using a large syringe. I also had to make a small reservoir at the injection point to ensure that any liquid that escaped the mould was replaced using a gravity feed. Once the material had gone off (overnight) there was a small amount of post-processing in removing flash but the result is shown below!!